Guide to designing custom apparel with DTF transfers
Posted by Miles Wright on
Direct-to-Film (DTF) transfers are a fantastic way to personalize just about anything fabric-based. These high-quality, full-color transfers let you achieve pro-level customization with ease.
We've made DTF technology accessible to everyone, whether you're a design pro, a hobbyist, or just want to customize something for an upcoming event.
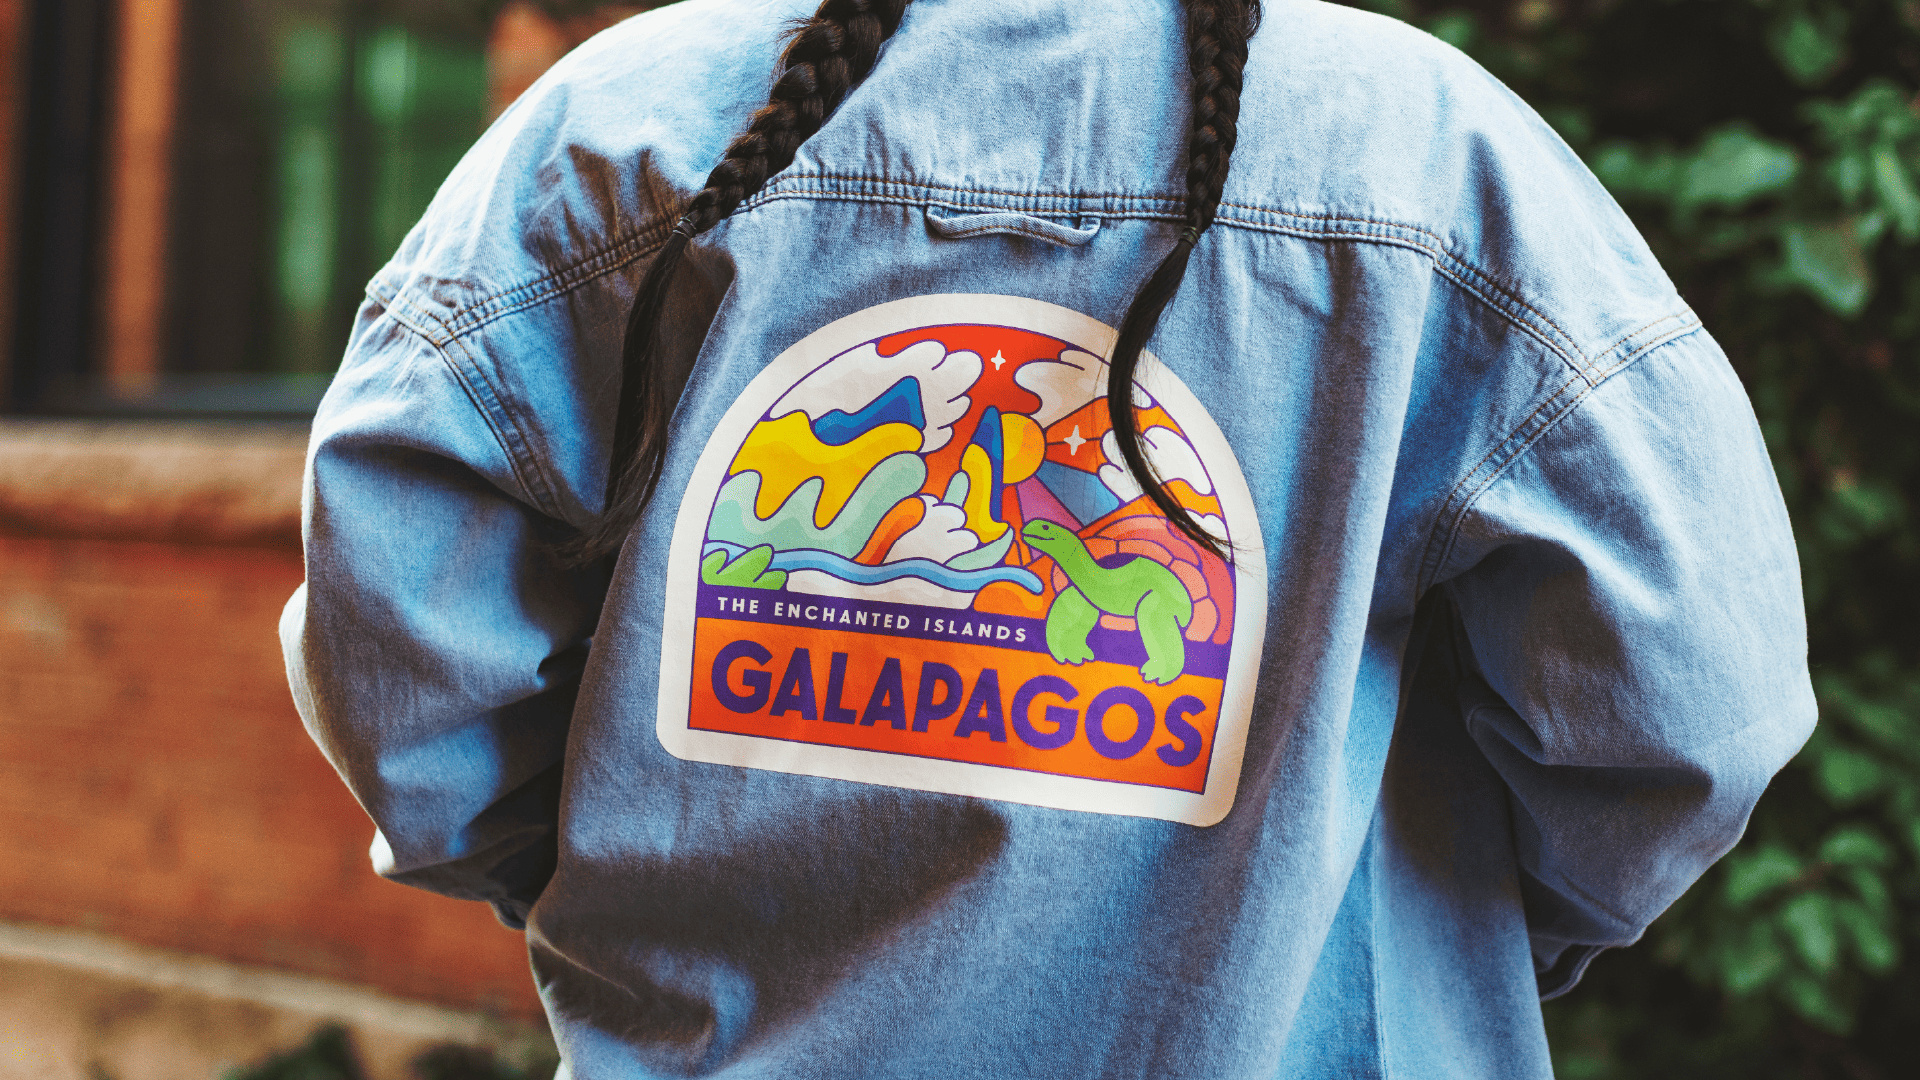
Our DTF transfers feature stunning full-color printing, exceptional durability, and the ability to include intricate details that other methods simply can't match. They apply easily using a regular household iron or heat press — and they stretch with your fabric and stand up to regular washing without cracking or fading.
From custom t-shirts and tote bags to hats, aprons, and team jerseys, the creative possibilities are as wide as your imagination.
So, how do you design for DTF to get the best results? Let’s dive in.
Why DTF transfers are a game-changer
DTF transfers offer full-color, high-detail printing on a wide range of fabrics. Unlike vinyl or screen printing, you don’t need expensive equipment or complicated setup — just apply with heat and you’re good to go.
Benefits of DTF transfers:
- Apply at home with a household iron or heat press
- Handle intricate designs, fine text, and disconnected elements with ease
- Wash and stretch resistant — won’t crack or fade over time
- Suitable for nearly all fabric types, including cotton, polyester, blends, and more
Use them to create:
- Custom t-shirts for your local band's upcoming tour
- Personalized tote bags for a bridal party
- One-of-a-kind hats featuring your artwork
- Team jerseys for your recreational sports league
- Branded aprons for your small business
- Special occasion sweatshirts for family reunions
Design tips for perfect DTF transfers
1. Choose the right size
Your design’s size affects visual impact and wearability.
- Match the item
- A hat or front pocket needs a smaller design than the back of a hoodie.
- Measure the target area
- Before designing, use a ruler or tape measure to figure out how large your design should be.
- Scale appropriately
- Avoid ultra-small text or detail that might lose clarity when scaled down.
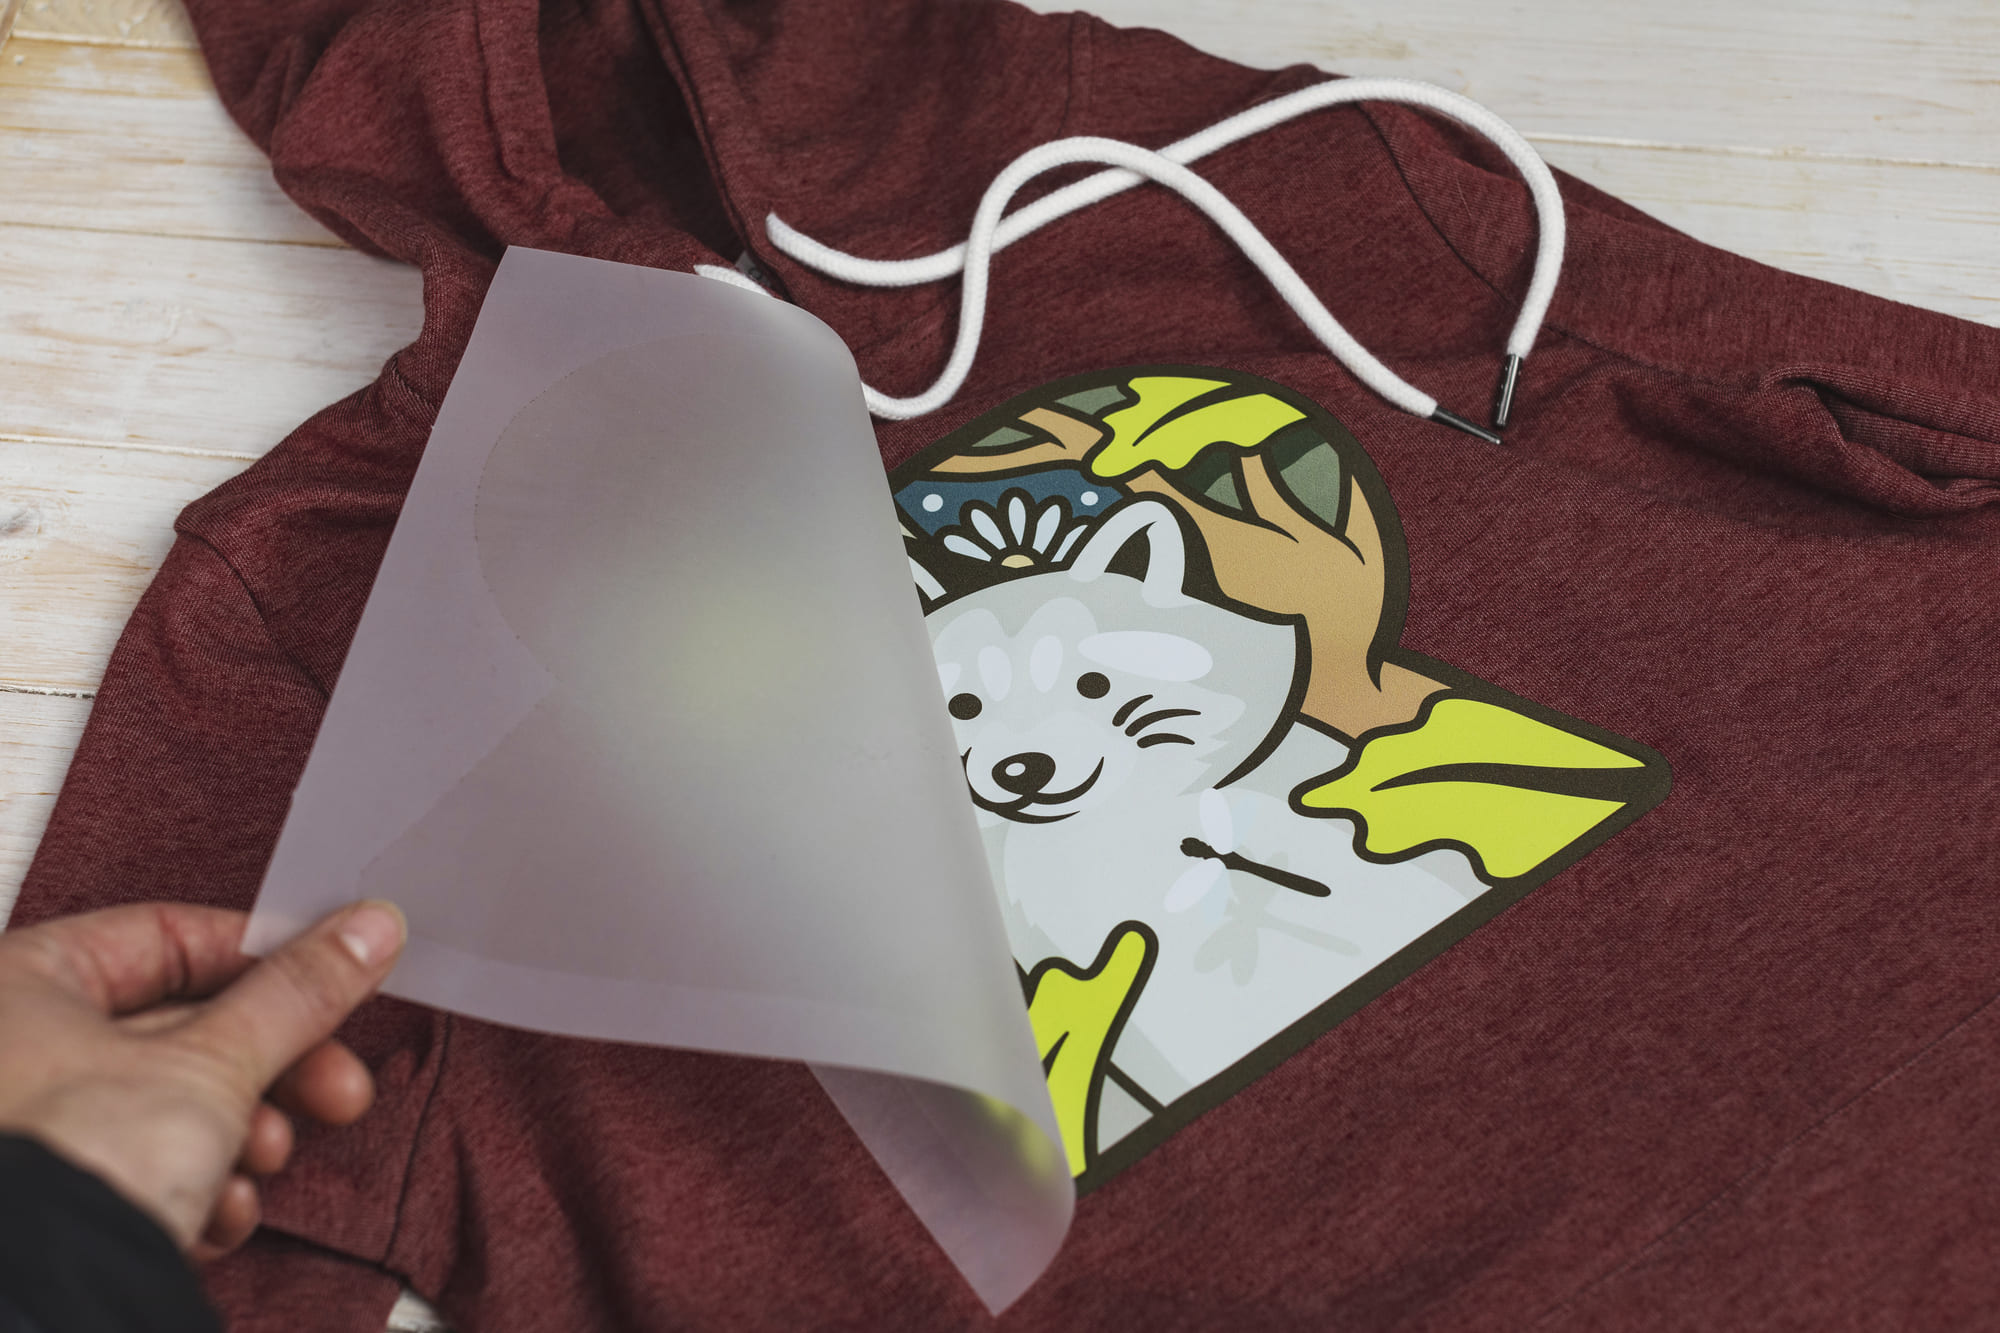
- Test before committing
- Print a paper template at actual size to visualize how your design will look on the garment.
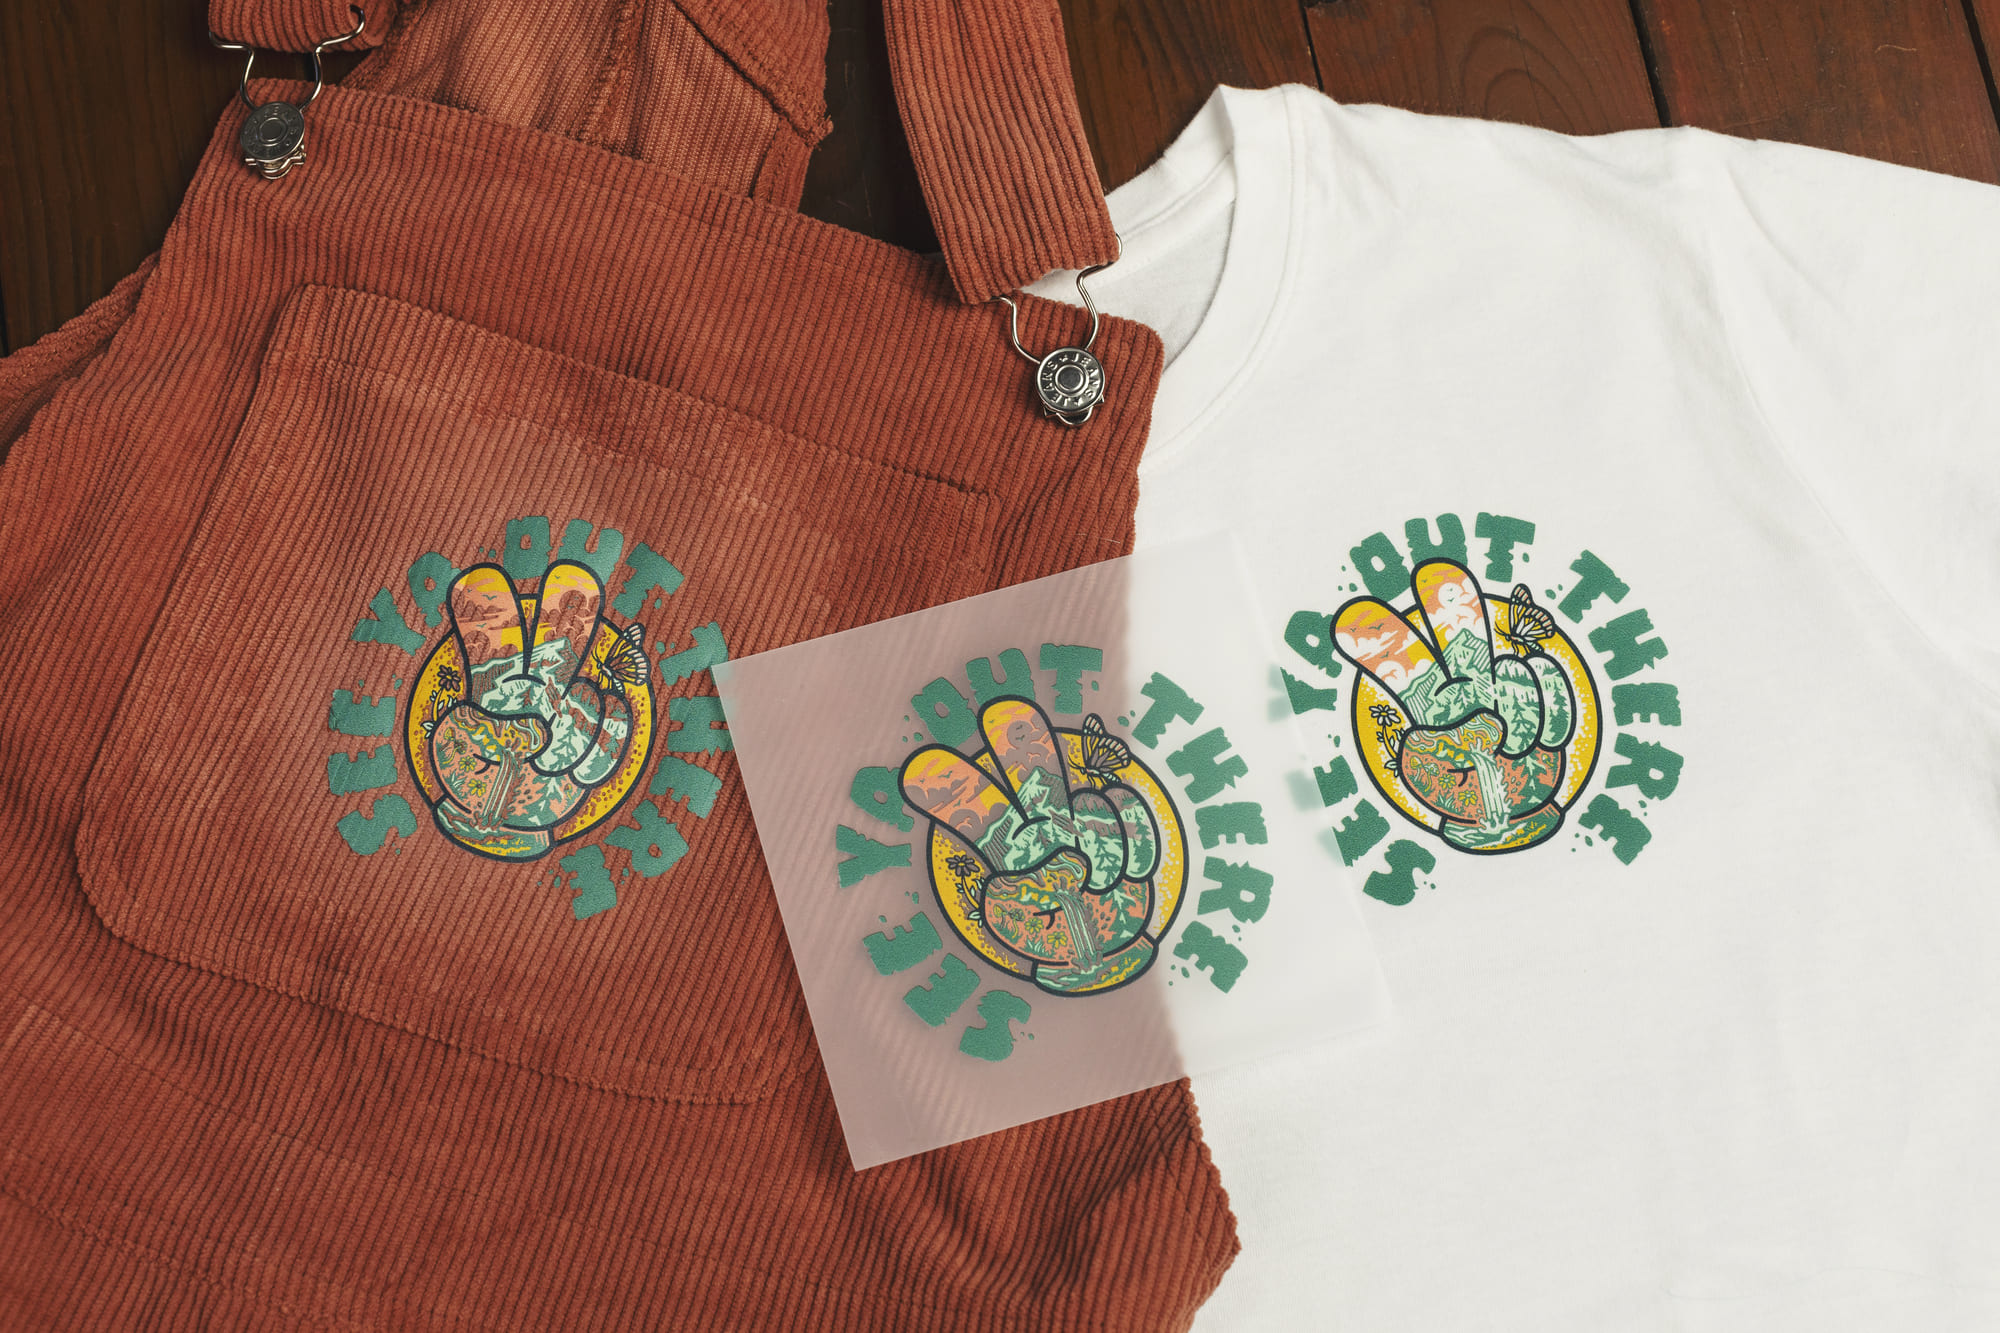
2. Create realistic mockups
Seeing your design in context before production can save time and prevent mistakes.
- Use digital mockup templates
- Many design programs offer clothing templates where you can place your artwork, such as Photoshop, Canva, or our own Sticker Mule Studio.
- Put your design on a photo
- Photograph the actual garment or a piece of fabric and place your design on top of it to see what it'll look like.
- Try the “pin method”
- Print your design and pin it to the garment to visualize your ideal placement.
- Consider fabric texture — Remember that different fabrics will affect how your design appears once applied.
3. Follow smart design principles
When creating designs specifically for DTF transfers, keep these guidelines in mind:
- Embrace what makes DTF unique
- Unlike regular stickers or vinyl cuts, DTF transfers can handle disconnected elements. Think letters with inner spaces or designs with multiple separate components.
- Balance complexity
- Even though DTF can handle intricate details, overly complex designs might be harder to align properly during application.
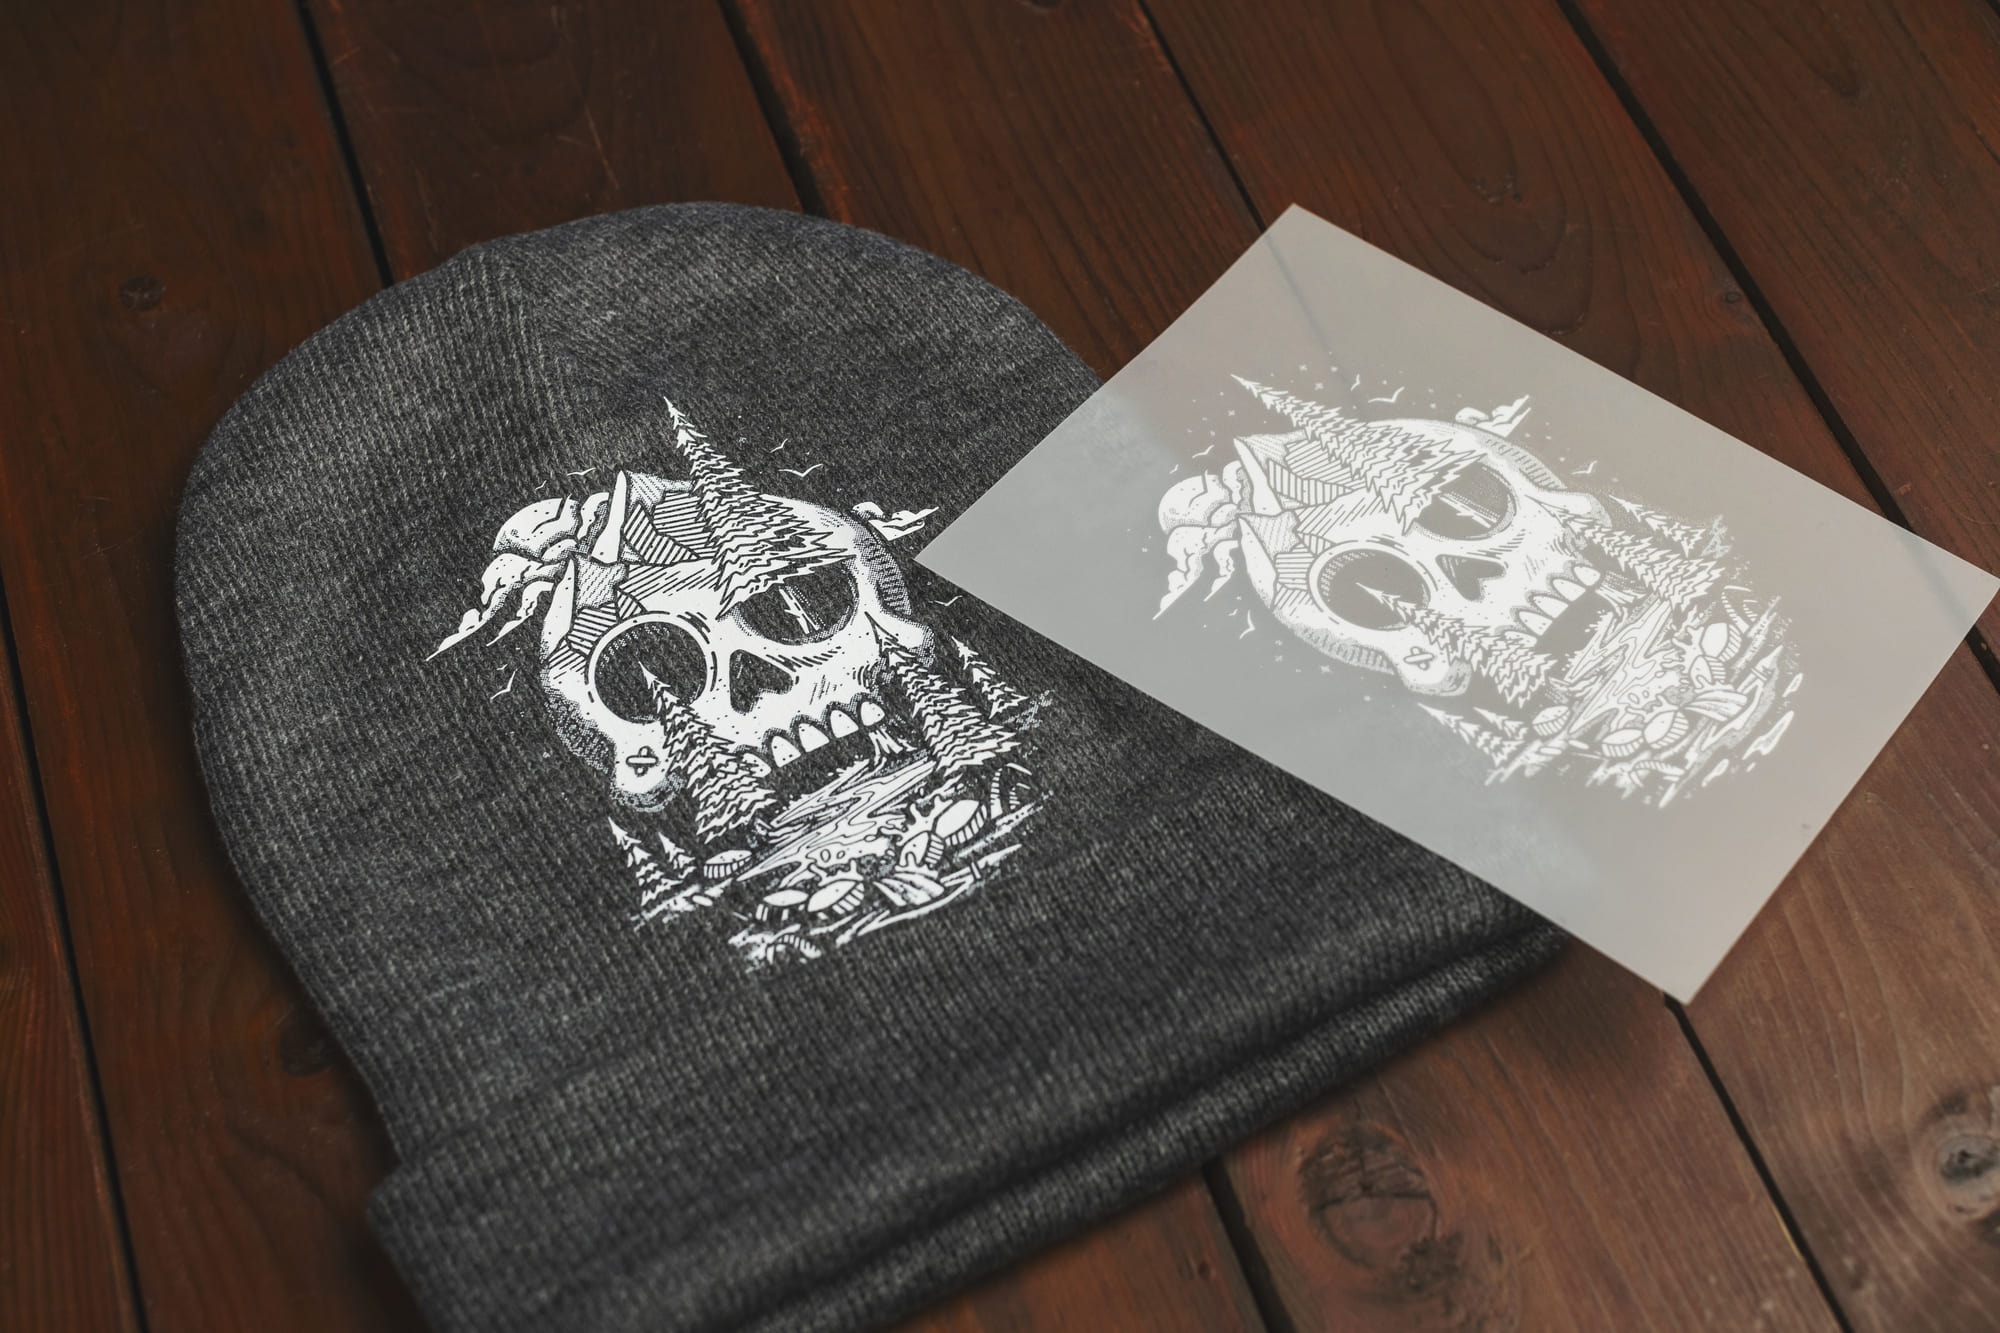
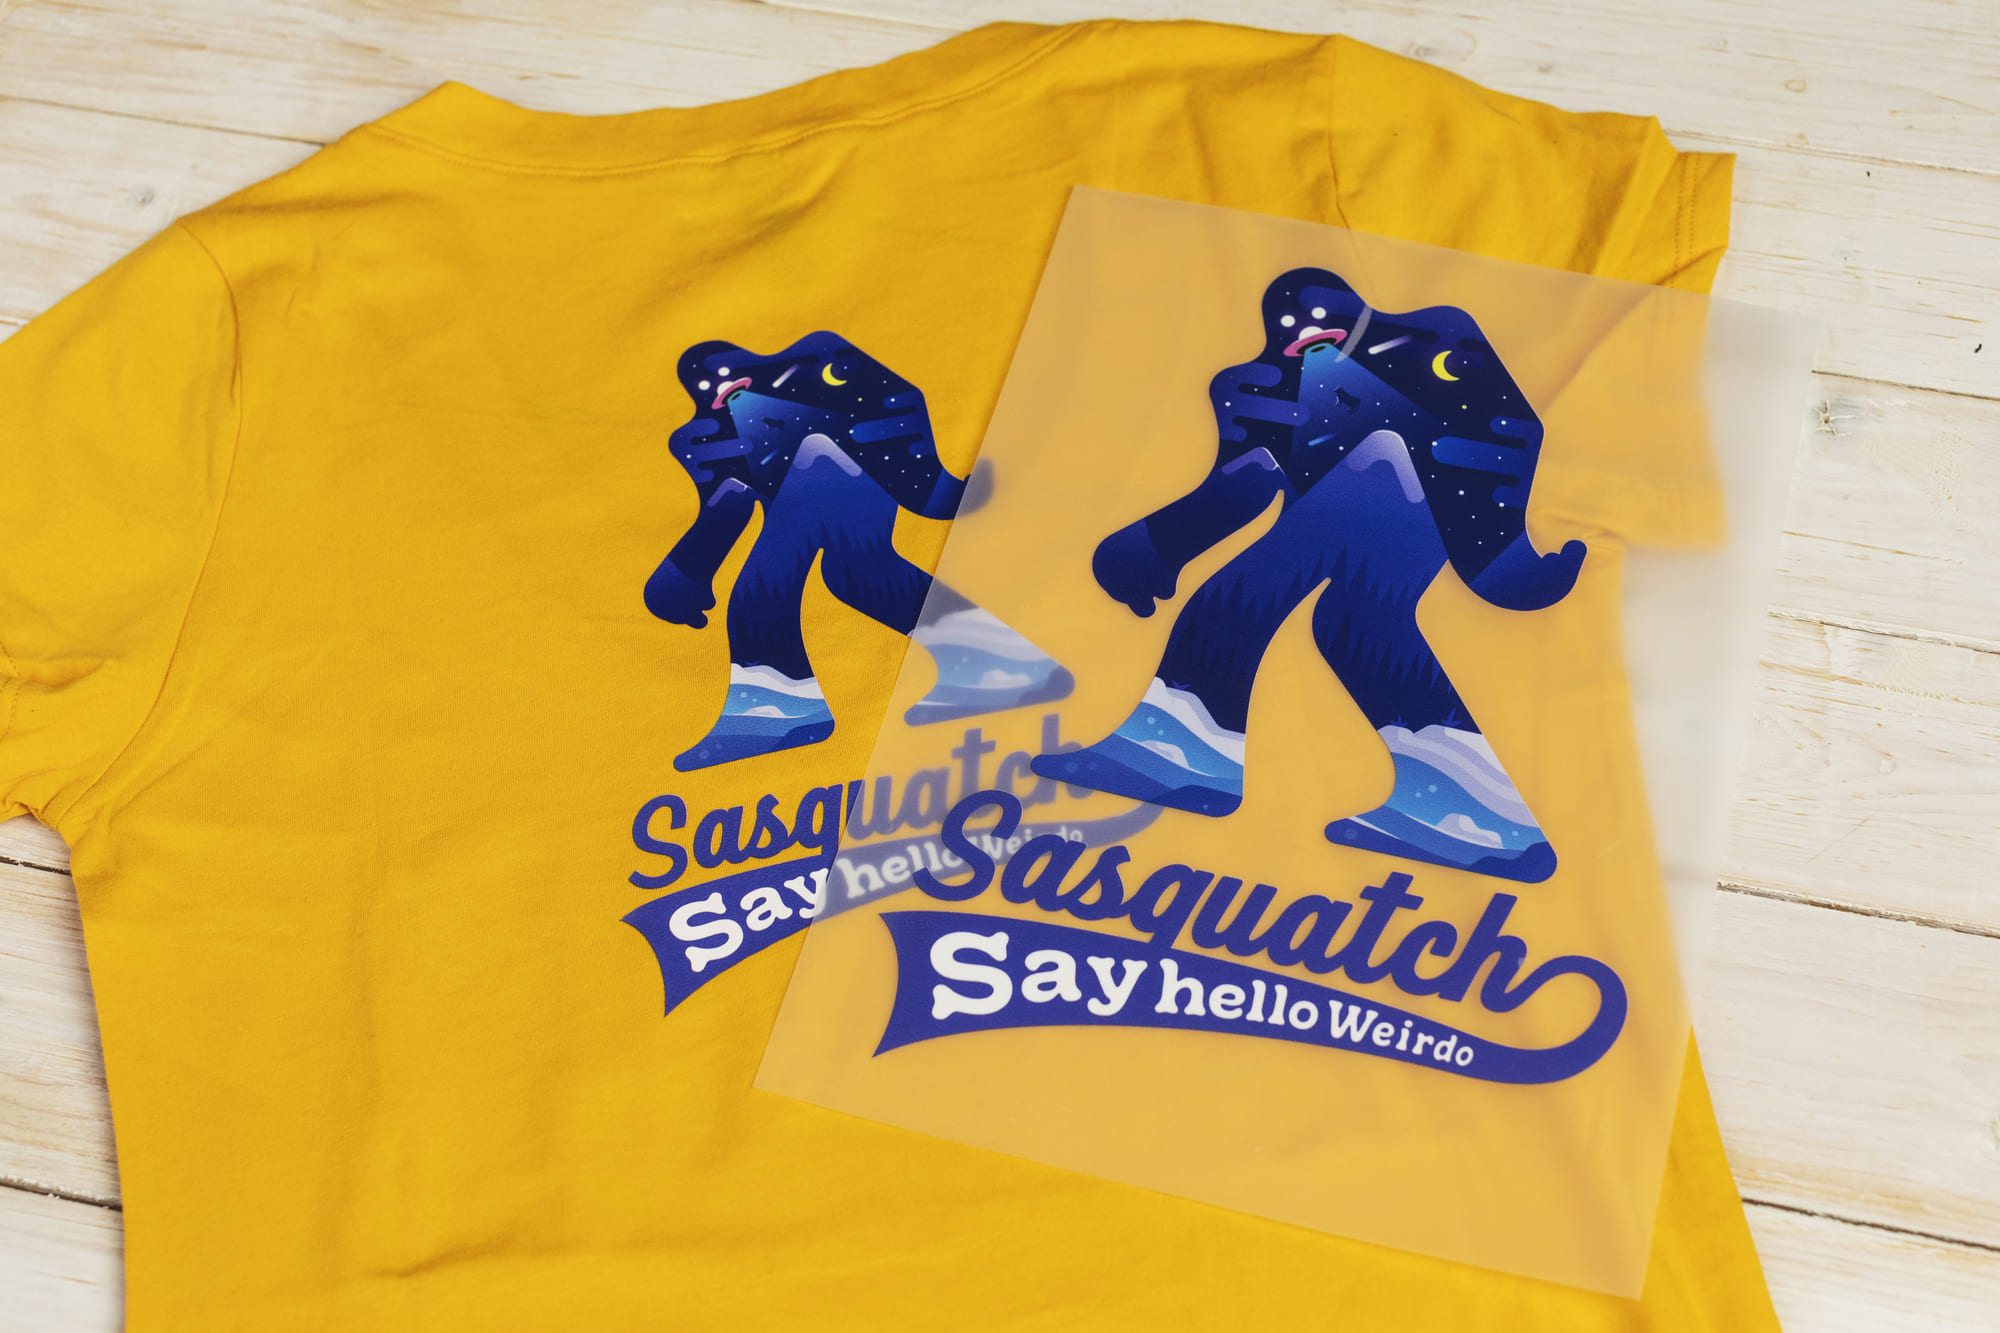
- Design with garment color in mind
- Your design will look different on different fabric colors. What looks great on white may need adjustments for black or a bright color.
- Optimize image resolution
- Use vector files or high quality bitmap images (300 DPI minimum) to make sure you get crisp, clear results.
4. Pick your colors wisely
The right color choices can make or break your DTF transfer design:
- Solid colors for iconic impact
- For logo designs or bold statements, consider using solid colors with clean edges. They create an instantly recognizable, professional look.
- Check color contrast
- Make sure to apply proper contrast between elements in your design and against the fabric background.
- Remember CMYK translation
- What you see on screen (RGB) might print slightly differently in the CMYK process used for DTF transfers. Use a free online converter such as Convert a Color to make any tweaks before exporting.
- Use color strategically
- Limit your palette to 3-5 colors for the most cohesive and striking designs but feel free to experiment with this!
5. Perfect placement
Strategic placement improves the overall impact of your design:
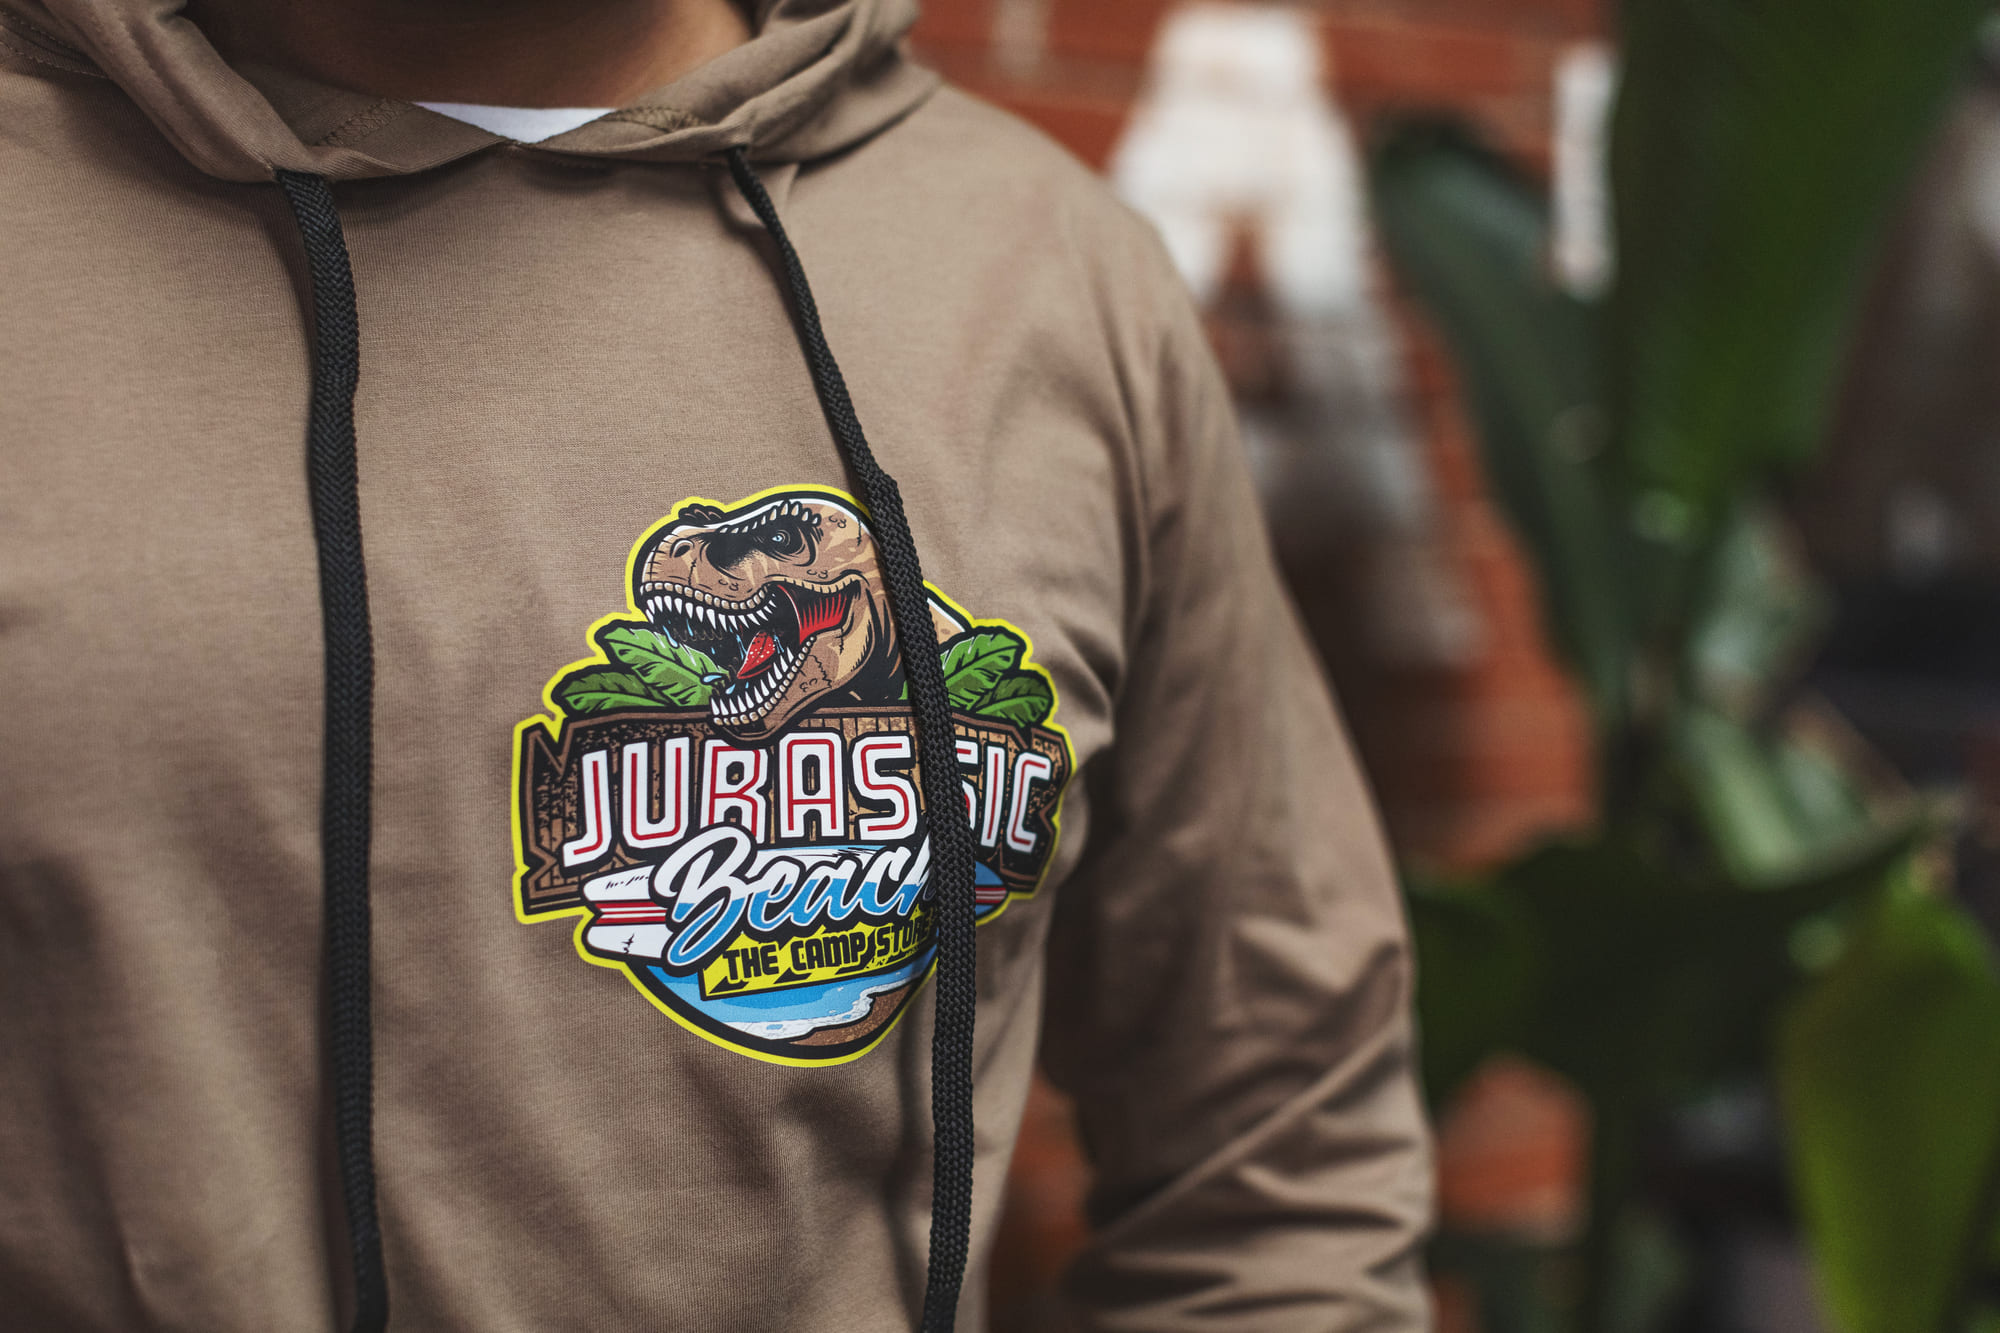
- Follow traditional locations
- Center chest, left/right chest pocket area, full back, and sleeve placements are standard for a reason. They're visually balanced.
- Consider garment seams
- Avoid placing designs where they'll cross seams or pockets, which can distort the image over time.
- Use the "rule of thirds"
- Divide your garment into thirds both horizontally and vertically, and place focal points of your design where these lines intersect.
- Account for different body sizes
- A design that looks perfectly centered on a small shirt might appear off-balance on larger sizes.
Applying your DTF transfers
Once your perfect design has arrived, application is refreshingly straightforward. Visit our guides on how to apply DTF transfers using an iron or a heat press.
Ready to turn your designs into wearable artwork?
DTF transfers represent the perfect balance between professional results and DIY accessibility. Whether you're a seasoned designer or creative hobbyist, they offer an exciting new way to express your creativity on fabric.
Ready to get started? Have a look at our DTF transfers to turn your designs into high-quality, durable transfers with 4 days turnaround and free shipping. Your custom apparel dreams are now easier than ever!