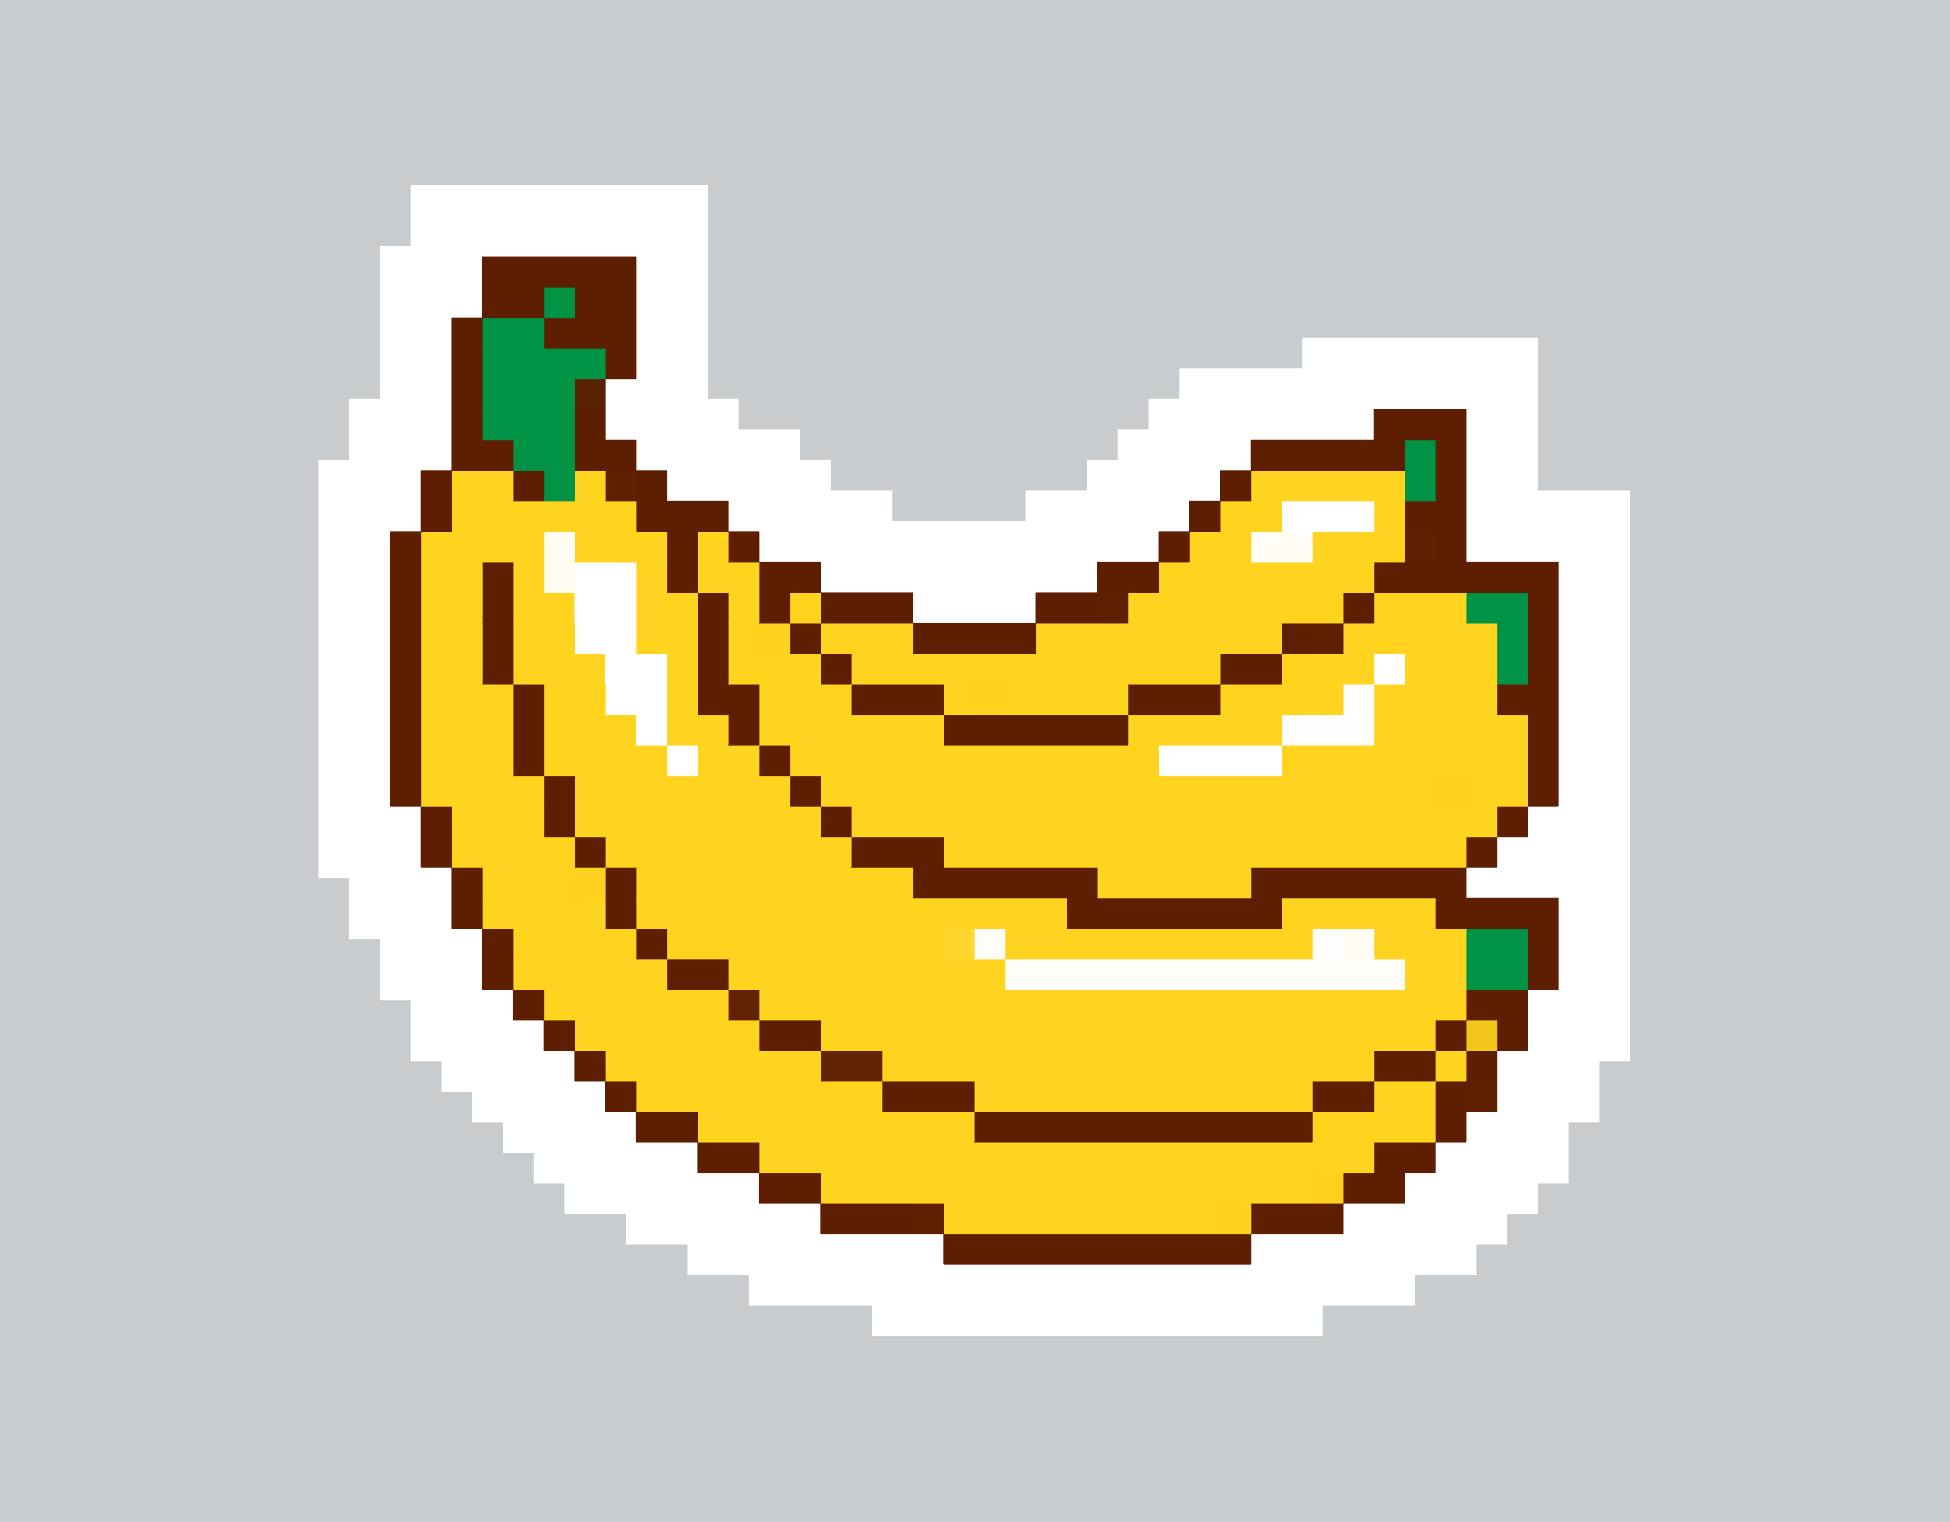
Come creare pixel art in Adobe Illustrator
Pubblicato da Miles Wright il
Chi avrebbe mai detto 30 anni fa che oggi avremmo creato pixel art su Adobe Illustrator? All'epoca, sognavmo schermi ad altissima risoluzione e ci auguravamo che la pixelizzazione scomparisse definitivamente dalle nostre vite. La Generazione X e i Millennials iniziano però a ricordare con nostalgia i "bei vecchi tempi" di Mario, Sonic e Pokemon, ed ecco che la pixel art non è mai stata così popolare. Si tratta ormai di una scelta artistica alla moda e deliberata per giochi indie, arte digitale e, sì, adesivi.
Creare pixel art dall'aspetto autentico può essere una sfida. Sebbene alcuni artisti pixel famosi come Eboy abbiano iniziato con Photoshop, Illustrator è ancora il software più adatto quando si tratta di progetti simili. Sai com'è, vettori e roba simile.
Probabilmente hai già provato a impilare quadratini uno per uno, ma questo metodo può richiedere ore ed è veramente difficile, specialmente con illustrazioni più grandi che richiedono più pixel.
L'intelligenza artificiale è un'altra opzione, ma lavorando con le grafiche generate dall'IA scoprirai che questa ha il suo "stile" artistico. Man mano che i design chiaramente generati dall'IA saturano il mercato, la domanda di arte autentica, creata dall'uomo, tenderà a crescere, e non il contrario. Ecco perché, come artista, è una buona idea padroneggiare le tecniche adeguate e prendere provvedimenti per far sì che la tua "umanità" emerga in modo inequivocabile.
Noi siamo qui a facilitarti il compito così che ti bastino pochi minuti.
Come creare rapidamente pixel art su Adobe Illustrator
Passo 1 - Seleziona il tuo oggetto
Seleziona l'oggetto che vuoi convertire in pixel art. Può essere un'illustrazione, una fotografia o qualsiasi altra cosa. Se è un'illustrazione vettoriale che hai già creato, assicurati di fare uno screenshot o esportarla come JPG/PNG prima, poiché questo metodo funziona solo su immagini bitmap.
Passo 2 - Imposta il numero di pixel
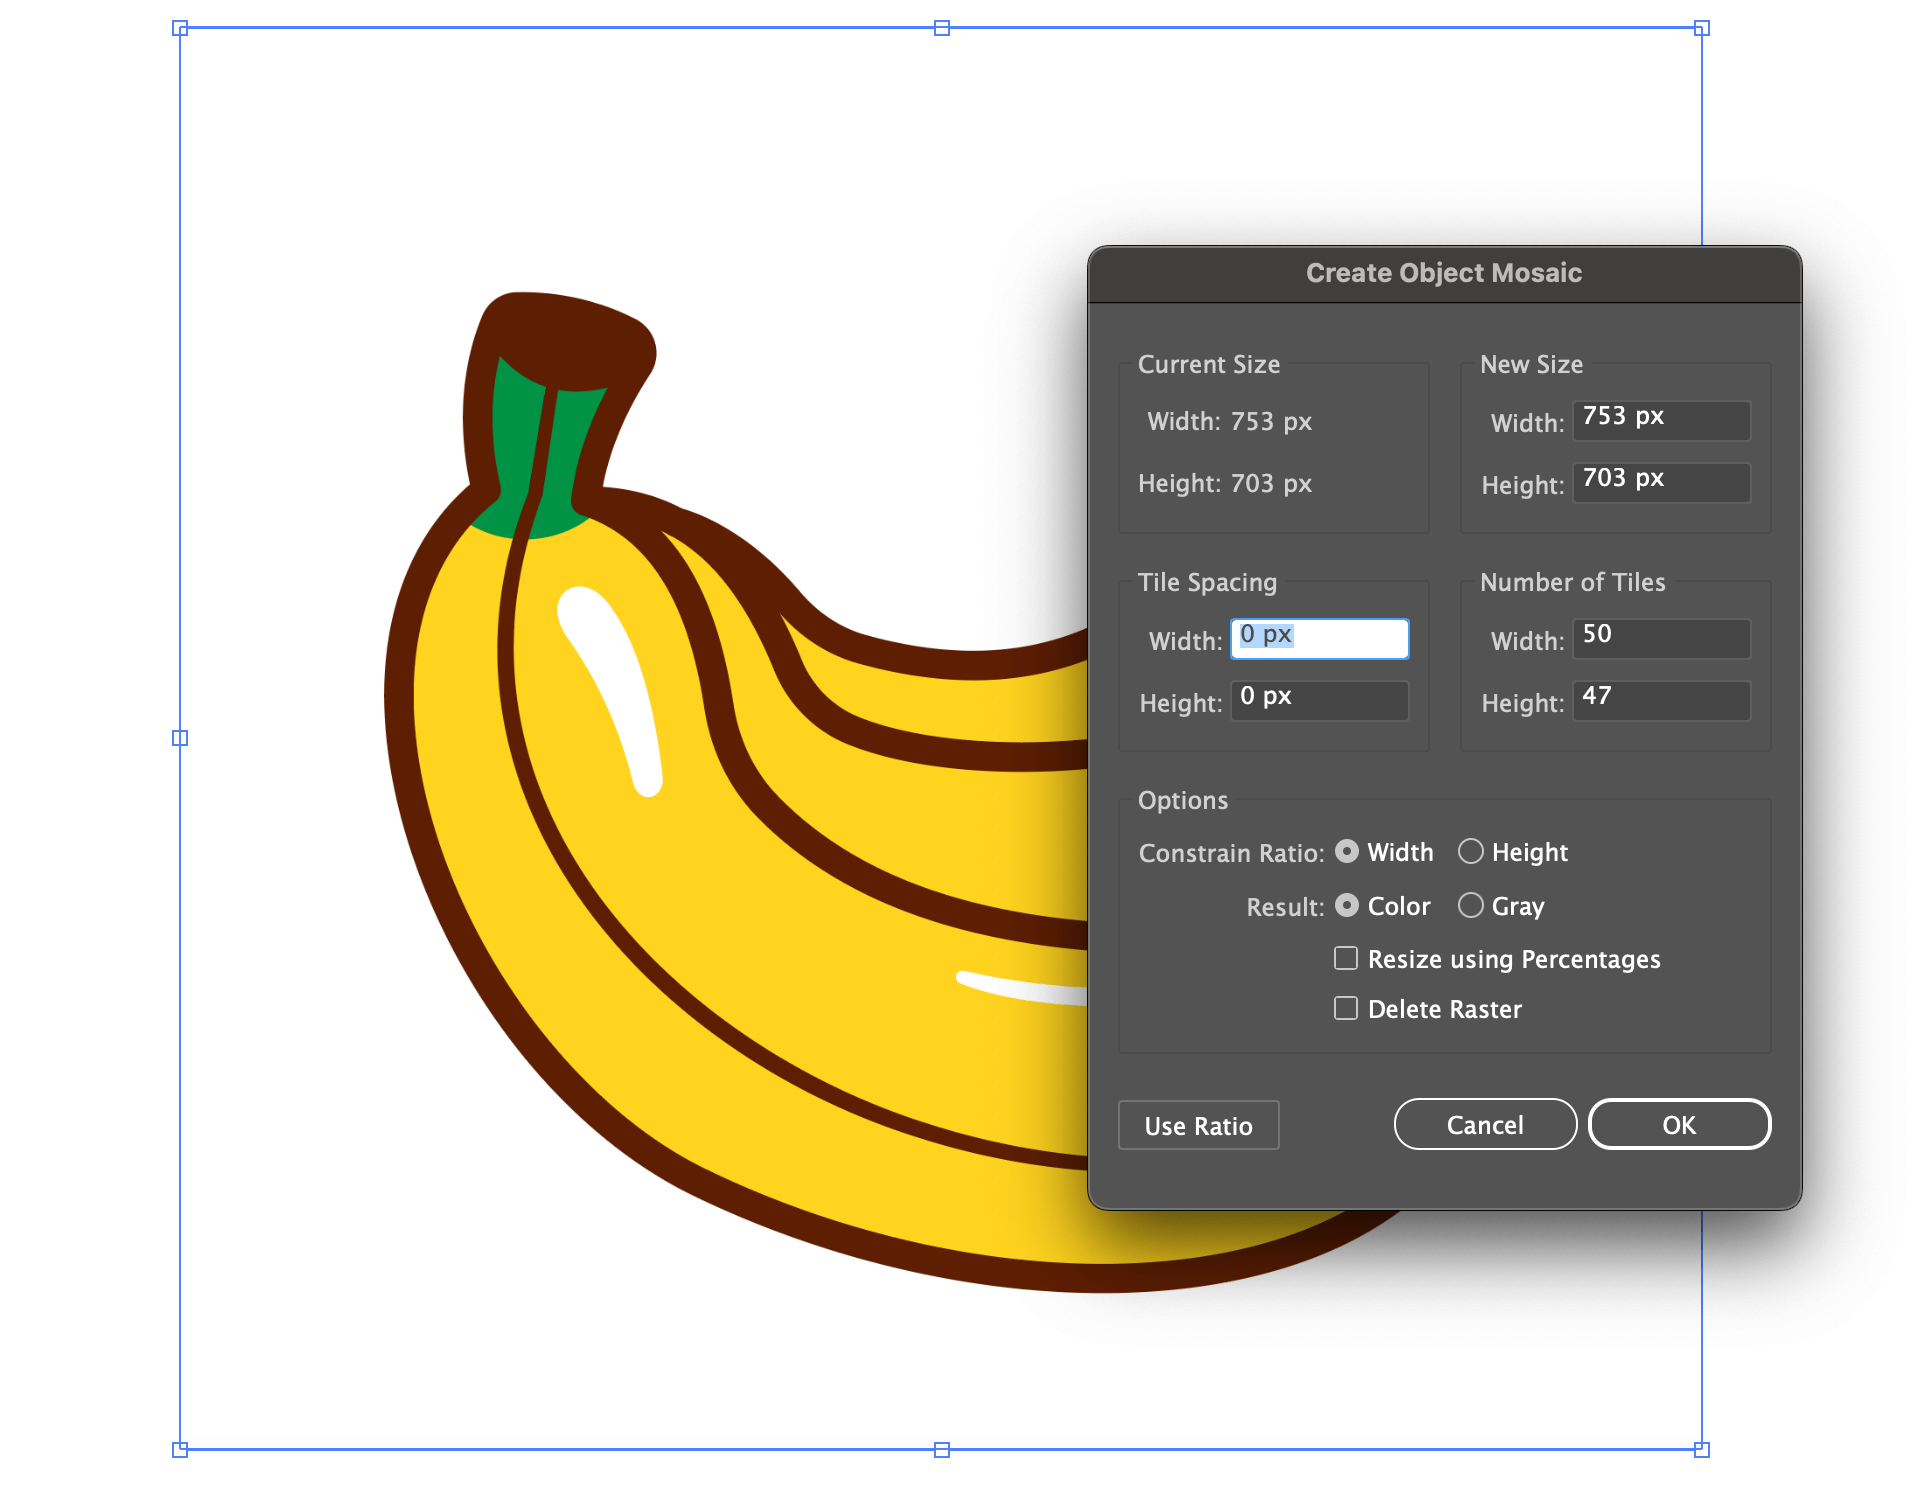
Vai su Oggetto > Crea Mosaico Oggetto. Imposta il numero di pixel che desideri ottenere orizzontalmente/verticalmente e clicca su Usa Rapporto per ottenere pixel orientati a quadrato. Premi OK.
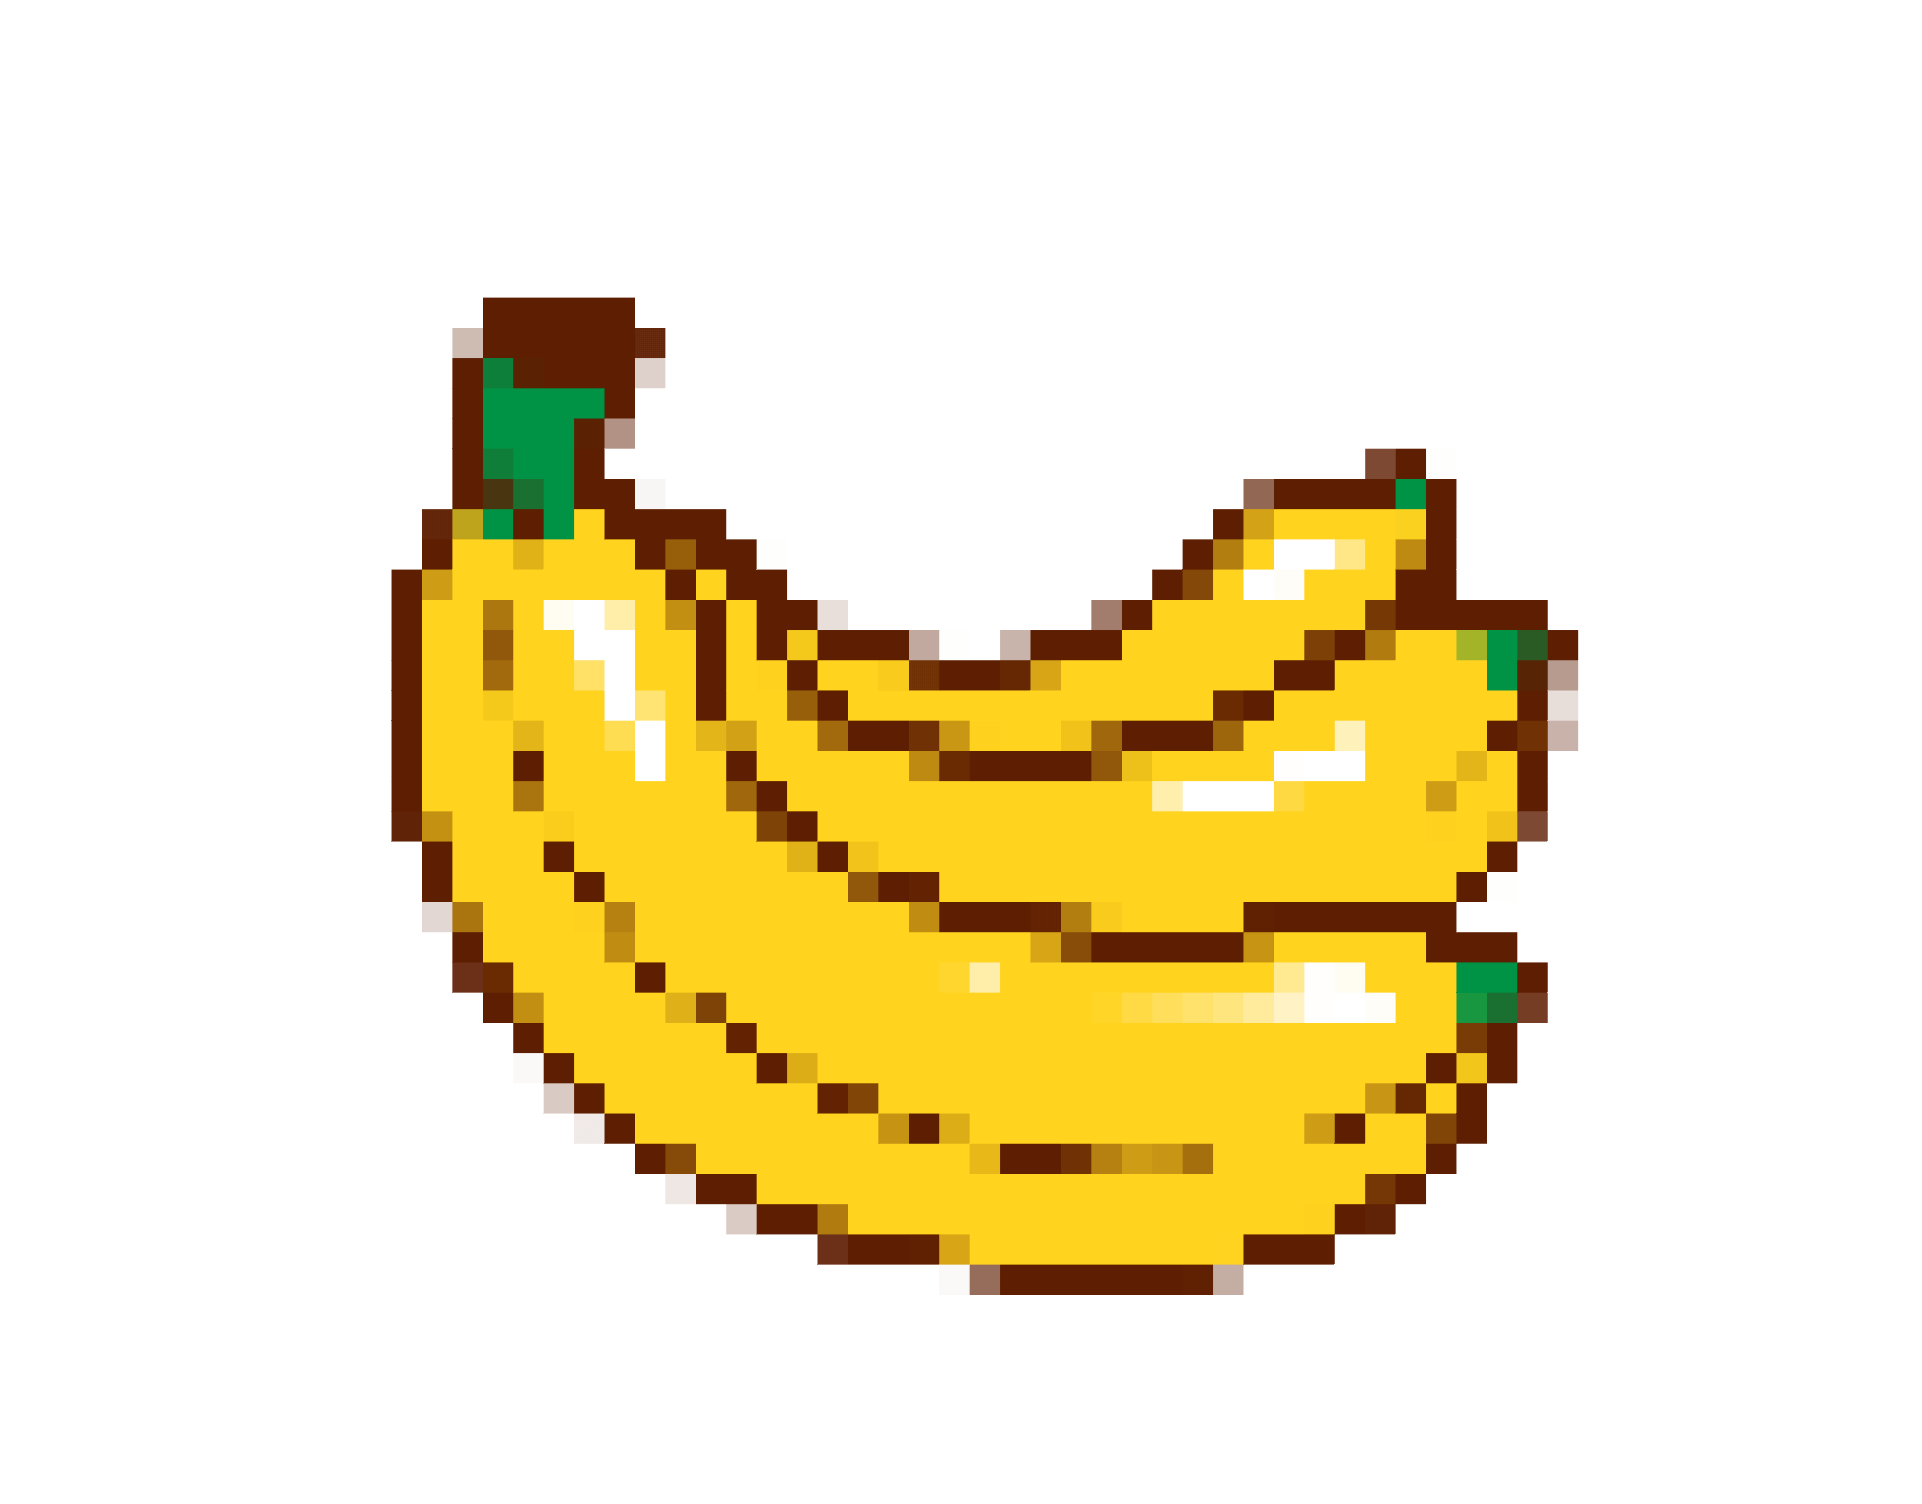
Passo 3 - Rimuovi i pixel di sfondo
Usa lo Strumento Selezione Diretta (A) e seleziona uno dei pixel di sfondo. Poi, vai su Seleziona > Stesso > Colore di Riempimento e premi Backspace (⌫) per rimuoverli tutti in una volta.
Passo 4 - Rimuovi l'immagine sottostante
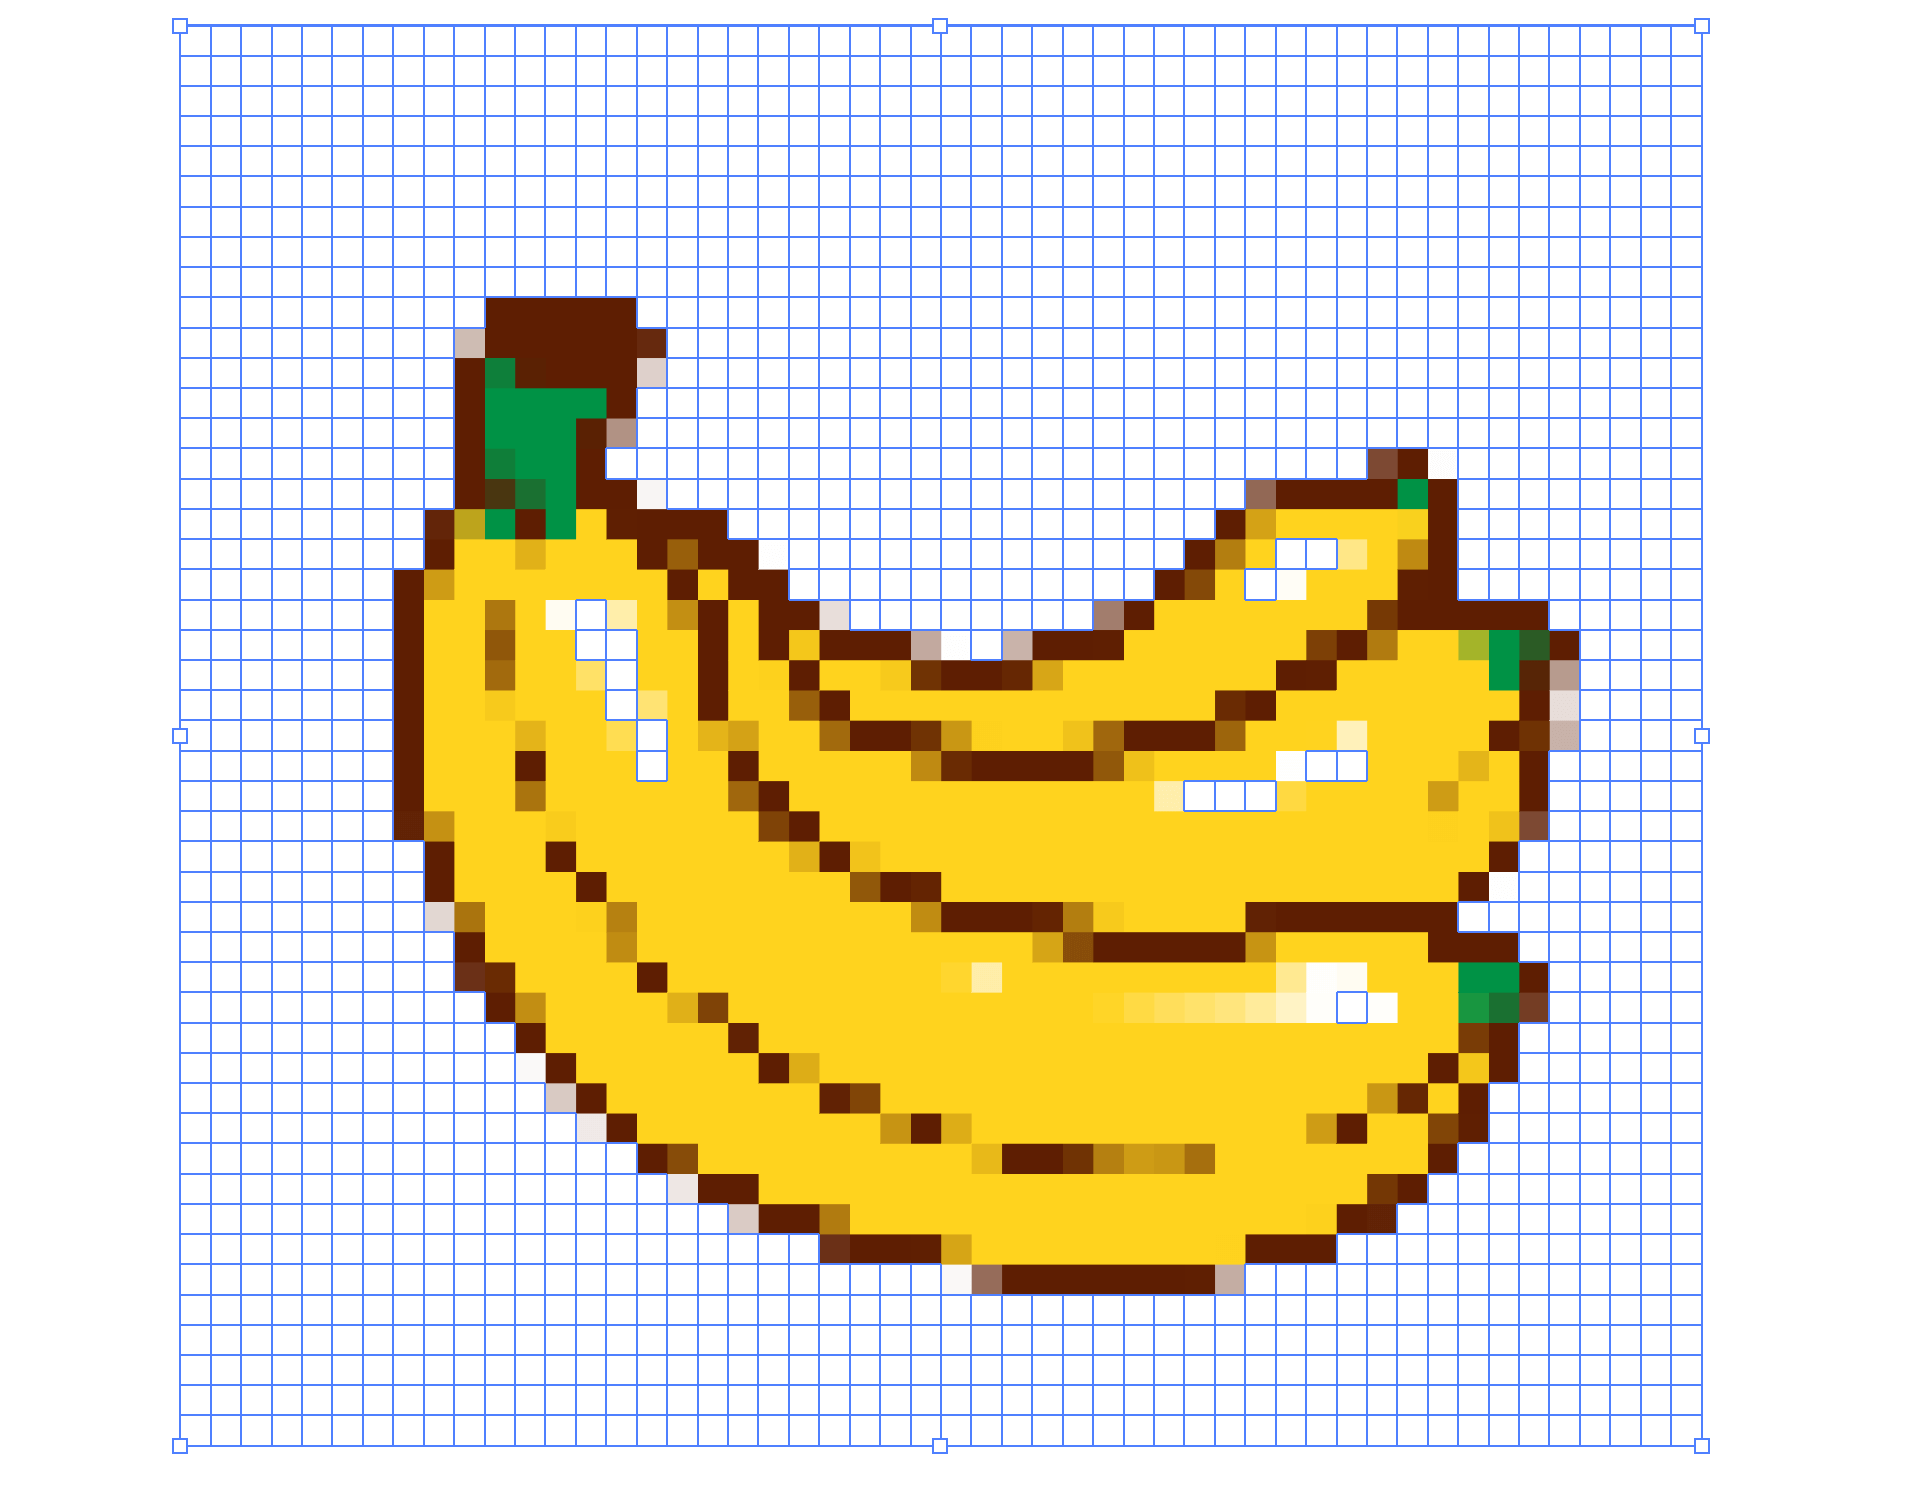
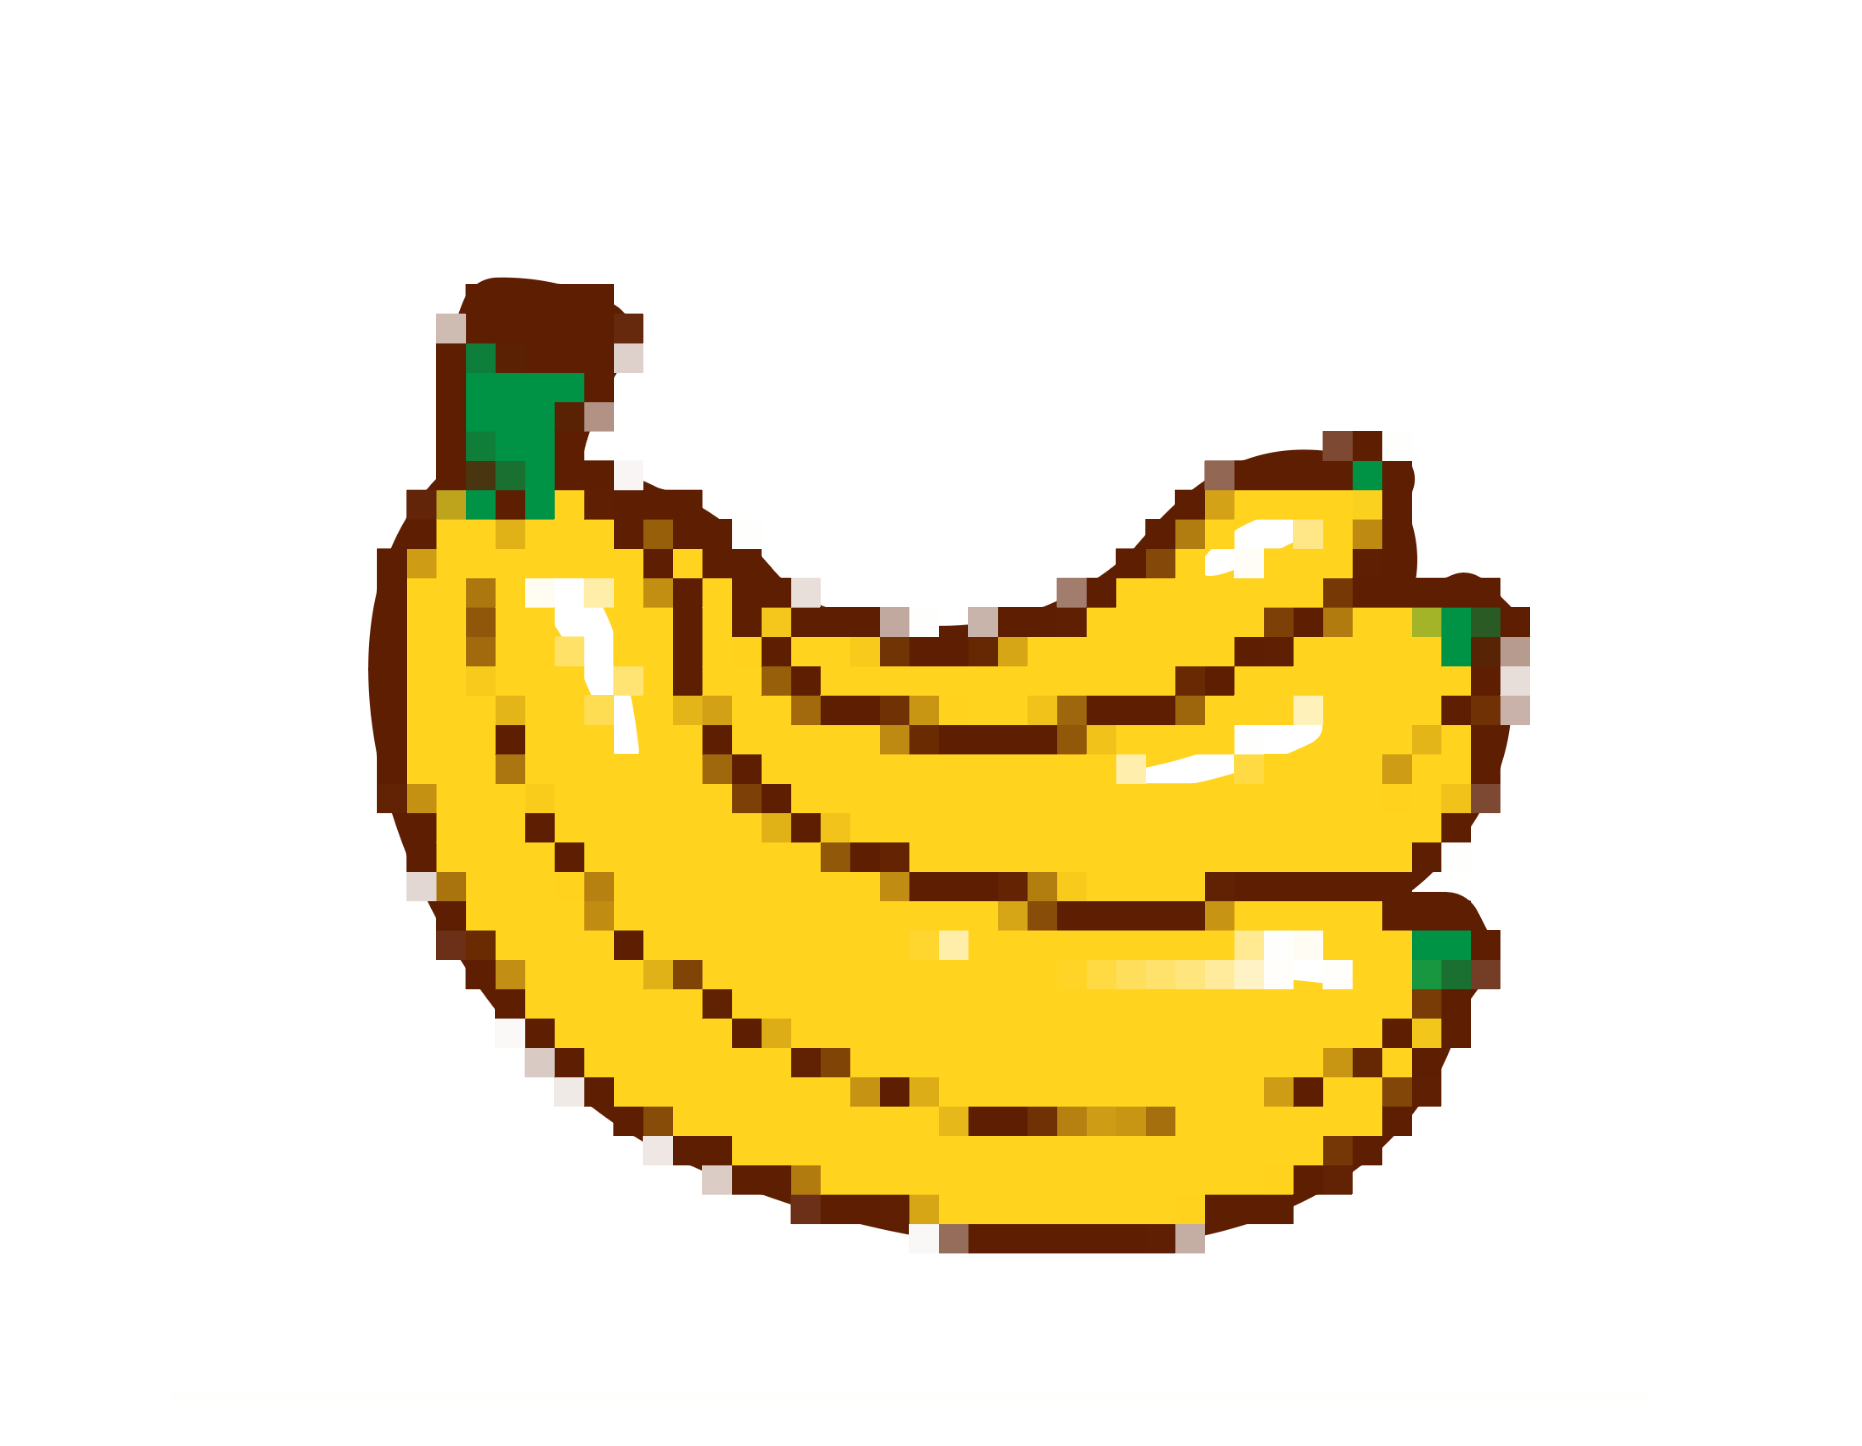
Per qualche motivo, Illustrator mantiene l'immagine originale sotto all'effetto:
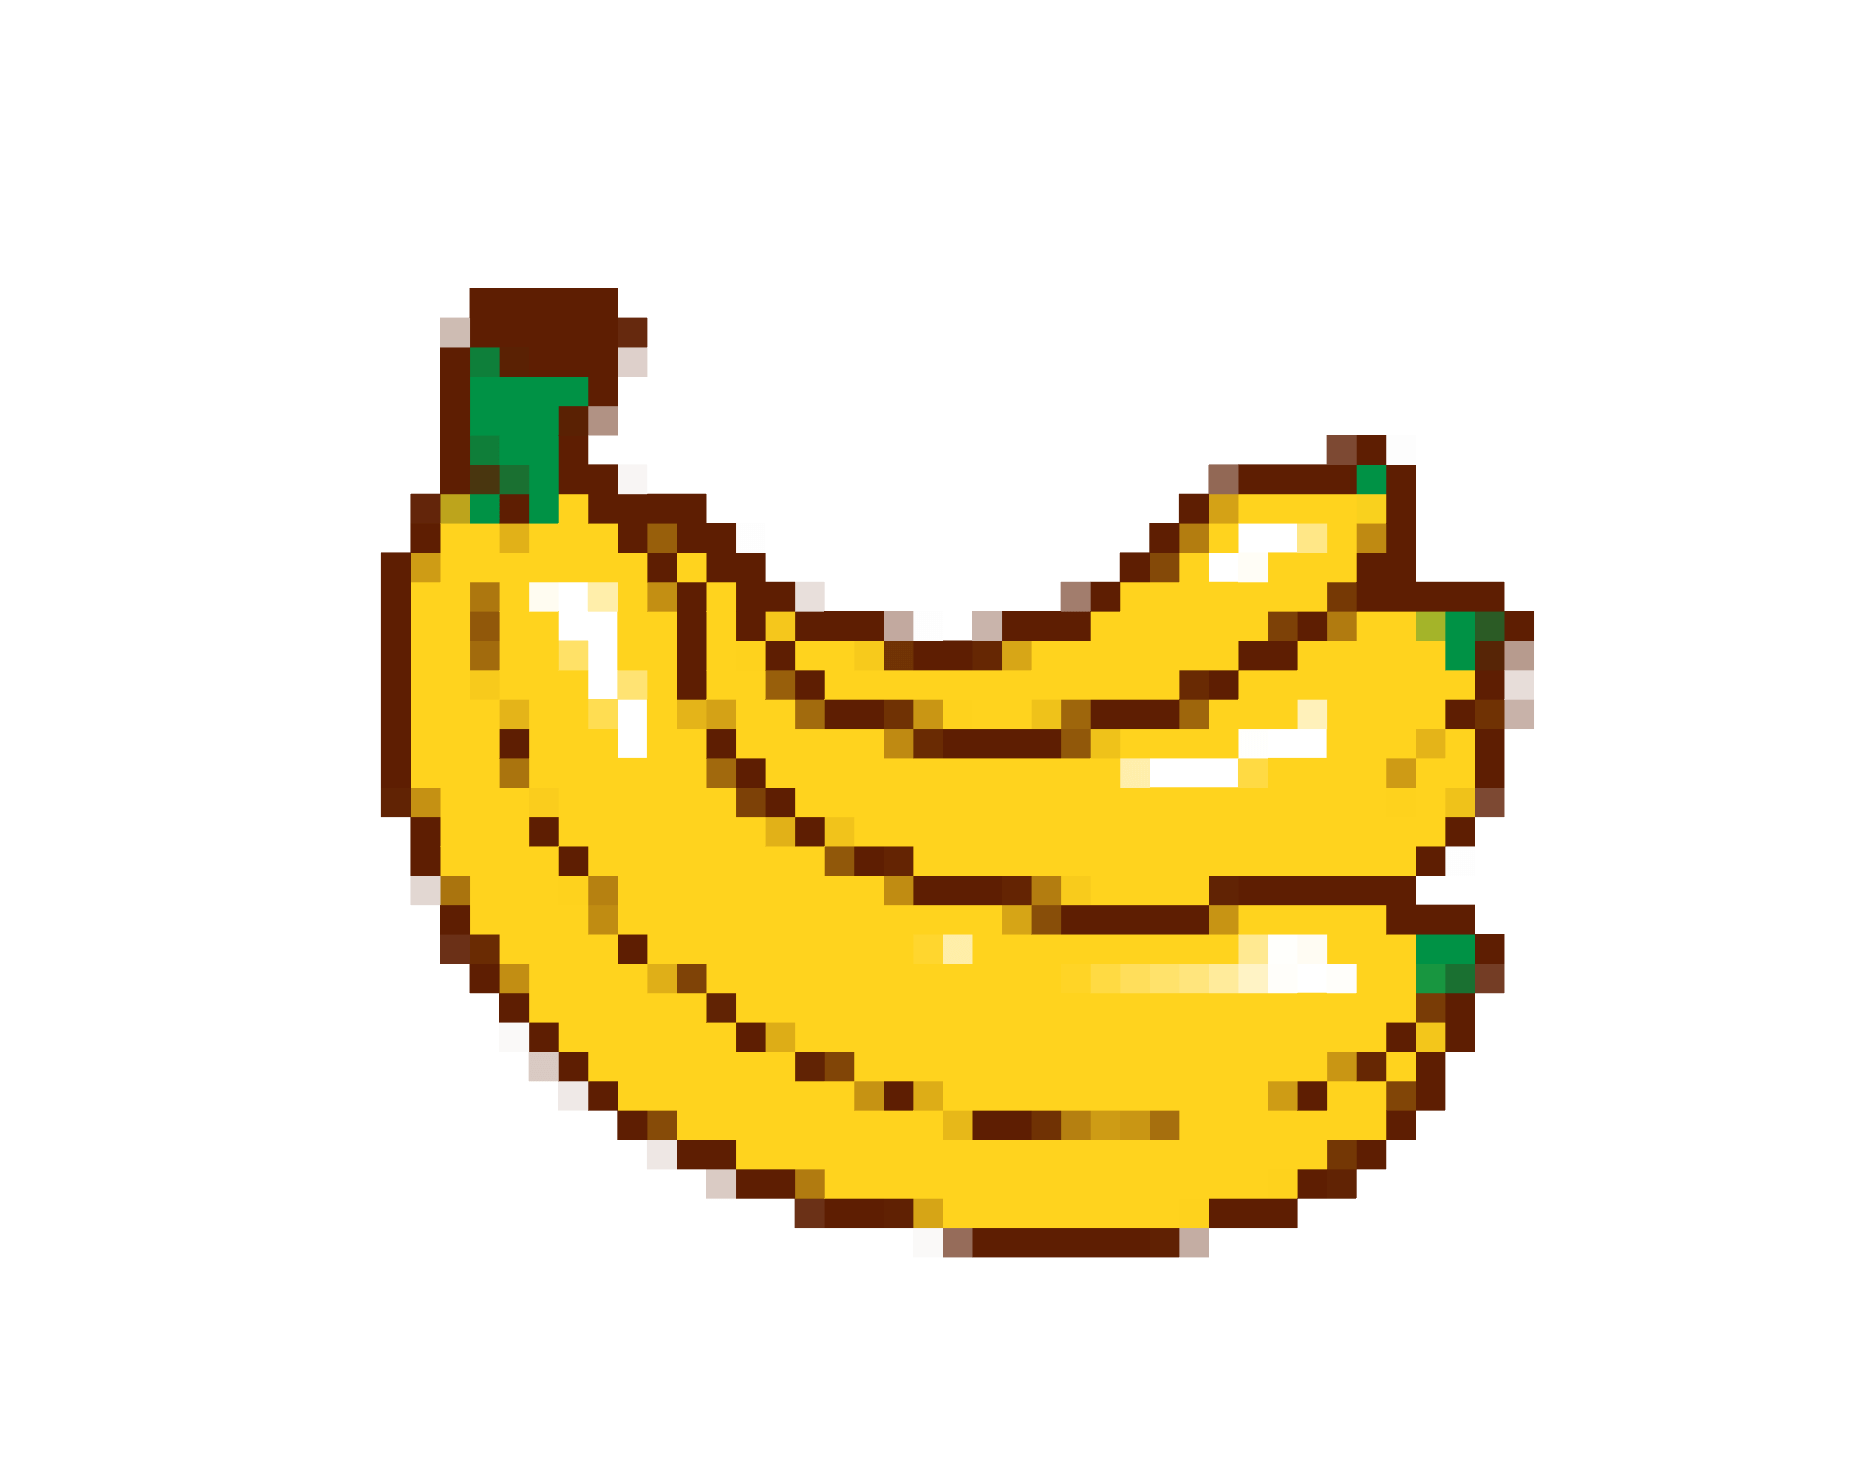
Per risolvere questo, vai di nuovo allo Strumento Selezione Diretta (A), seleziona quell'immagine sottostante e rimuovila usando Backspace (⌫). Molto meglio!
Passo 5 - Ripulisci i pixel indesiderati
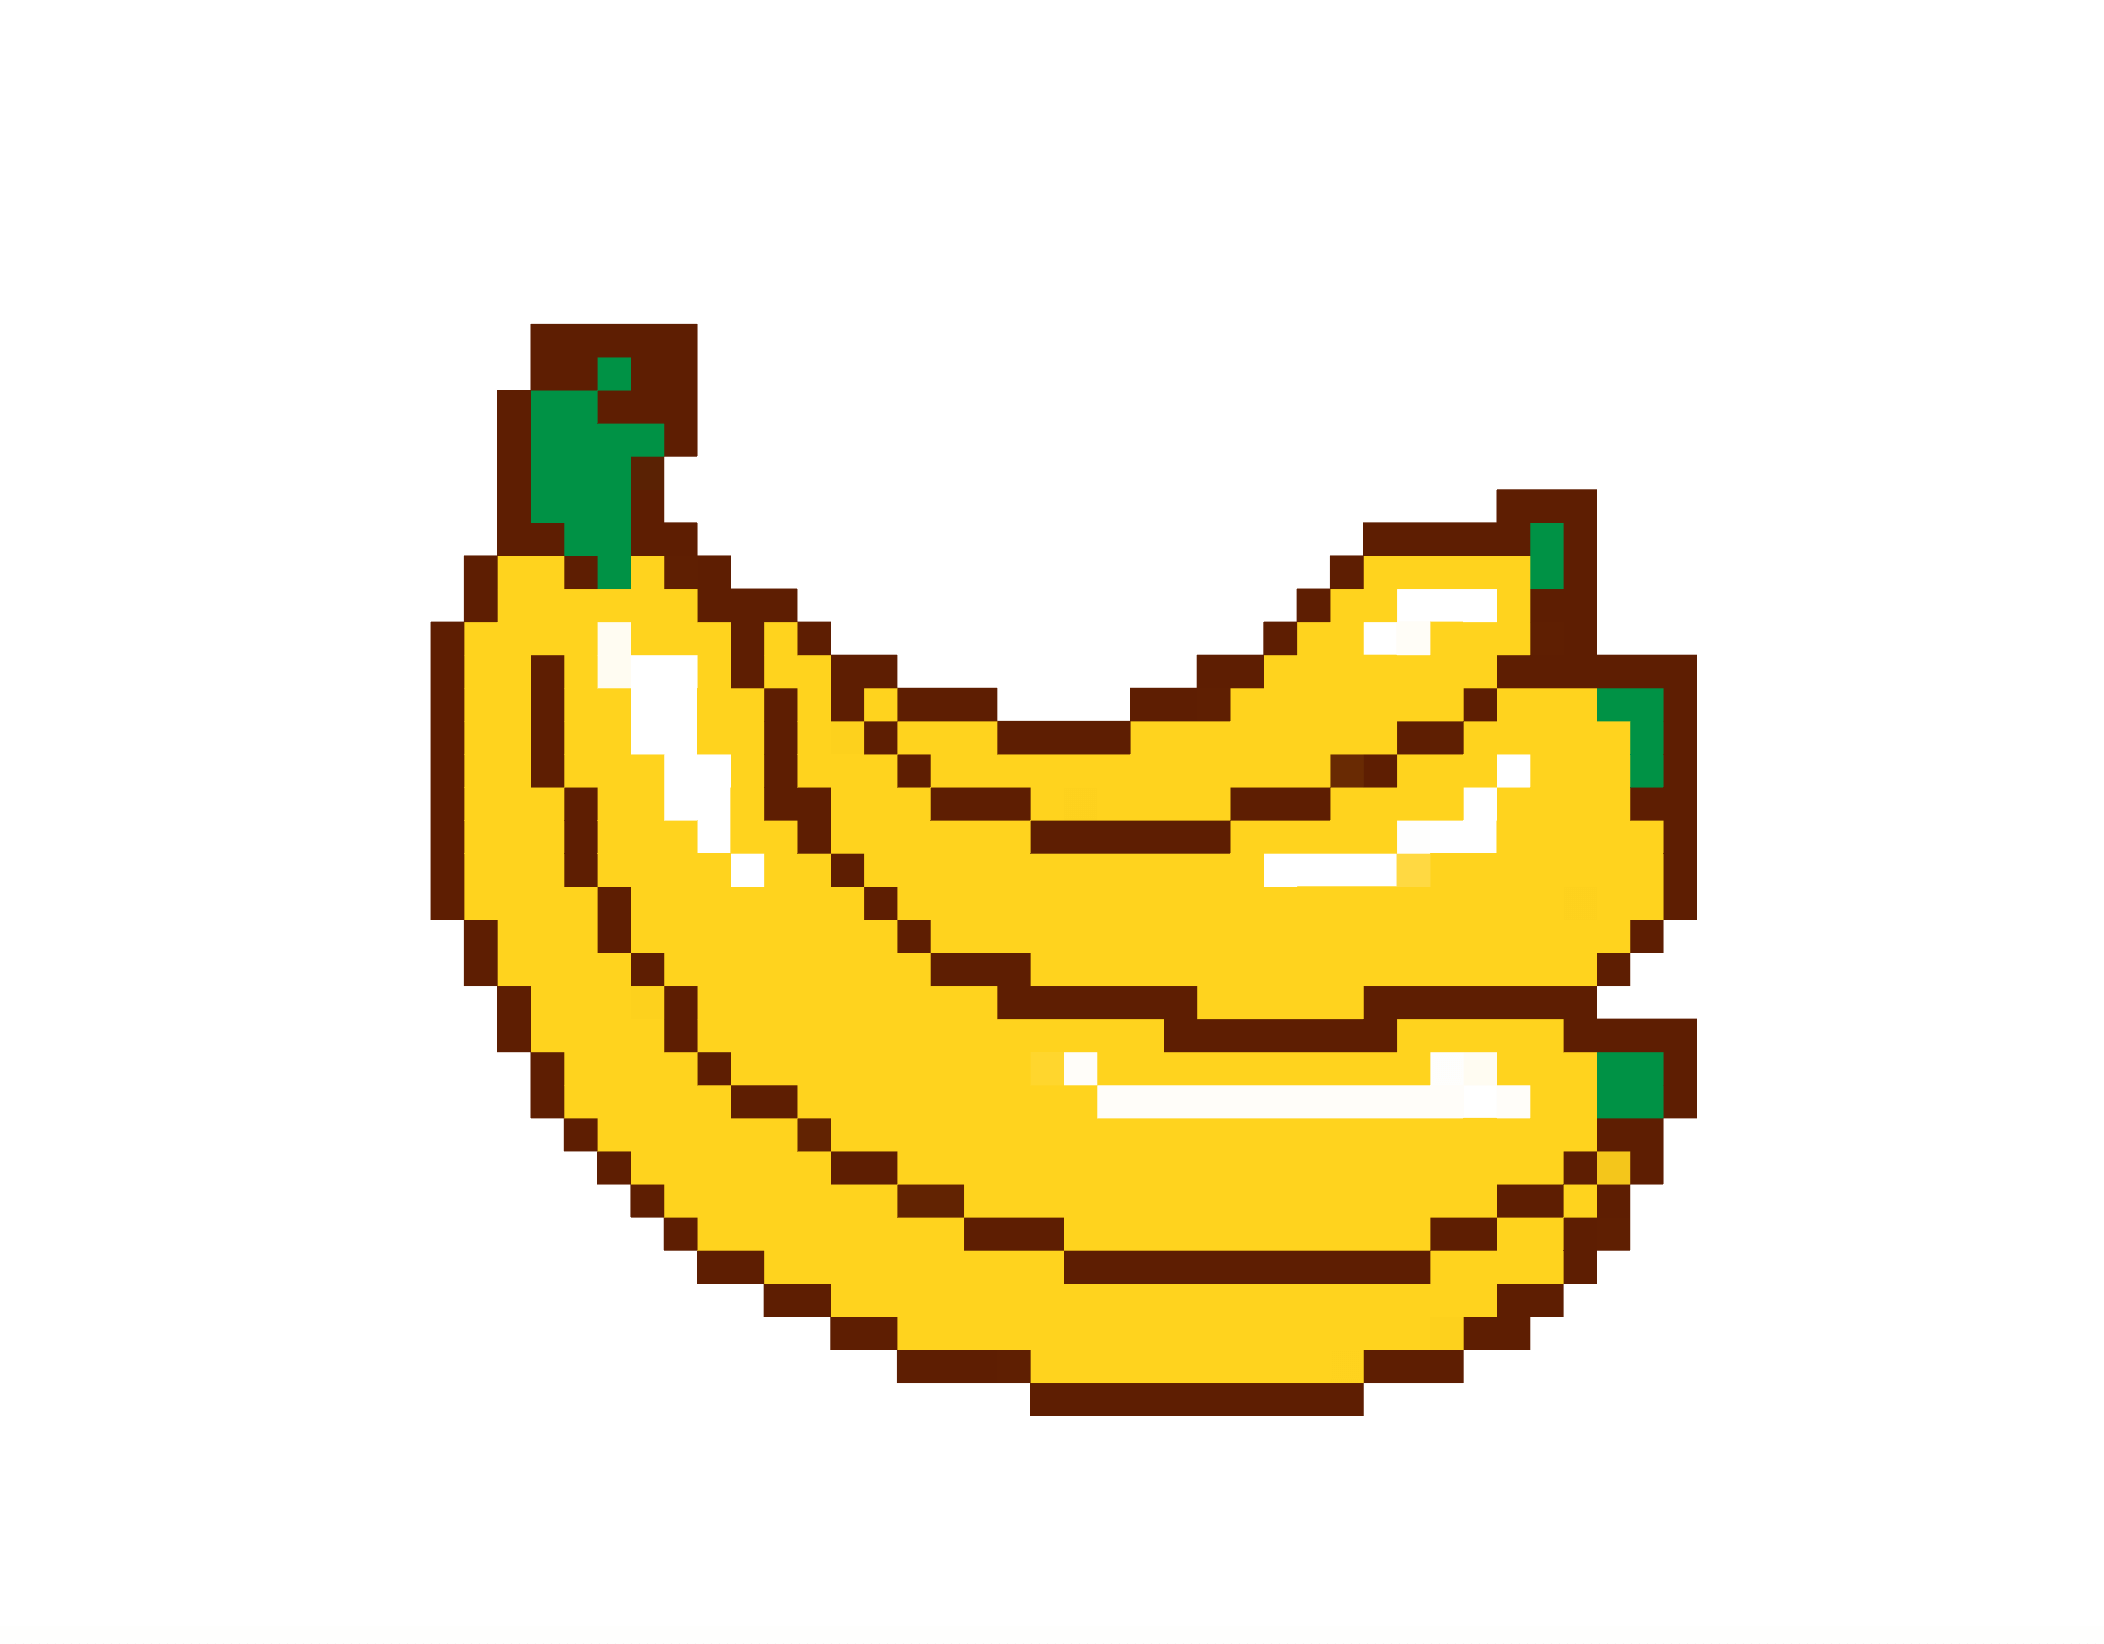
Ora pulisci eventuali pixel indesiderati usando lo Strumento Selezione Diretta (A) o aggiungi pixel extra ovunque tu voglia. Ridurre la quantità di diverse sfumature di colori può far apparire il tuo design più pulito e fresco.
Passo 6 - Crea un bordo per adesivi a taglio completo
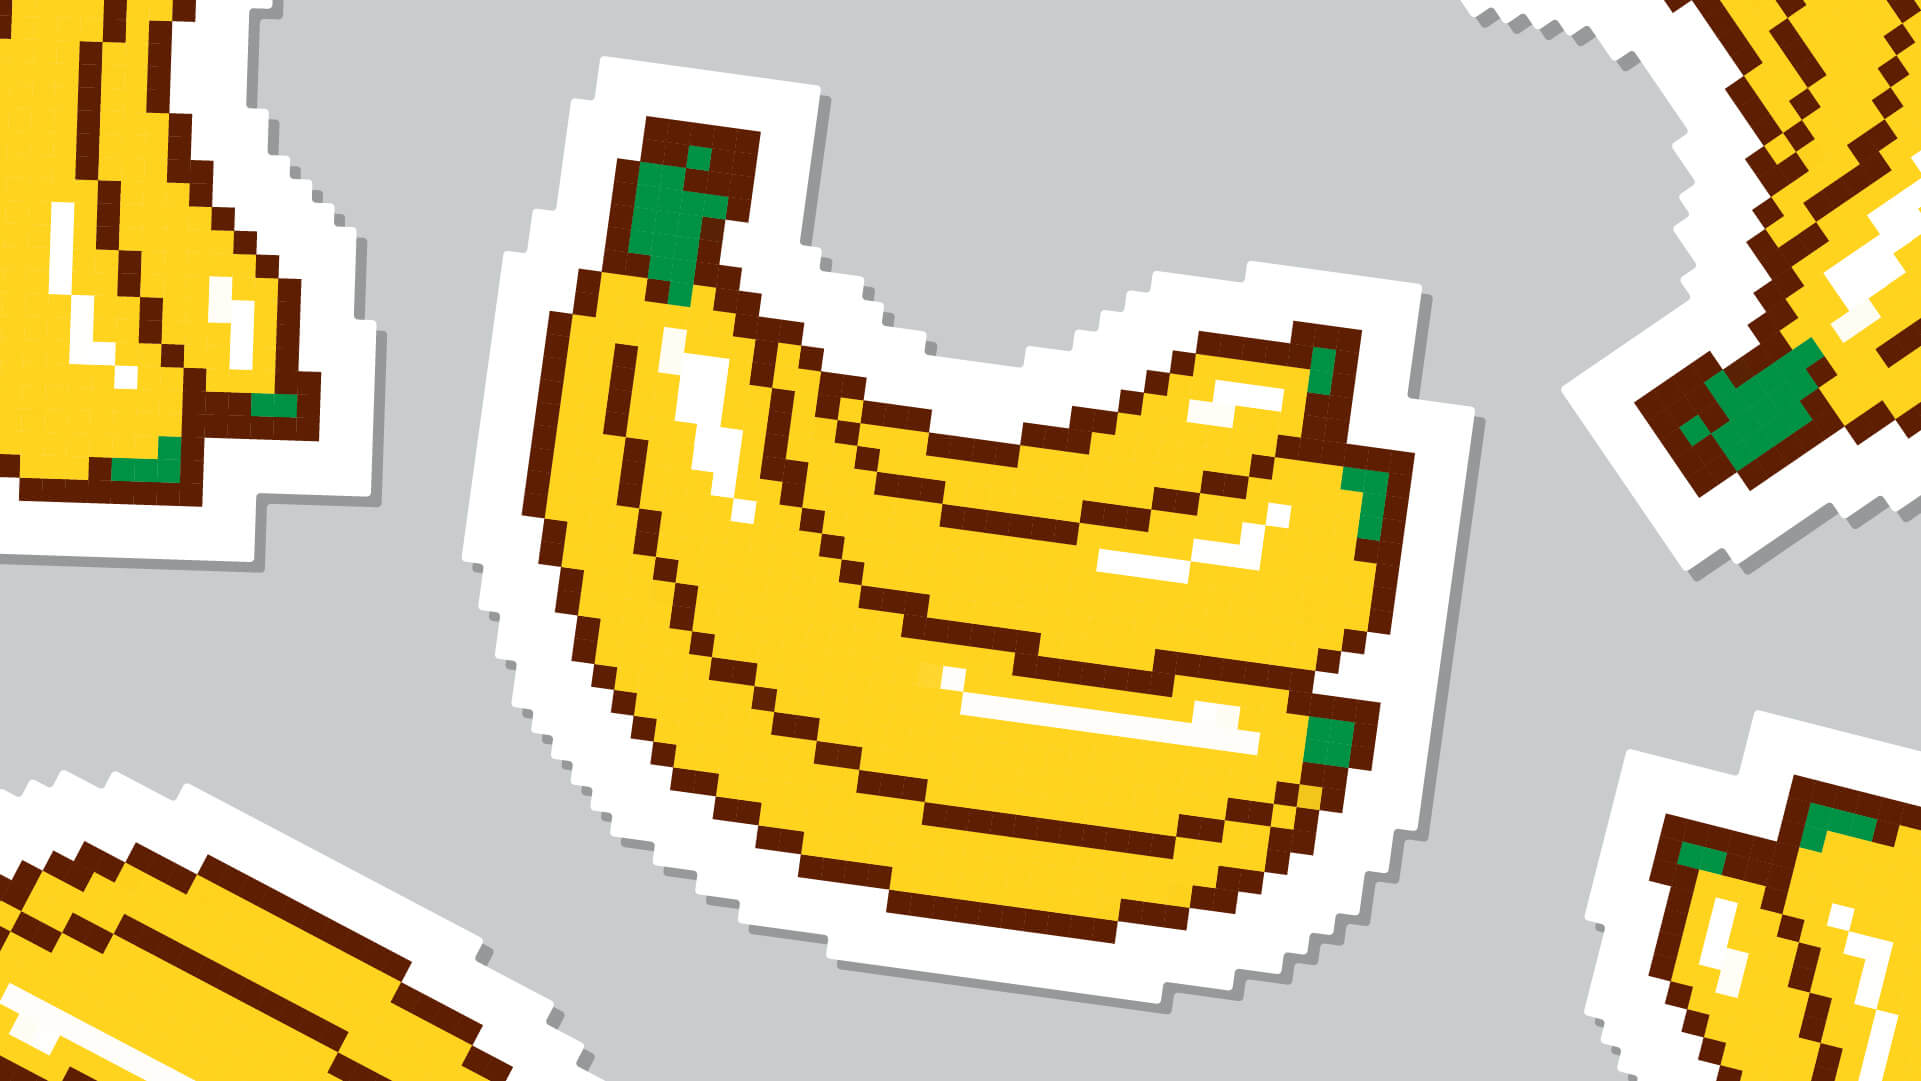
Nel caso tu voglia usare la tua grafica su un adesivo a taglio completo, un bordo intorno sarà utile per creare un margine di taglio durante il processo di produzione. Inoltre, lo fa sembrare subito un adesivo, non credi?
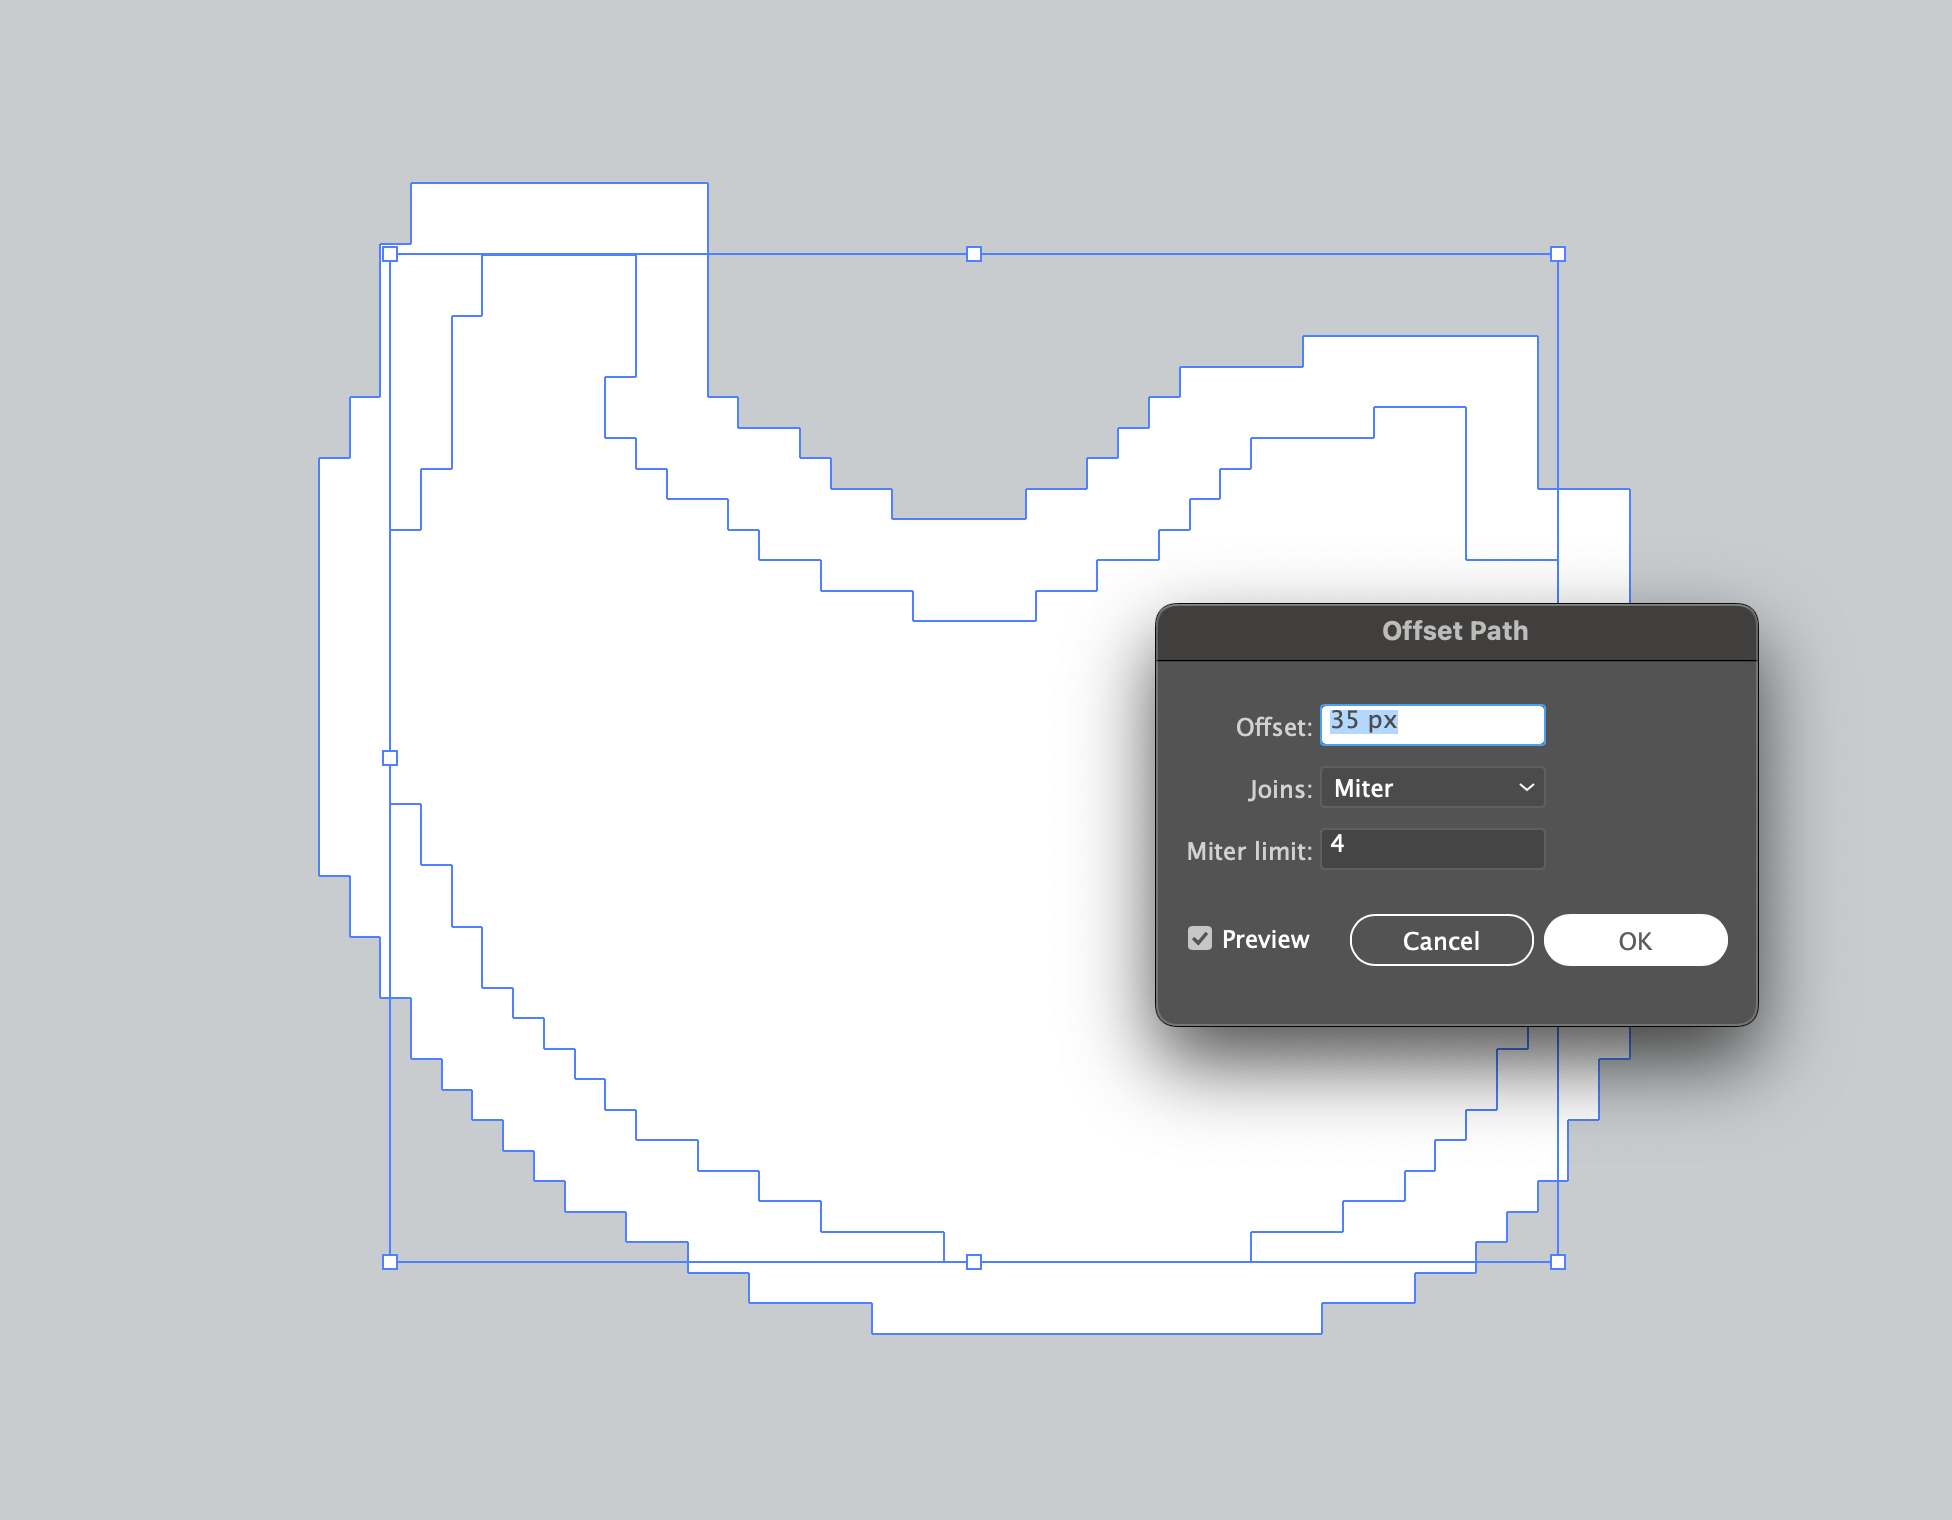
Copia il design completo (⌘+C su Mac, Ctrl+C su Windows), vai su Finestra > Elaborazione Tracciati e scegli Unisci. Poi, imposta il colore su bianco e vai su Oggetto > Tracciato > Scostamento Tracciato. Dopo aver selezionato la dimensione e tipo di giunzioni, premi OK.
Passo 7 - Incolla l'oggetto sopra il bordo
Infine, rimuovi la forma interna e "Incolla Davanti" premendo (⌘+F su Mac, Ctrl-F su Windows). Questo incollerà la grafica originale esattamente nello stesso posto.
Fatto! Adesso puoi apportare ulteriori modifiche prima di inviarlo per includerlo in un design più grande o per creare prodotti come adesivi a taglio completo o calamite. Questo metodo funziona meglio per immagini con alti contrasti, ma anche convertire immagini come un gradiente in una griglia di pixel come questa può diventare una vera opera d'arte.
Divertiti a testare questo metodo con diversi tipi di immagini e ad aggiustare la quantità di pixel per vedere cosa salta fuori.
