How to create a sticker cut line in Illustrator
Geplaatst door Hayden Aube op
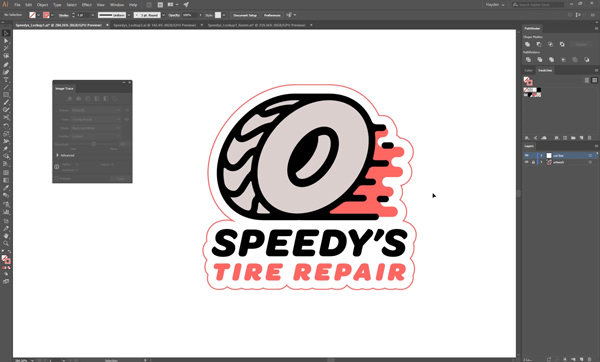
A cut line is a path that gets placed around your design to tell us exactly how it should be cut. Most stickers feature a white border around the design – this is what the cut line creates.
Keep in mind that this is completely optional when ordering from Sticker Mule. When ordering die cut stickers (or any custom shape product) we will automatically create a cut line to match the shape of your artwork.
Depending on whether your artwork is vector or raster, the first 3 steps for creating a cut line are different.
How to create a cut line for vector artwork (steps 1-3)
Step 1
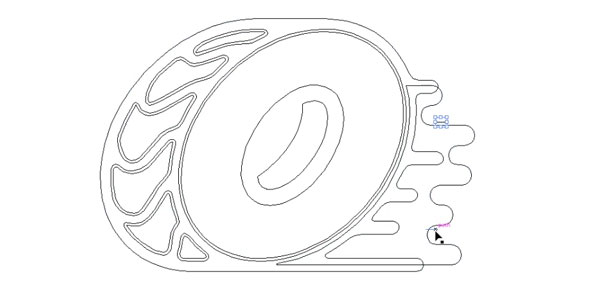
With your design open in Adobe Illustrator, select any strokes that are present in your design.
You can use Outline view to help you find any strokes in your design. Mac: ⌘ + Y PC: CTRL + Y
With your strokes selected, select Object > Path > Outline stroke.
Step 2
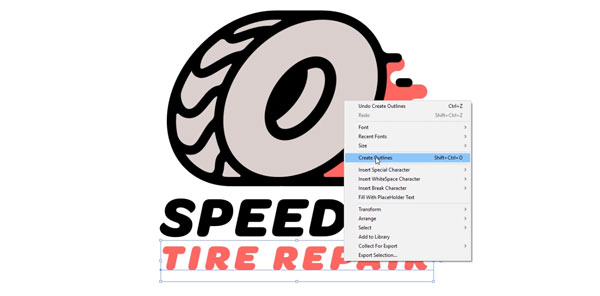
Select all the text within your design.
Then right click and select Create Outlines. Mac: Shift + ⌘ + O PC: Shift + CTRL + O
Step 3
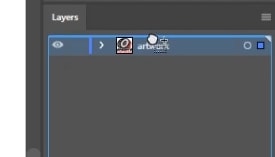
In the Layers window, hold Option (Mac) or Alt (PC), then drag the layer that your artwork is on, on top of itself.
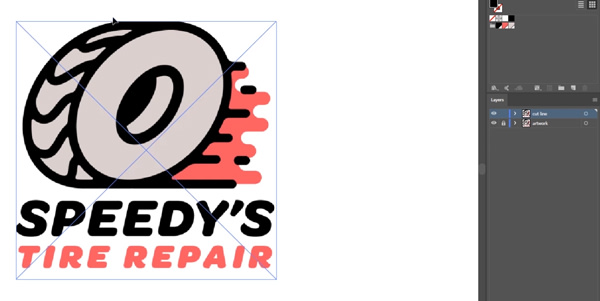
This will create a new duplicate layer. This is where you will create the cut line so you can lock the layer beneath.
How to create a cut line for raster artwork (steps 1-3)
Step 1
Open your design in Adobe Illustrator.
In the Layers window, hold Option (Mac) or Alt (PC), then drag the layer that your artwork is on, on top of itself.
This will create a new duplicate layer. This is where you will create the cut line so you can lock the layer beneath.
Step 2
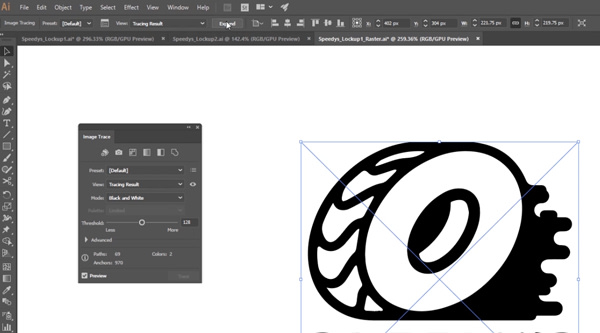
With your image selected, use the Image trace window to convert your image into a vector.
Ignore colors or fine details while doing this step. All that matters is getting the perimeter of the shape to match your original design.
When it looks good, click Expand. This will create a vector shape.
Step 3
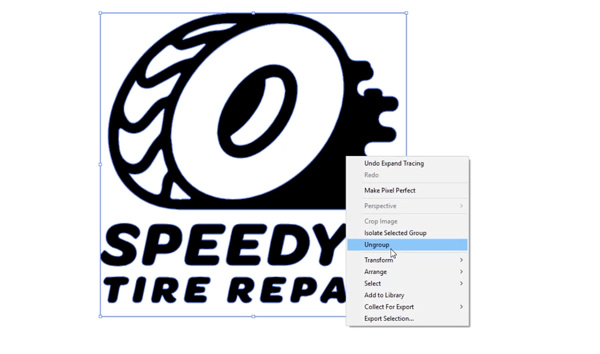
Illustrator will often create a white bounding box around your design – this needs to be removed.
To delete it, right click on your design and select Ungroup. Select the bounding box, then tap Delete.
How to create a cut line (steps 4-7)
Regardless of the image format you began with, the following steps are the same.
Step 4
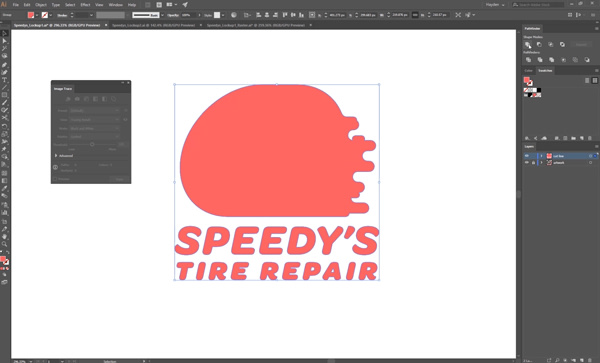
Select everything on your cut line layer.
From the Pathfinder window, select the Unite icon to transform the entire image into a single shape.
Step 5
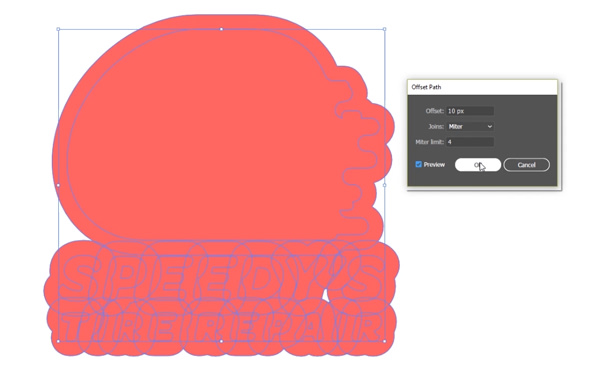
With the shape still selected, select Object > Path > Offset path.
With the Offset path panel open, check the Preview box. Adjust the Offset amount until you are happy with the width of the border, then press OK. (At Sticker Mule, we required a minimum border of 1/16")
Step 6
Again, select everything on the cut line layer and from the Pathfinder window, select Unite.
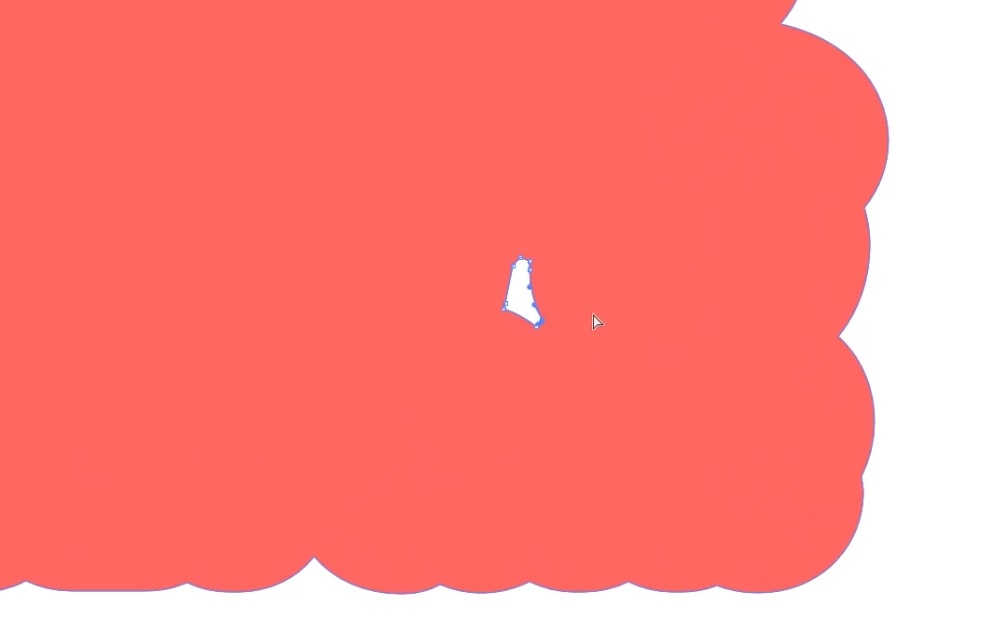
Using the Direct selection tool (A) delete any unwanted holes in your shape. (At Sticker Mule, we allow 1 internal cut of at least ¼")
Step 7
With the shape selected, remove the fill, and give it a 1pt stroke.
This is the standard format, most print shops, including Sticker Mule, will use for cut lines.
Step 8 (optional)
If you end up with two or more cut line objects, you’ll need to bridge them together to create a single shape.
Use the Pen tool (P) to create a shape that overlaps the existing objects. Then with all the objects selected, from the Pathfinder window, select Unite.
When you're done adding cut lines, simply save your Illustrator file and you're finished. You can upload your file to Sticker Mule as-is, and within a few hours you'll receive a free proof showing you exactly what your sticker is going to look like.
If you're new to sticker design, get started quickly with $10 off your first order. Just sign up by clicking the button below.
