How to apply stickers to a laptop like a pro
Posted by Sticker Mule on
The history of stickers on laptops
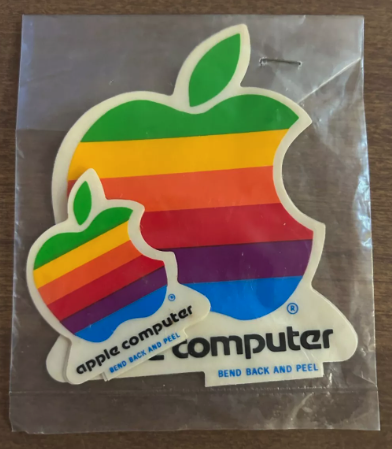
For years, it's been a common sight to see people adorning their laptops with stickers. This trend started back in the 1980's when Apple started bundling their colorful rainbow logo with new computers, which people stuck to their monitors and computers.
As laptops grew in popularity during the late 1990s and early 2000s, the open-source community became a counterculture pushing back against the dominance of tech giants like Apple and Microsoft. A big part of this movement was developers adorning their laptops with stickers of their favorite open-source software—showcasing their allegiance while at the same time showing off a little of their street cred.
The rest is history. Tech workers brought their laptops to meetings, where their counterparts in other departments like marketing, human resources, and Creative couldn't resist the trend.
Stickers on laptops today
Today, of course, it's common to see people putting stickers not just on laptops but on smartphones, e-book readers, tablets, and every other device you can think of. But the laptop continues to be a favorite canvas.
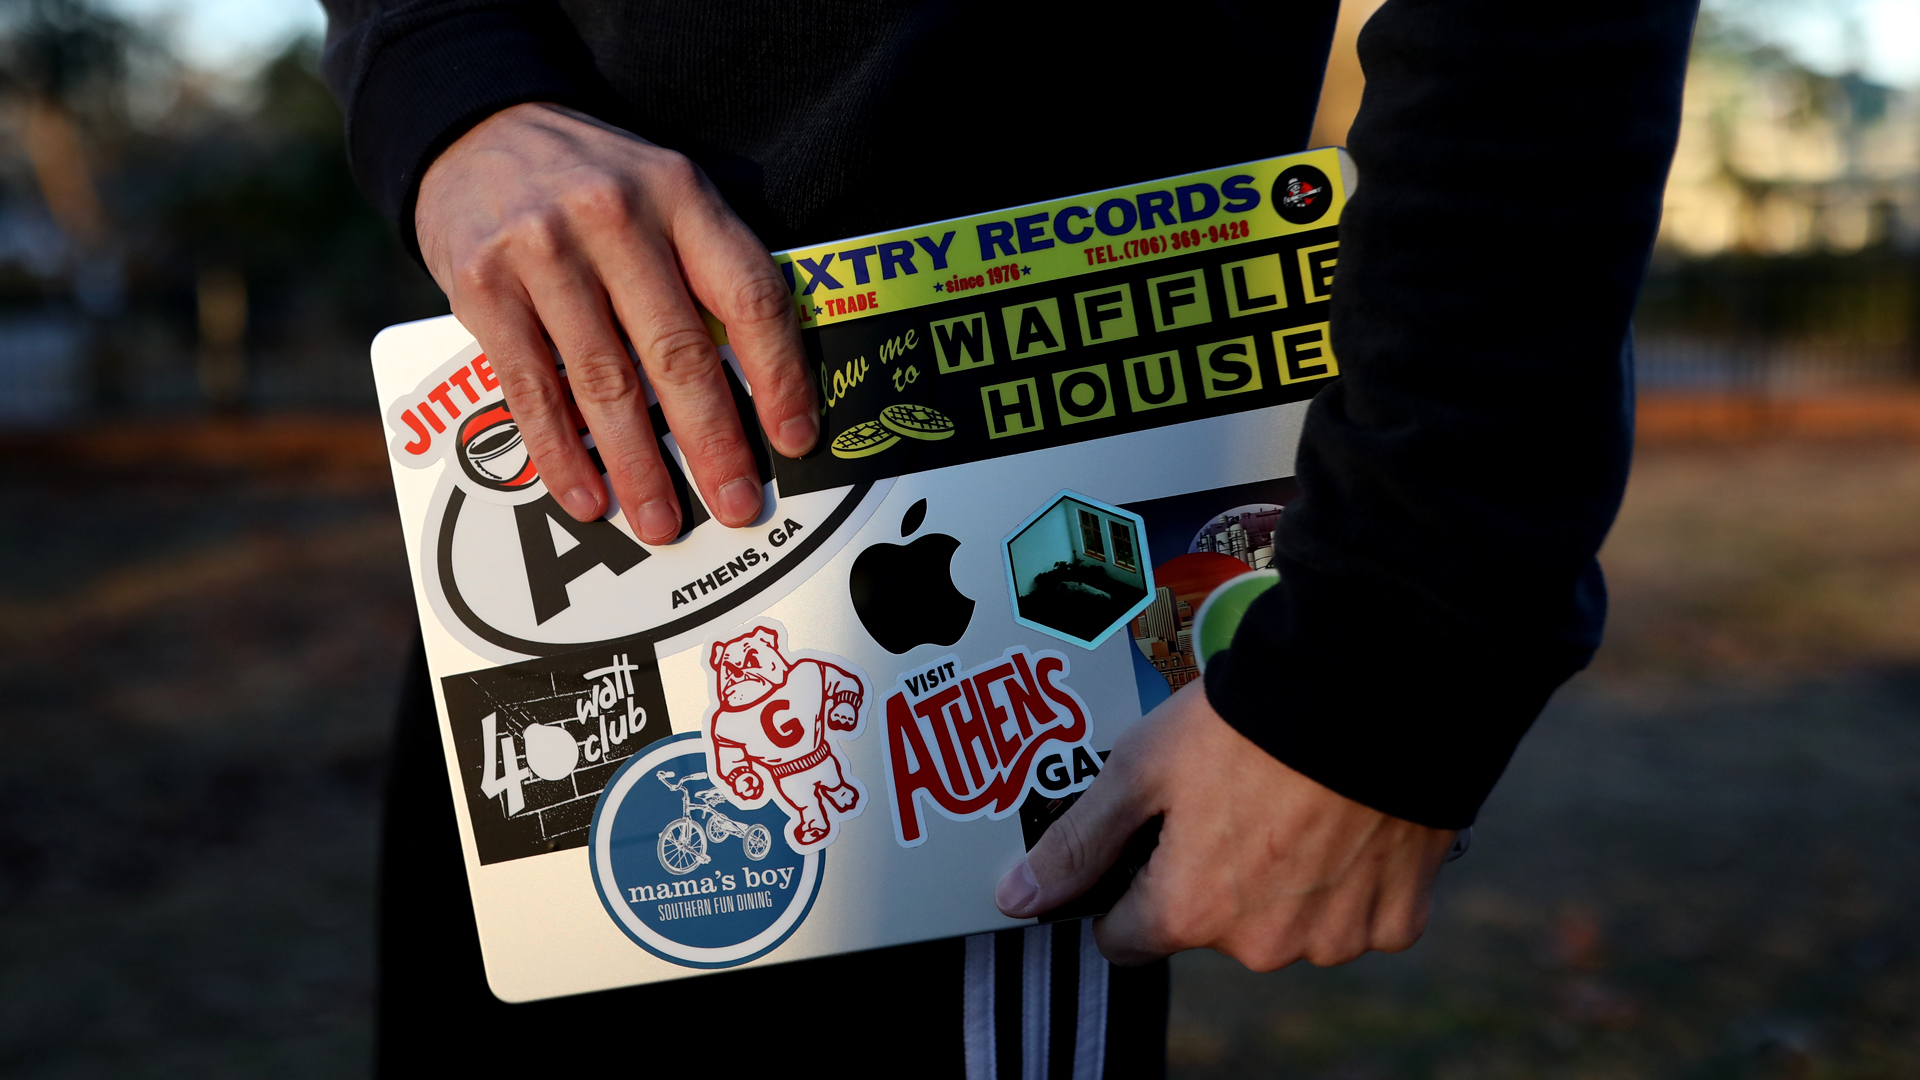
While the trend of adorning your laptop with stickers began in tech communities, today it's evolved into a powerful tool for personal branding and community identity.
Personalizing your laptop with stickers is a fun and creative way to show off your style. Whether you’re highlighting your favorite brands, hobbies, or custom designs, applying stickers the right way ensures they look great, last long, and can be removed without hassle.
At Sticker Mule, we want your laptop to be an expression of you—so we’ve created this guide to help you apply, remove, and care for your stickers like a pro.
If you're ready to put stickers on your laptop, here's our expert advice:
Plan ahead: creating a long-term laptop sticker layout
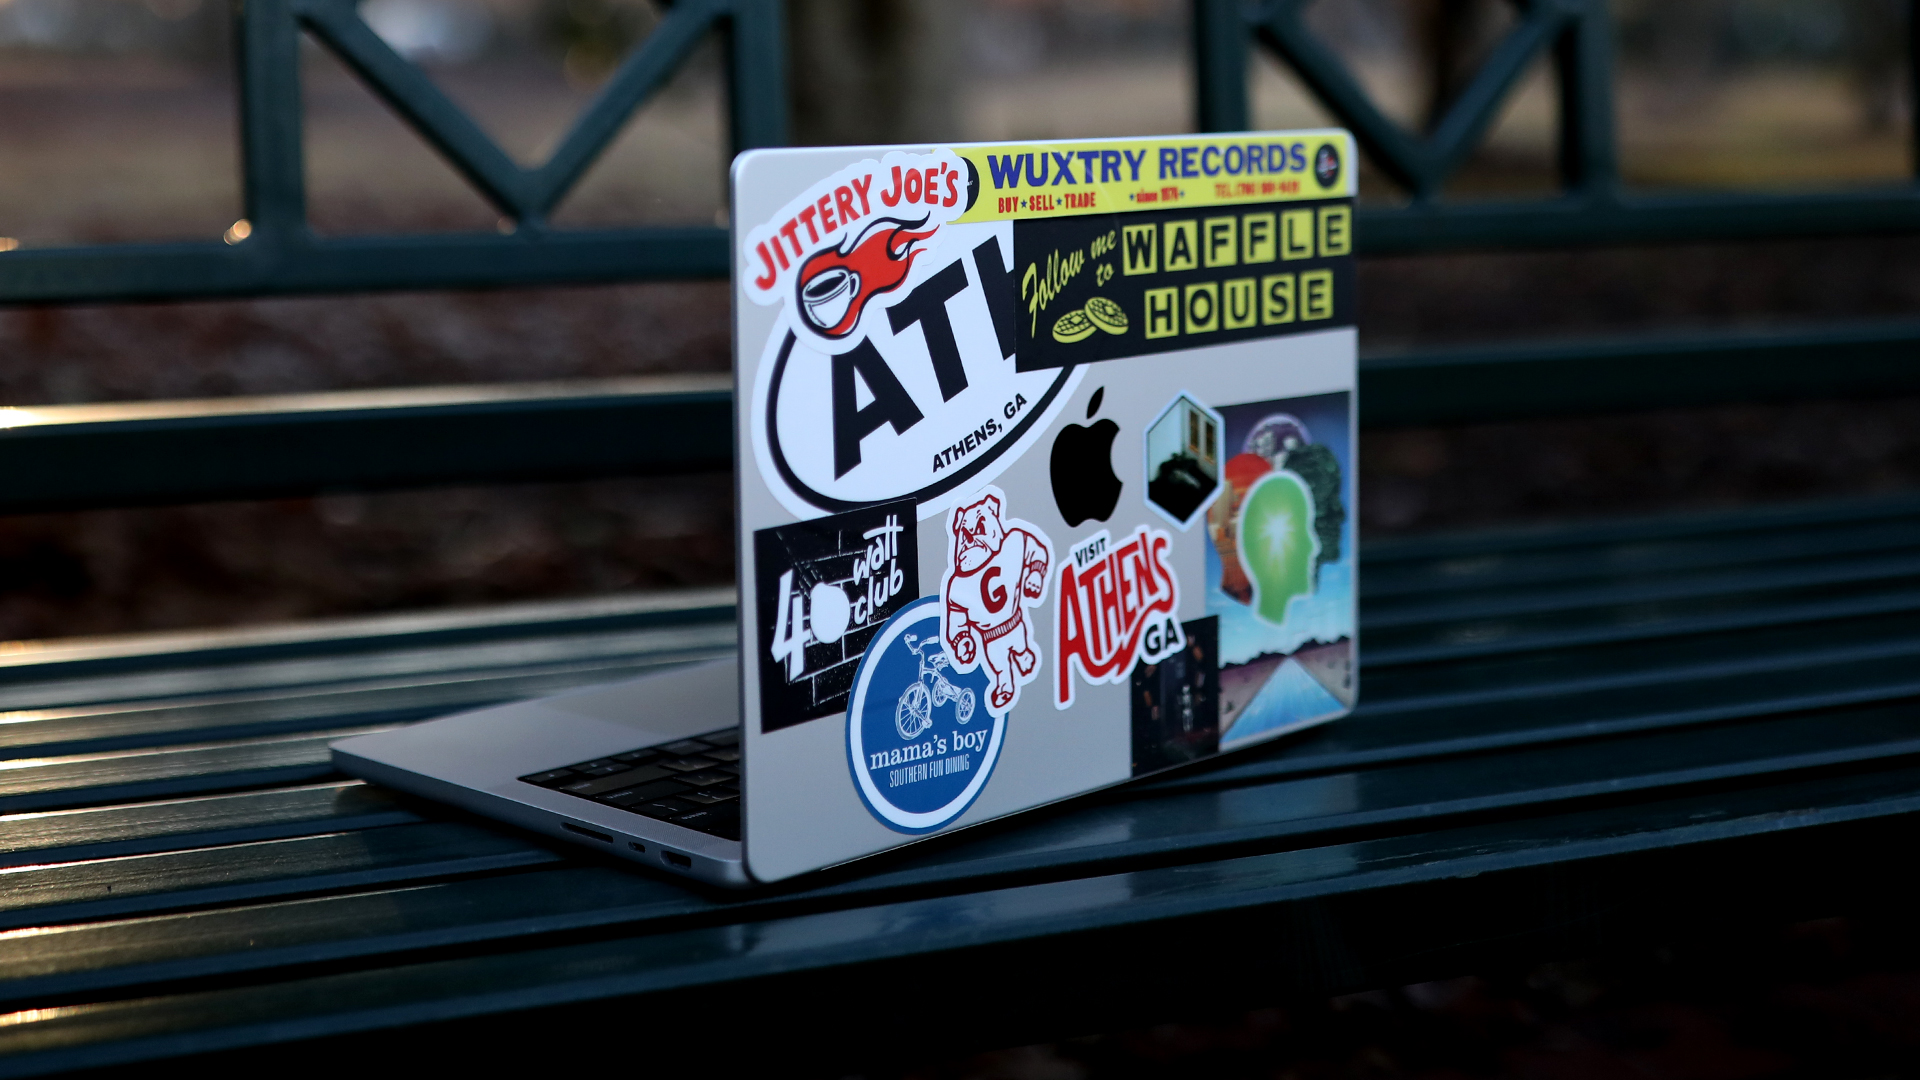
Many laptop owners don’t apply all their stickers at once—they add to their collection over time. To ensure your layout evolves seamlessly:
1) Start with a vision
- Decide on your style: Are you going for full coverage or a minimalist look?
- Choose an anchor sticker to serve as the centerpiece and design around it.
2) Reserve functional areas
- Avoid covering vents, ports, or logos. These spots should remain clear for usability and heat dissipation.
- Leave open spaces for future stickers so your layout stays balanced and cohesive.
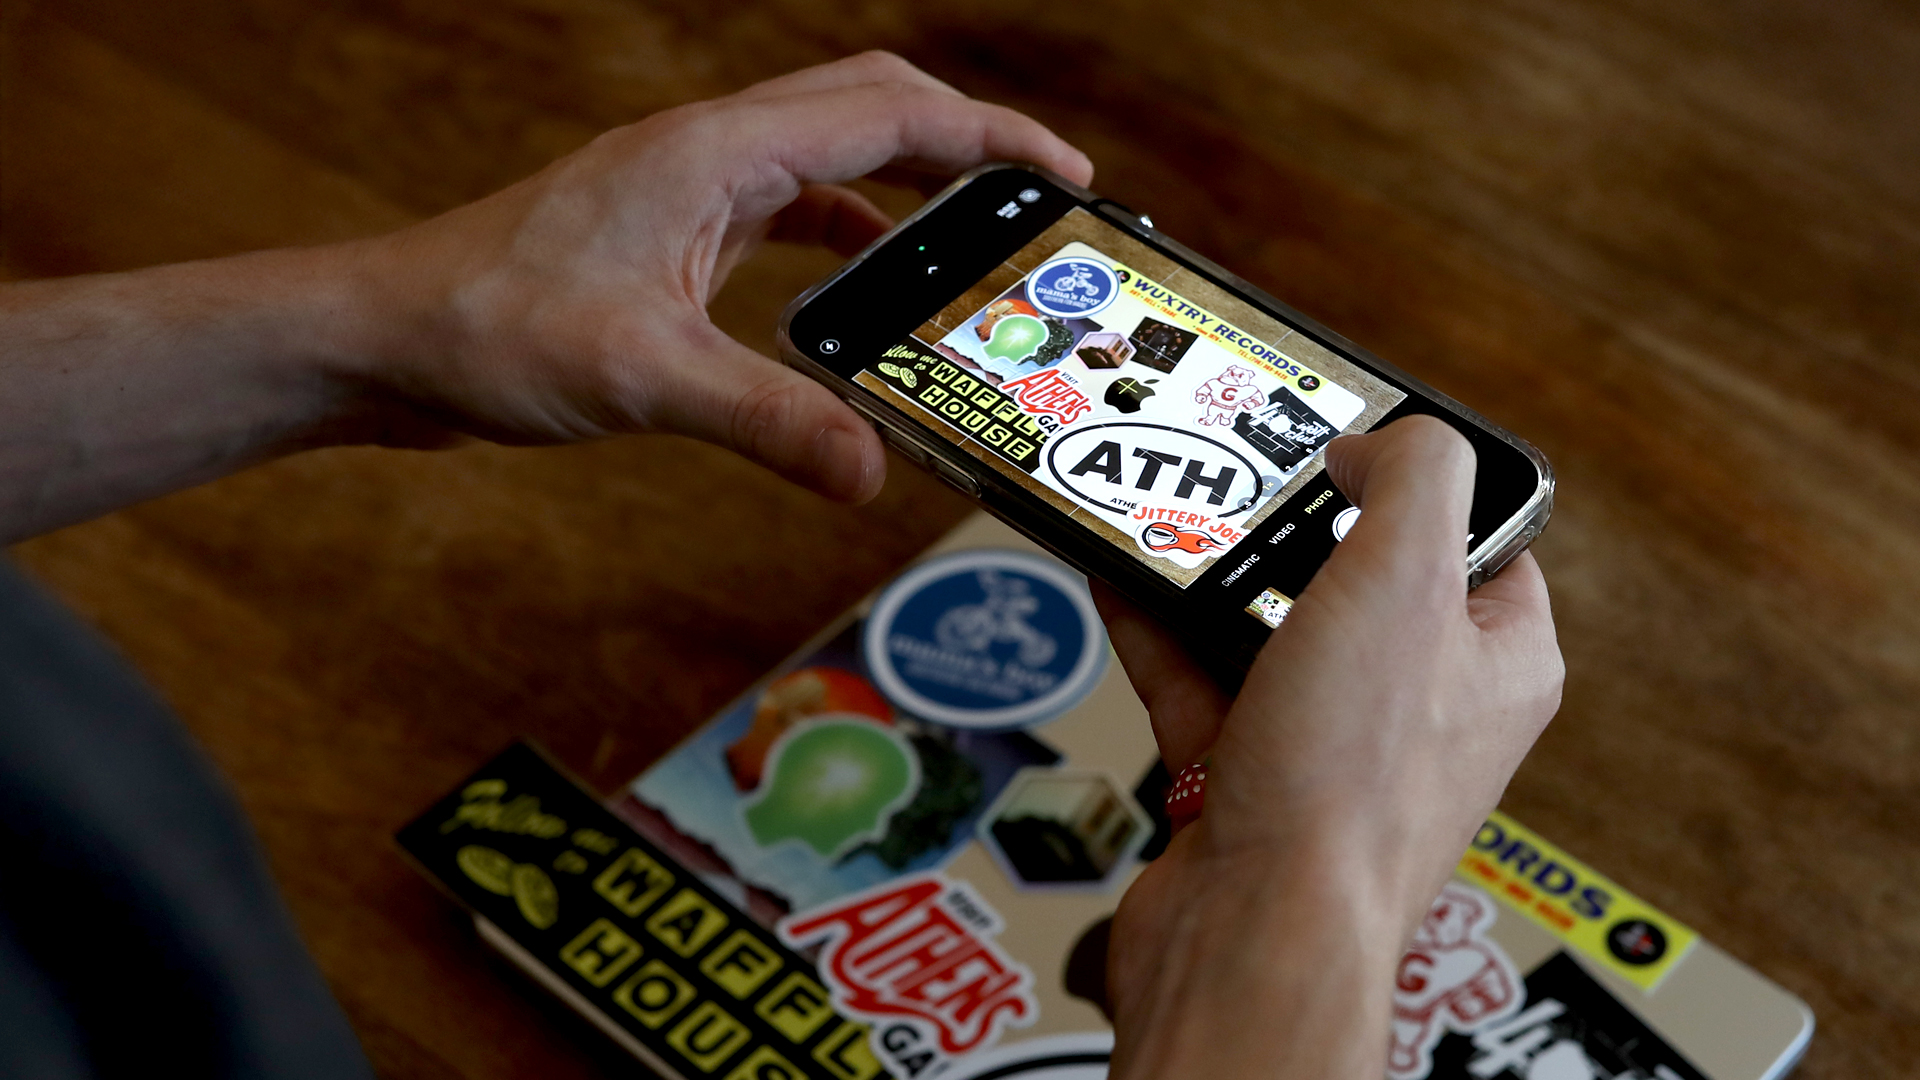
3) Document your design
- Take a photo of your current layout. It’ll help you visualize changes and maintain consistency as you add new stickers.
4) Consider removability
- Use durable stickers like Sticker Mule’s vinyl options, which can be removed cleanly if you want to change your design.
How to Apply Stickers Perfectly
Applying stickers may seem simple, but careful techniques can elevate your results:
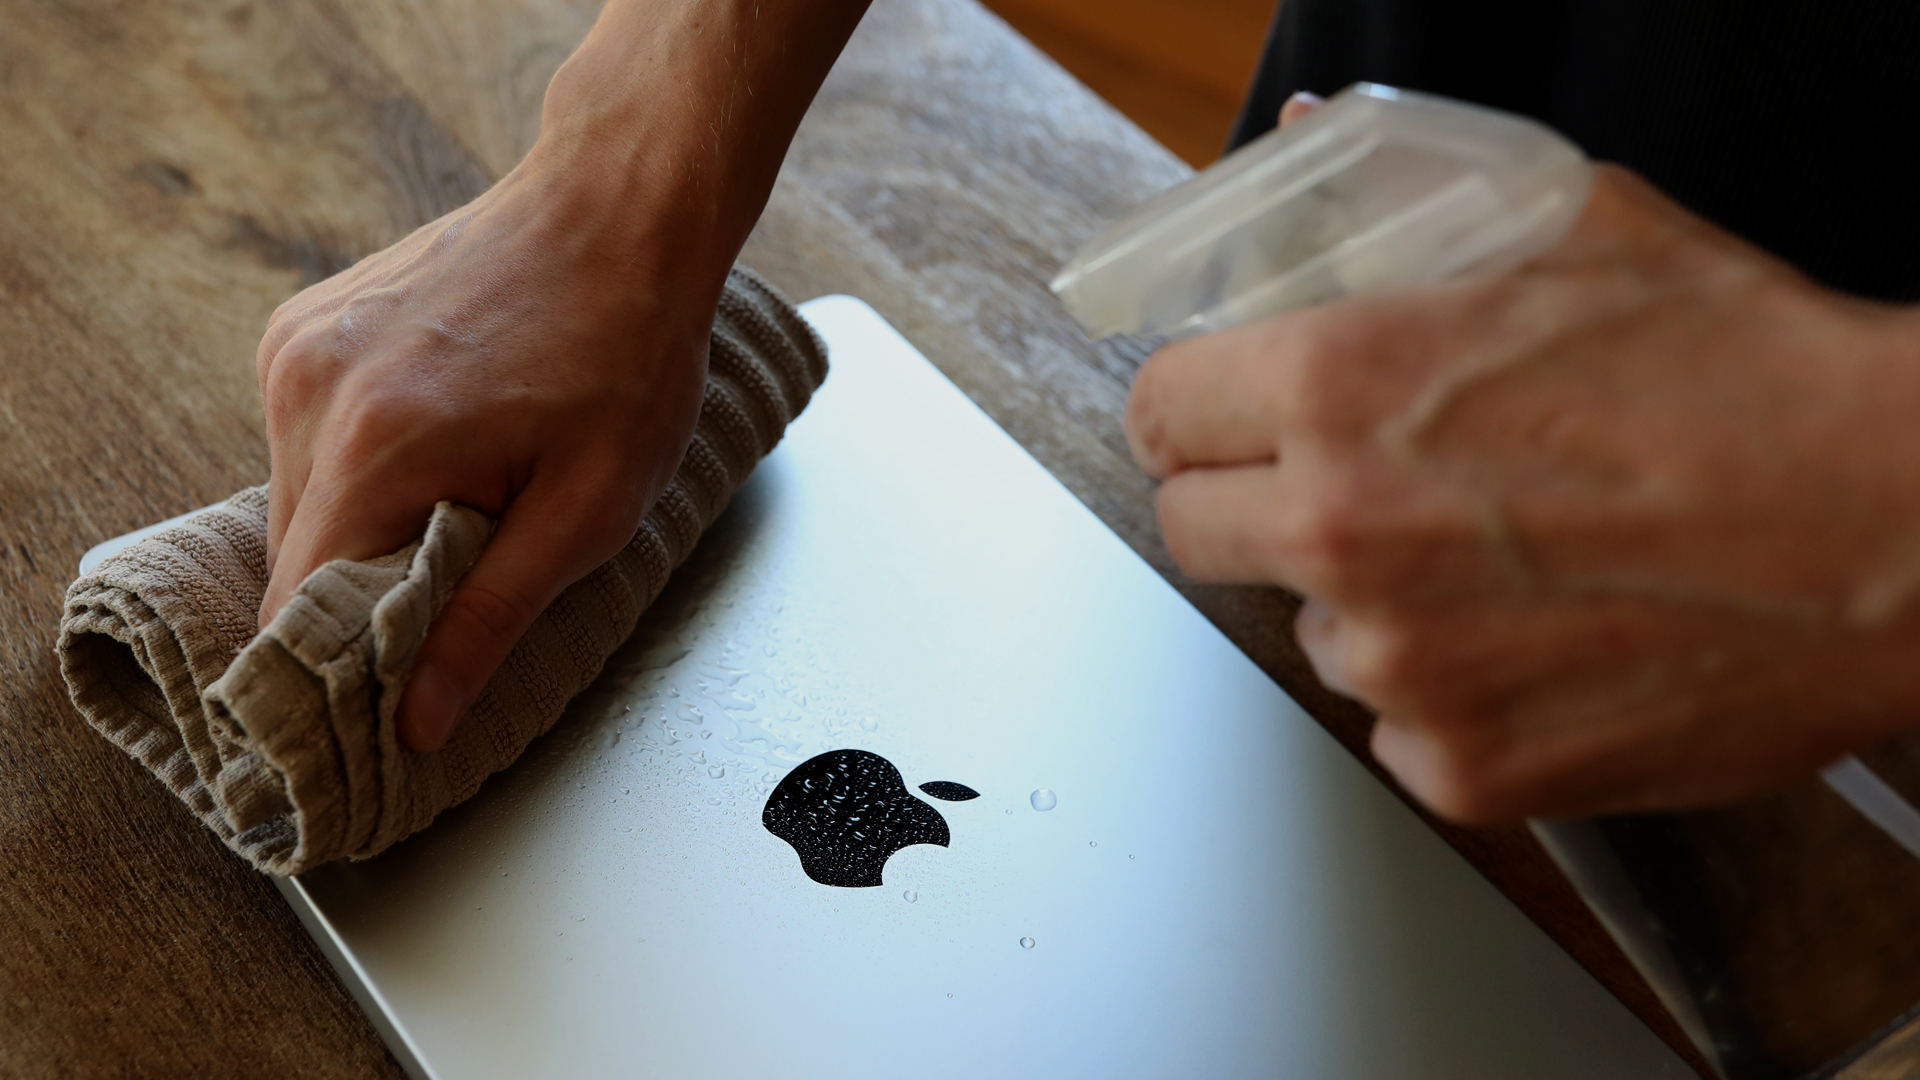
Step 1: Prepare the surface
- Clean your laptop with alcohol wipes or a mild cleaner to remove dirt, grease, and dust.
- Let the surface dry completely for optimal adhesion.
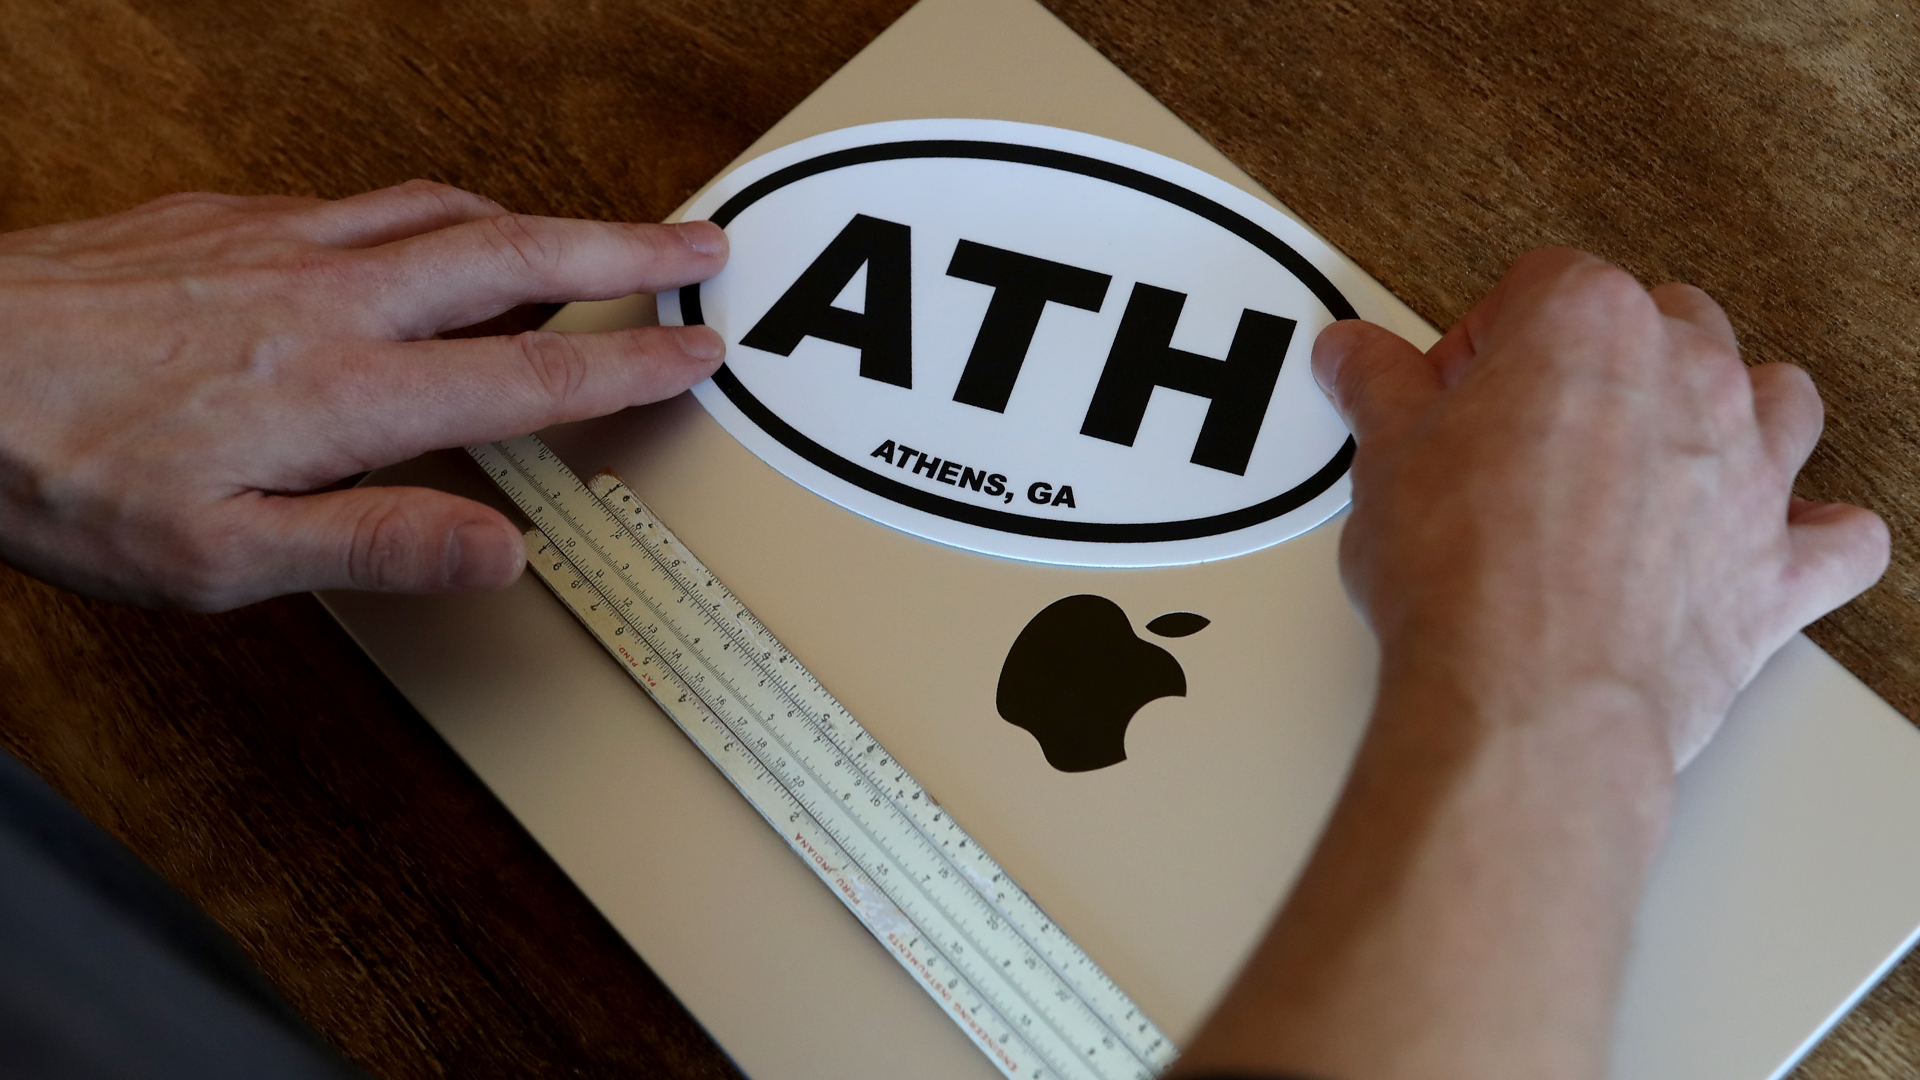
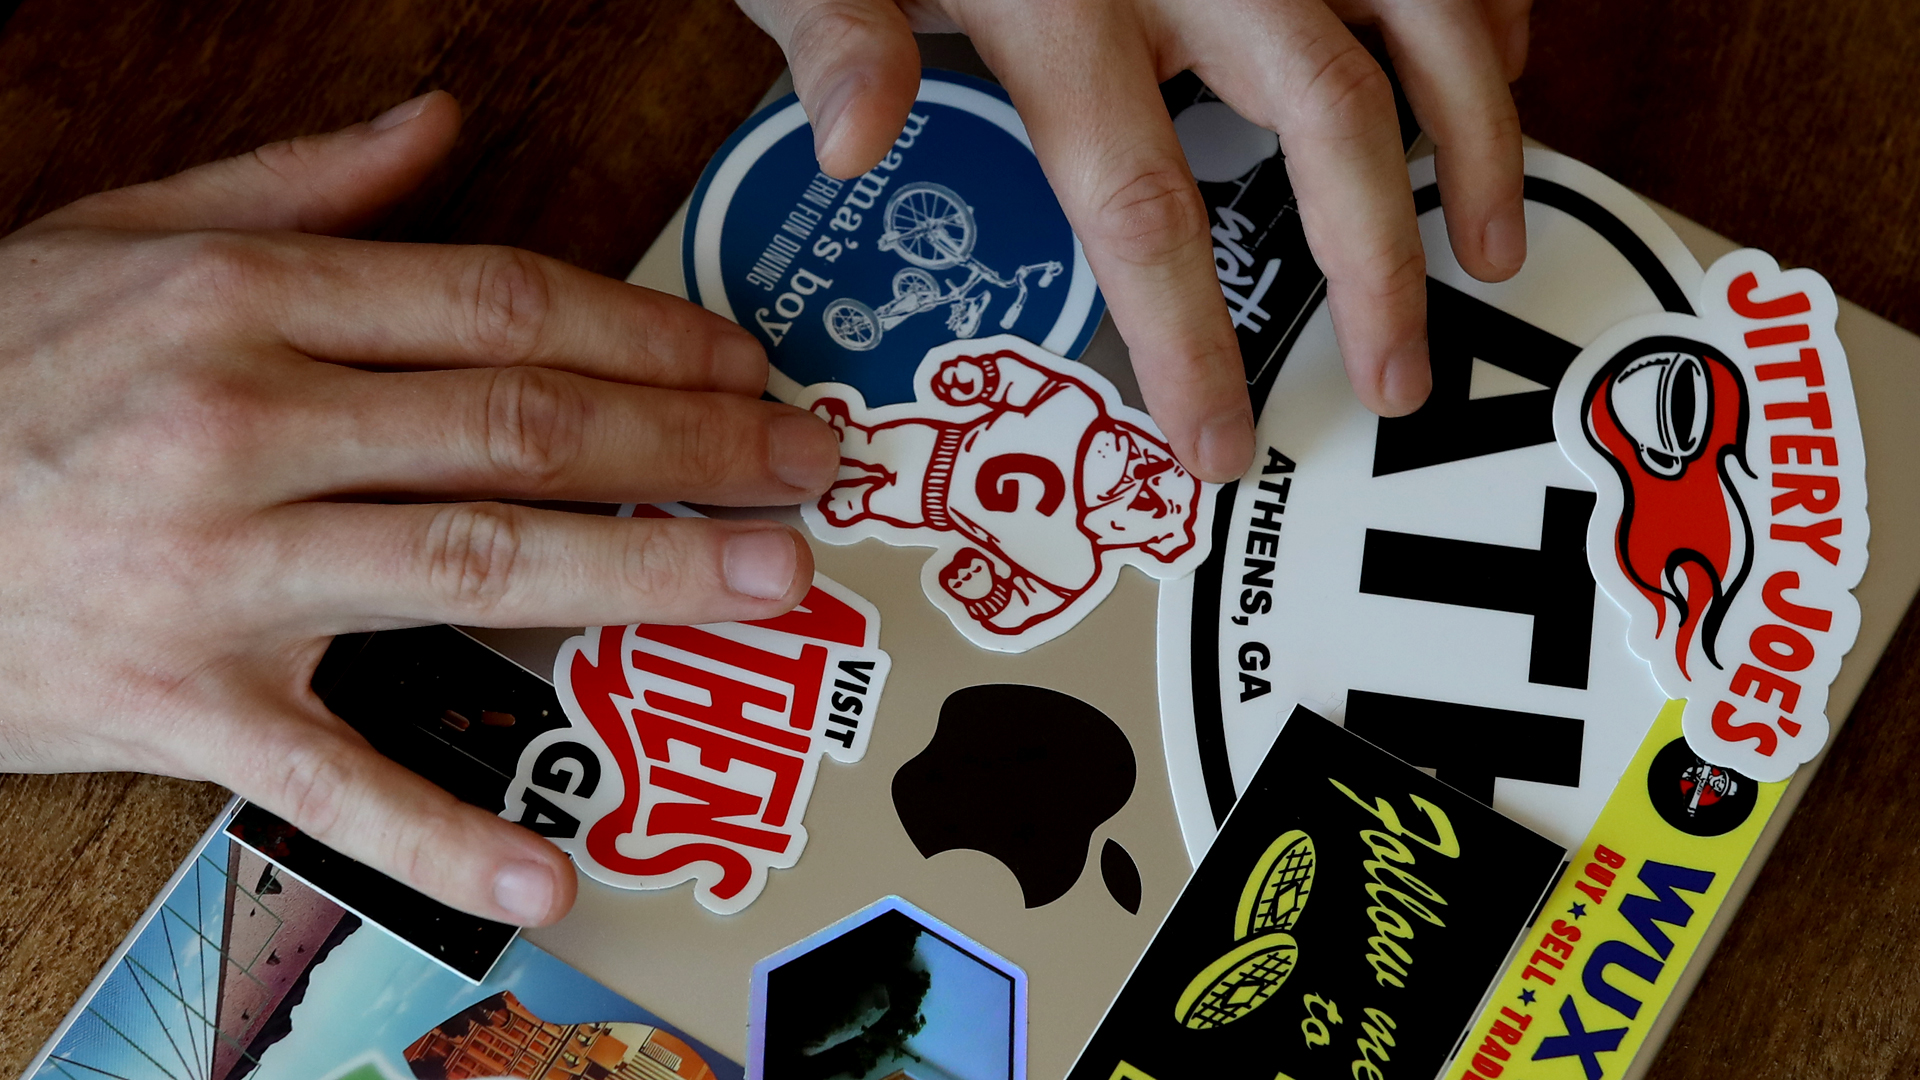
Step 2: Plan your placement
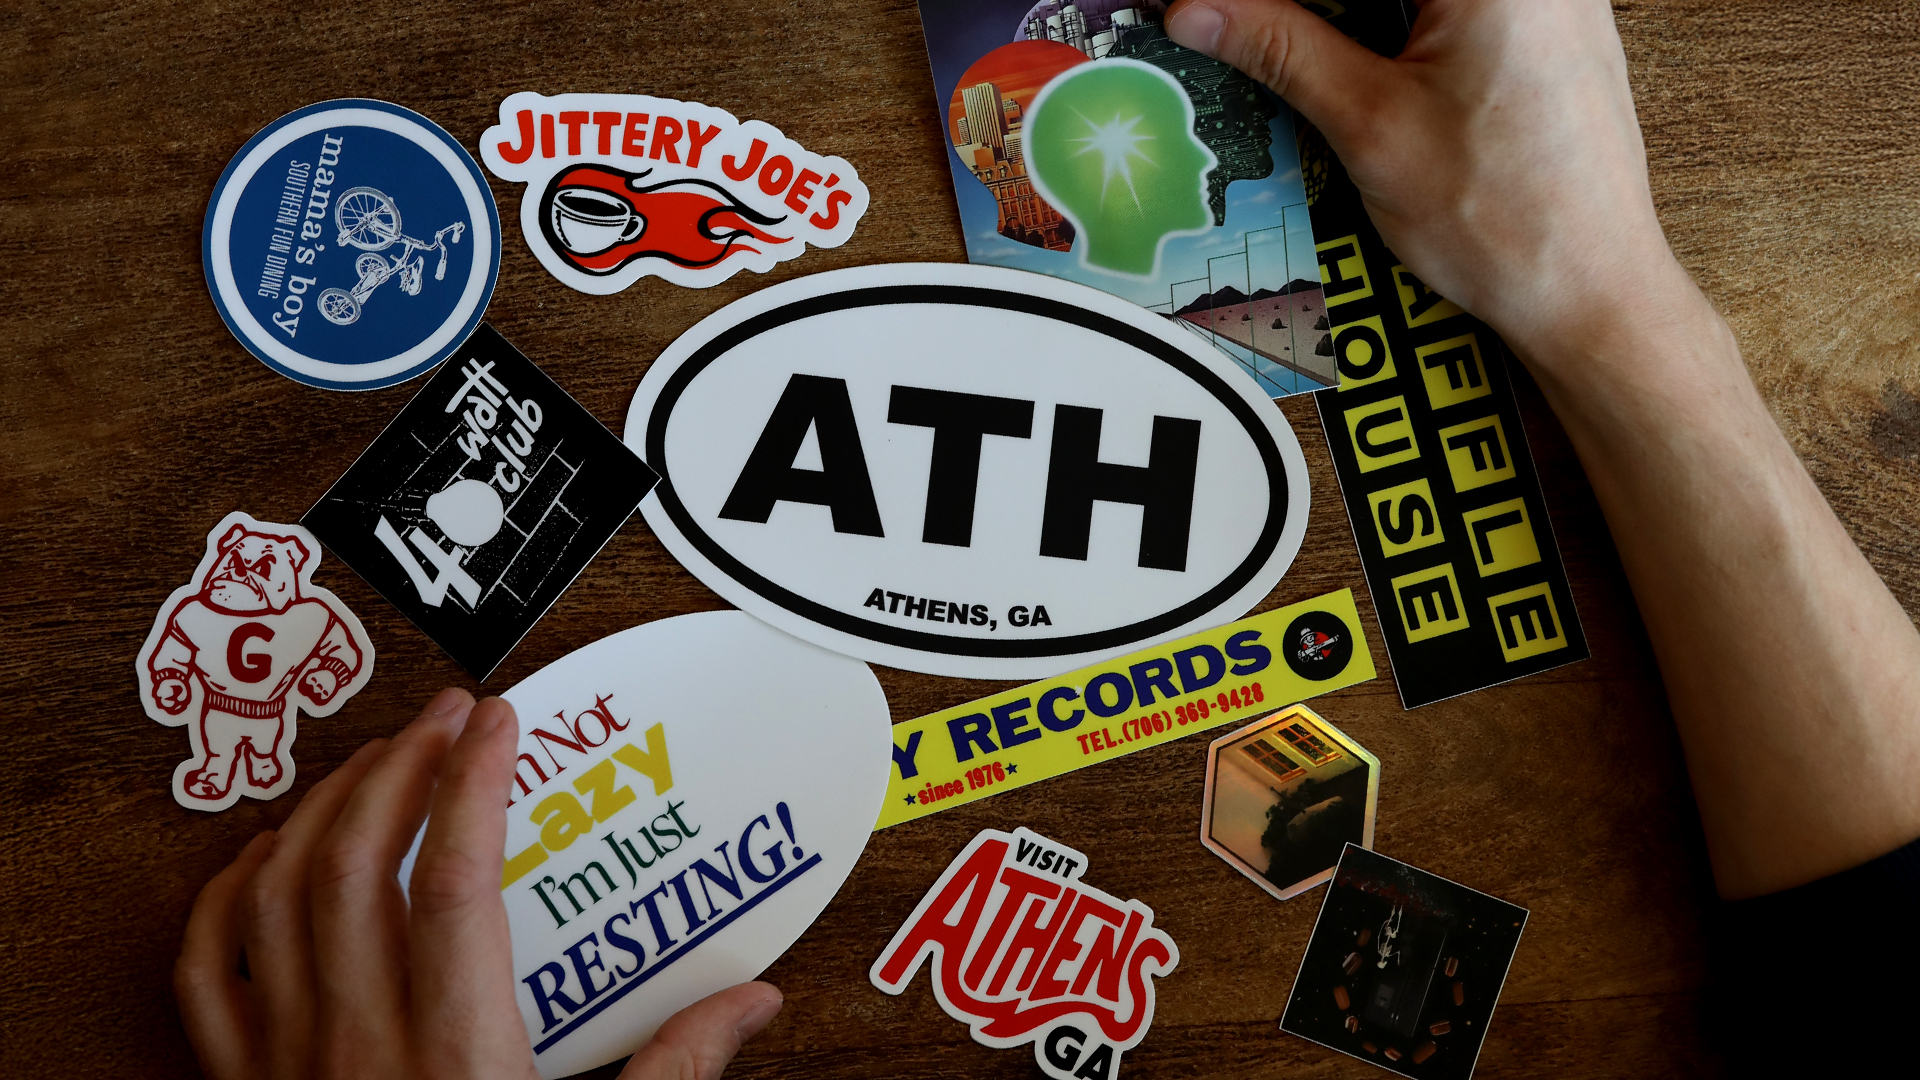
- Arrange your stickers on the laptop without removing their backing. Use low-tack masking tape to hold them temporarily in place.
- Experiment with layouts until you’re satisfied with the balance and spacing.
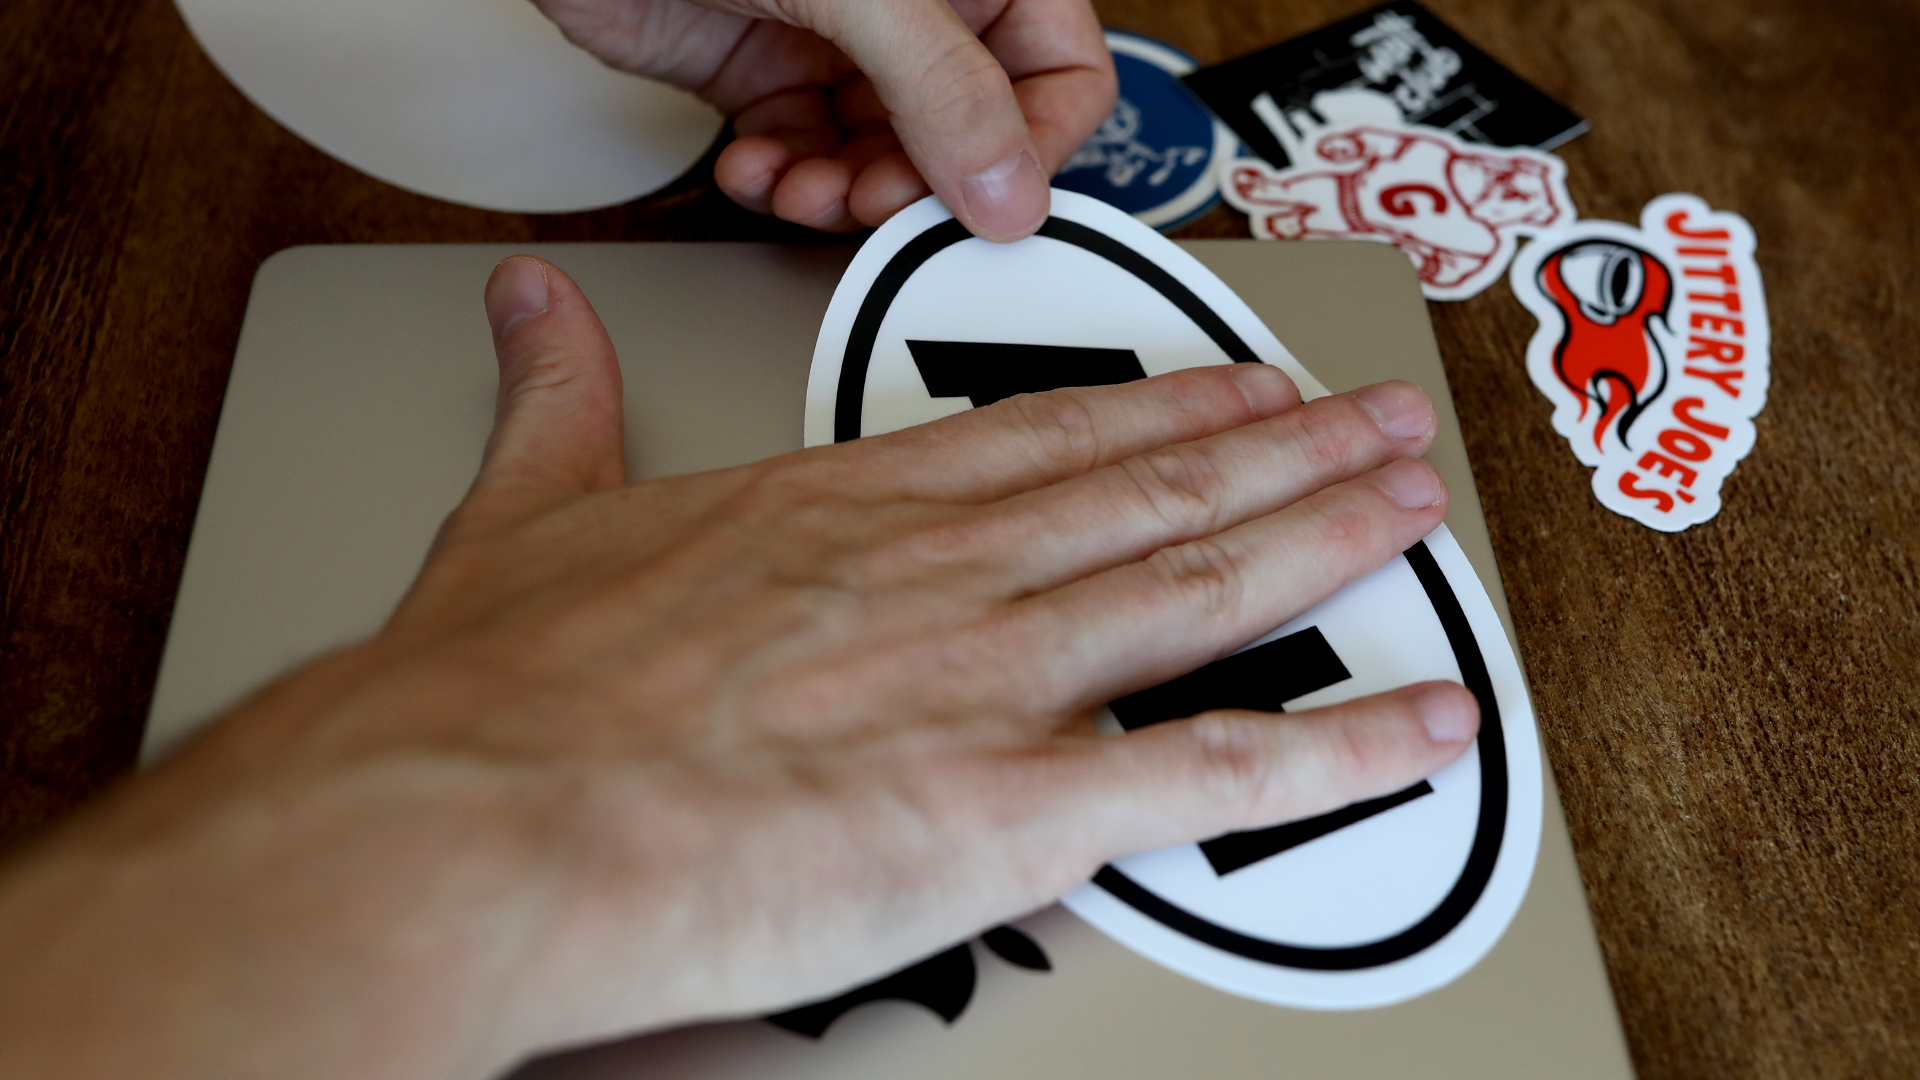
Step 3: Stick lightly at first
- Peel off a small section of the sticker’s backing and stick it lightly to the surface.
- Avoid pressing down firmly right away—this makes it easier to adjust the positioning if needed.
Step 4: Apply and smooth
- Once satisfied, press the sticker down from one edge to the other, smoothing as you go to prevent air bubbles.
- Don't press down too hard;
- For larger stickers, work in small sections, peeling the backing as you smooth it down.
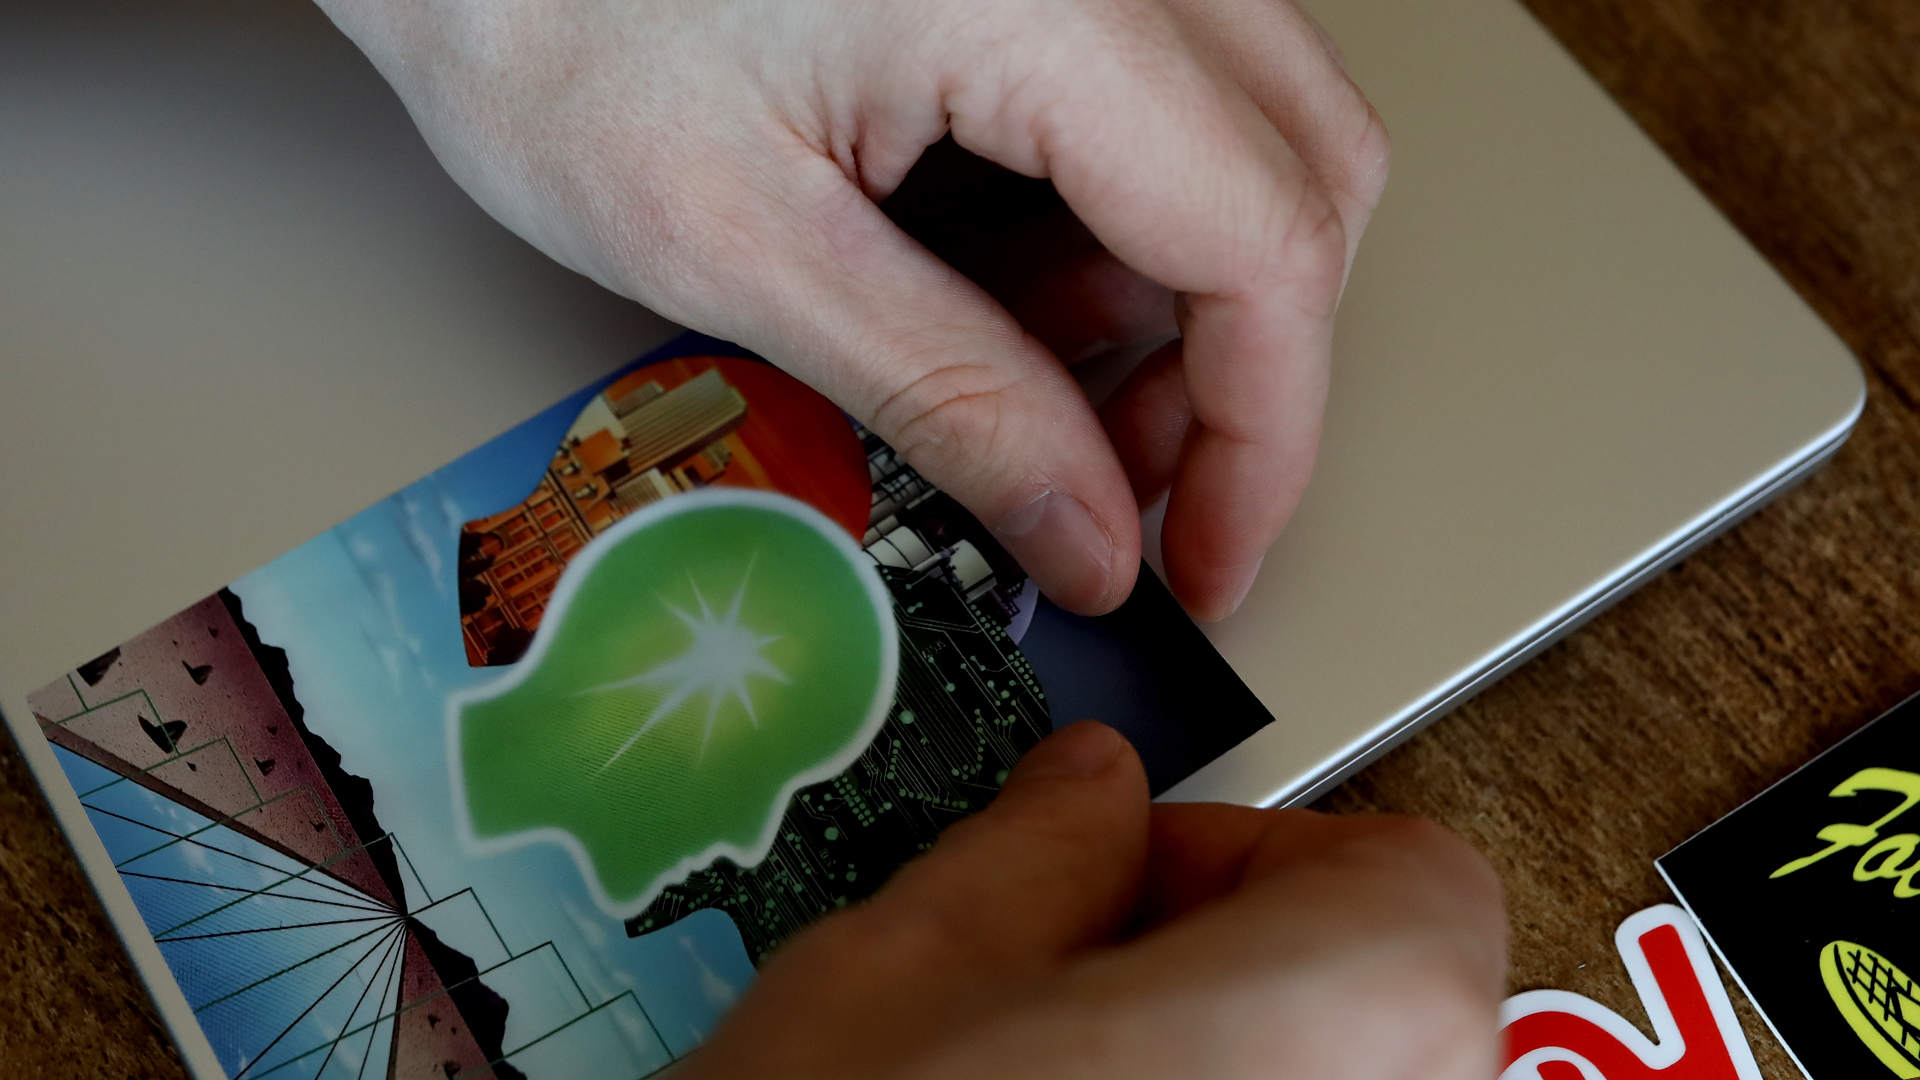
Step 5: Remove air bubbles
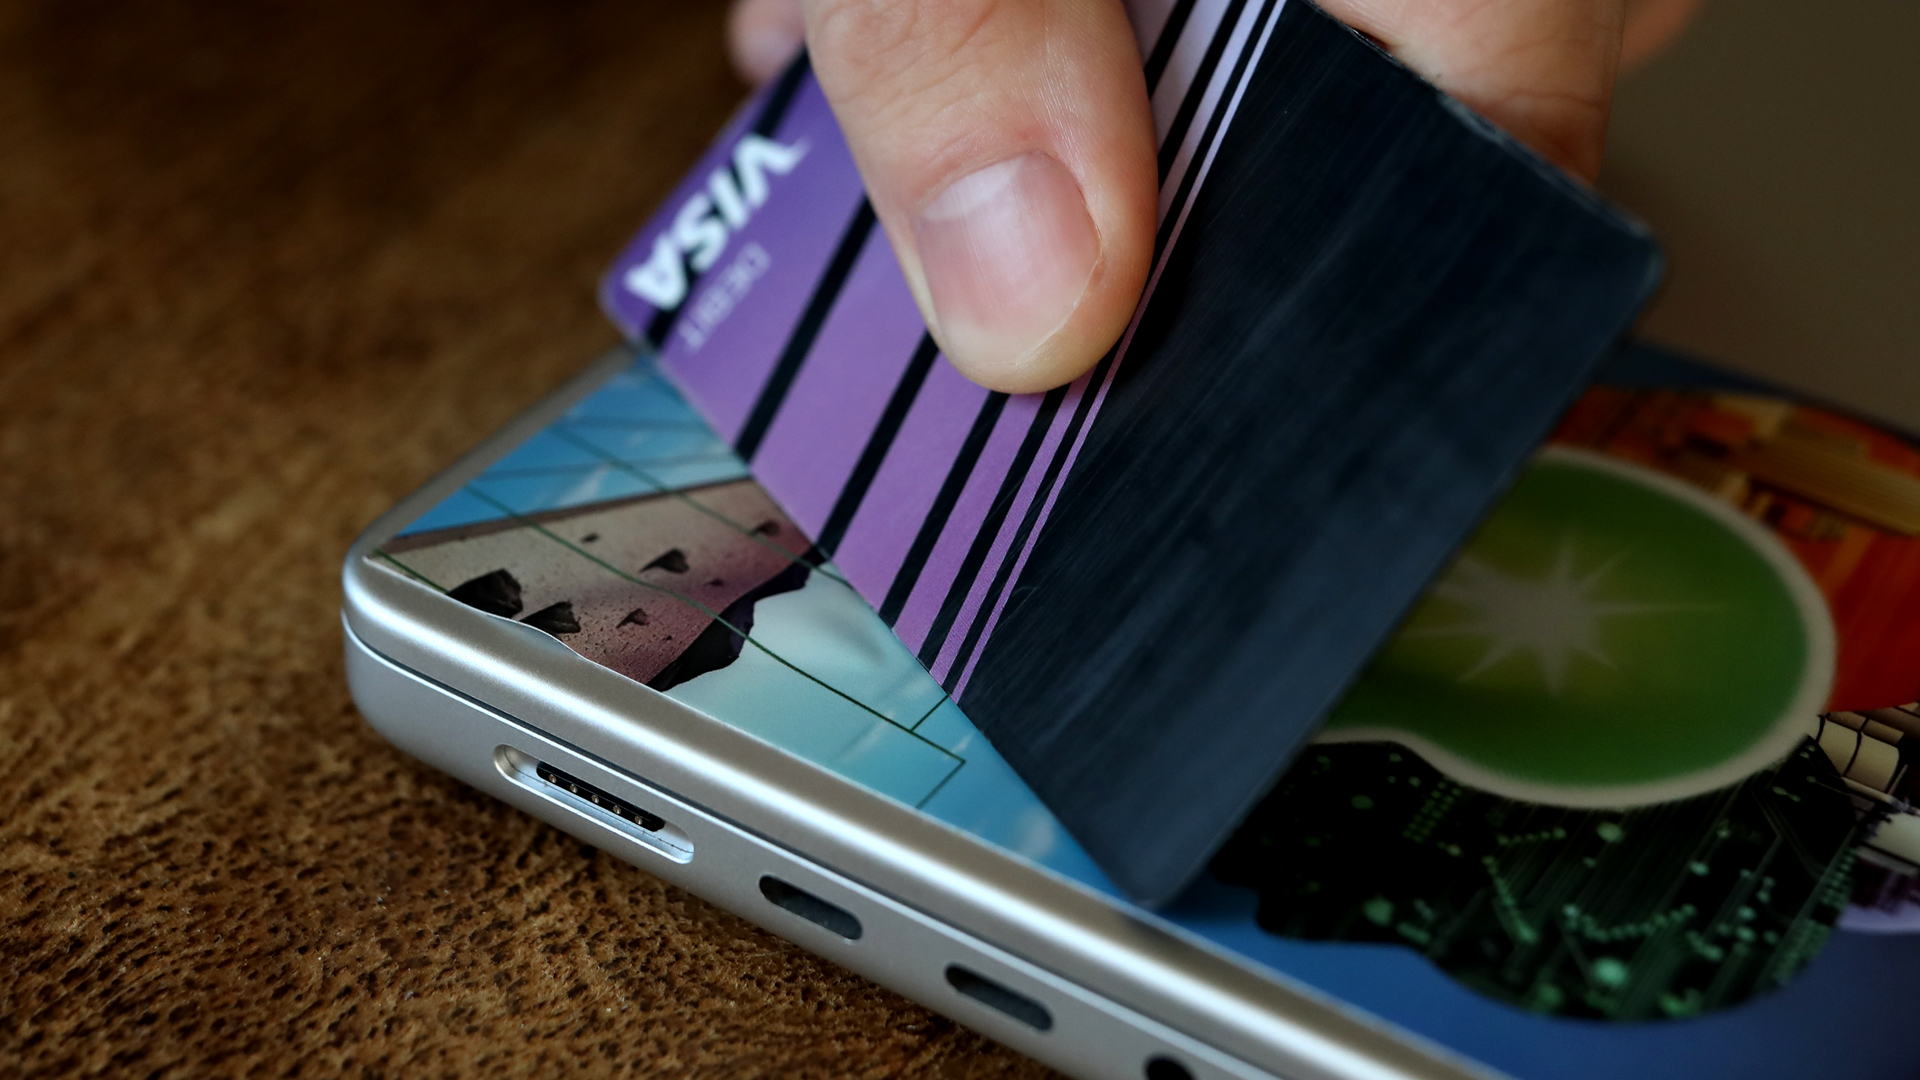
- Gently smooth out any trapped air with your fingers or a soft plastic card, working from the center outward.
Choosing the best stickers for your laptop
Not all stickers are created equal. For laptops, opt for:
- Durable vinyl stickers: These are water-resistant, fade-resistant, and tough enough to handle daily wear.
- Easy-to-remove stickers: High-quality stickers like those from Sticker Mule can be removed cleanly without leaving residue, perfect for long-term or evolving layouts.
- Personalized designs: Choose designs that resonate with your personality or brand. Mix sizes for visual variety and layer smaller stickers around larger focal points for a dynamic look.
Removing stickers safely
Switching up your design? Here’s how to remove stickers without damaging your laptop:
Warm the adhesive
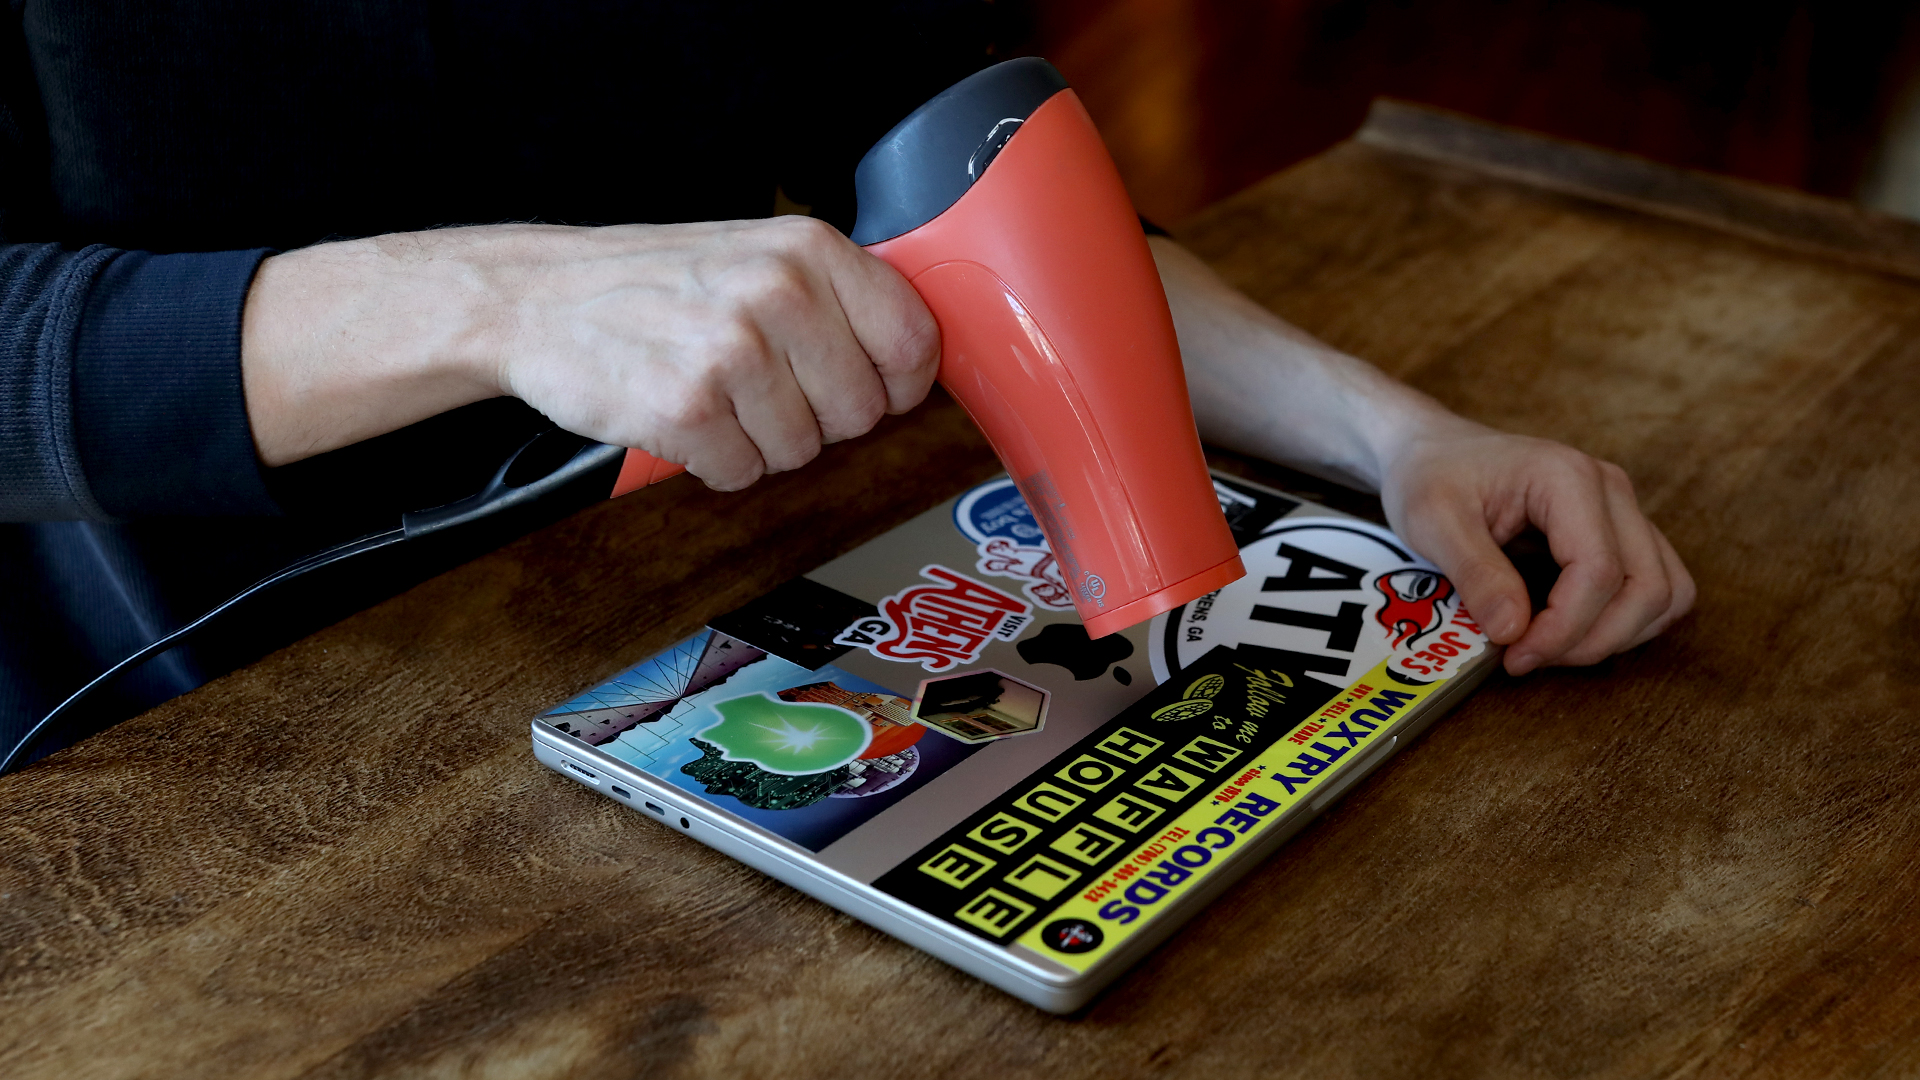
- Use a hairdryer on low for a few seconds to soften the adhesive. This makes peeling easier.
Peel slowly
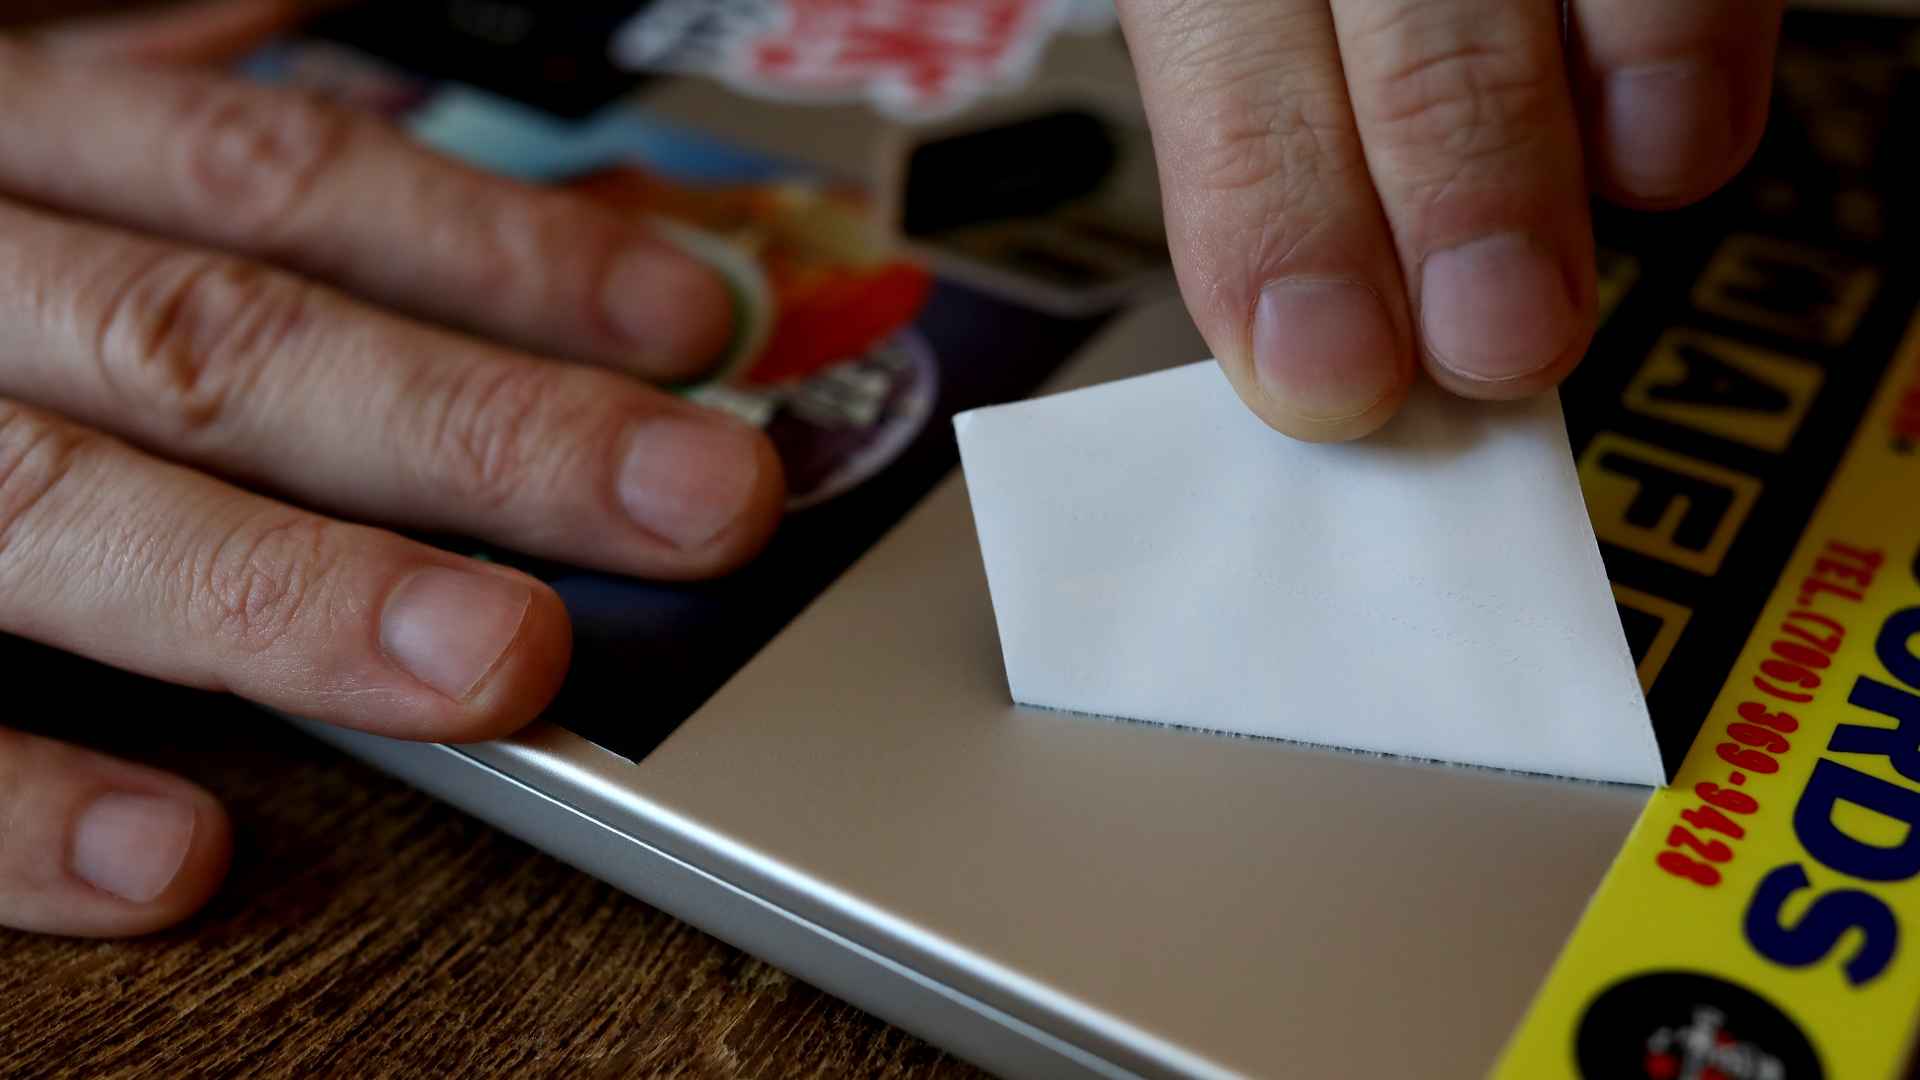
- Peel the sticker back slowly at a 45-degree angle to minimize adhesive residue. You'll want to keep a very close eye to make sure the adhesive is getting pulled with the sticker. If you feel the adhesive separating from the sticker and sticking to the laptop, slow down your peeling even more. If the sticker resists, reapply heat and try again.
Clean off residue
- Use a soft cloth with isopropyl alcohol to remove any leftover adhesive. Avoid abrasive tools or harsh chemicals. For more details, read our post on how to remove sticker residue.
Caring for Your Laptop Stickers
To keep your stickers looking vibrant and your laptop clean:
Clean gently: Wipe around stickers regularly with a soft cloth to prevent dirt buildup.
Protect your laptop: While Sticker Mule stickers are heat- and fade-resistant, excessive heat or sunlight may harm your laptop itself.
Troubleshooting common issues
Even with care, you might encounter challenges. Here’s how to handle them:
- Air bubbles: Use a soft card or your fingers to push bubbles toward the edges.
- Crooked sticker: Gently peel back the sticker and reposition it before pressing down firmly. If needed, use a plastic card to get under the sticker edge to gently work it loose.
- Sticky residue: Dab isopropyl alcohol on a cloth and wipe gently to remove it.
Why choose Sticker Mule for laptop stickers?
Going back to the history of stickers on laptops, did you know that Sticker Mule was there for the whole thing? Our subsidiary Unixsticker was the leading provider of stickers for the open source community. And if you've ever gotten free stickers at a trade show, there's a good chance that Sticker Mule printed them! And even though it's years later, if you find a laptop from a decade ago with a Sticker Mule sticker, chances are it's still stuck securely and still looks like new.
Sticker Mule’s stickers are designed to make laptop personalization easy and long-lasting:
- Durable and vibrant: Resistant to water, fading, and wear, they’re perfect for everyday use.
- User-friendly adhesive: Sticks firmly but allows for clean removal when it’s time for a change.
- Custom options: Bring your own designs to life or explore Sticker Mule’s extensive library of stylish options.
With Sticker Mule, your laptop can become a stylish extension of your personality. Ready to start? Explore our custom sticker options today and bring your vision to life!
Comments