How can I provide optimal transfer sticker artwork?
*This article applies to both transfer stickers and printed transfer stickers.
When designing your custom transfer sticker, there are a few simple guidelines to ensure the best possible quality. File preparation is completely optional. Feel free to upload your design as it is and we'll make any required setup and modifications before sending you a proof.
If you haven't already, read how to design a custom transfer sticker which covers artwork size requirements and modifications.
Keep in mind transfer stickers are precisely cut from vinyl material. We use the lines, referred to as paths, in your vector artwork to determine where the material is cut. Irregularities in these paths can cause problems with how the material is cut and the final product. Our art and production teams look for these irregularities during the process.
To provide optimal artwork, avoid these common problems in your vector artwork
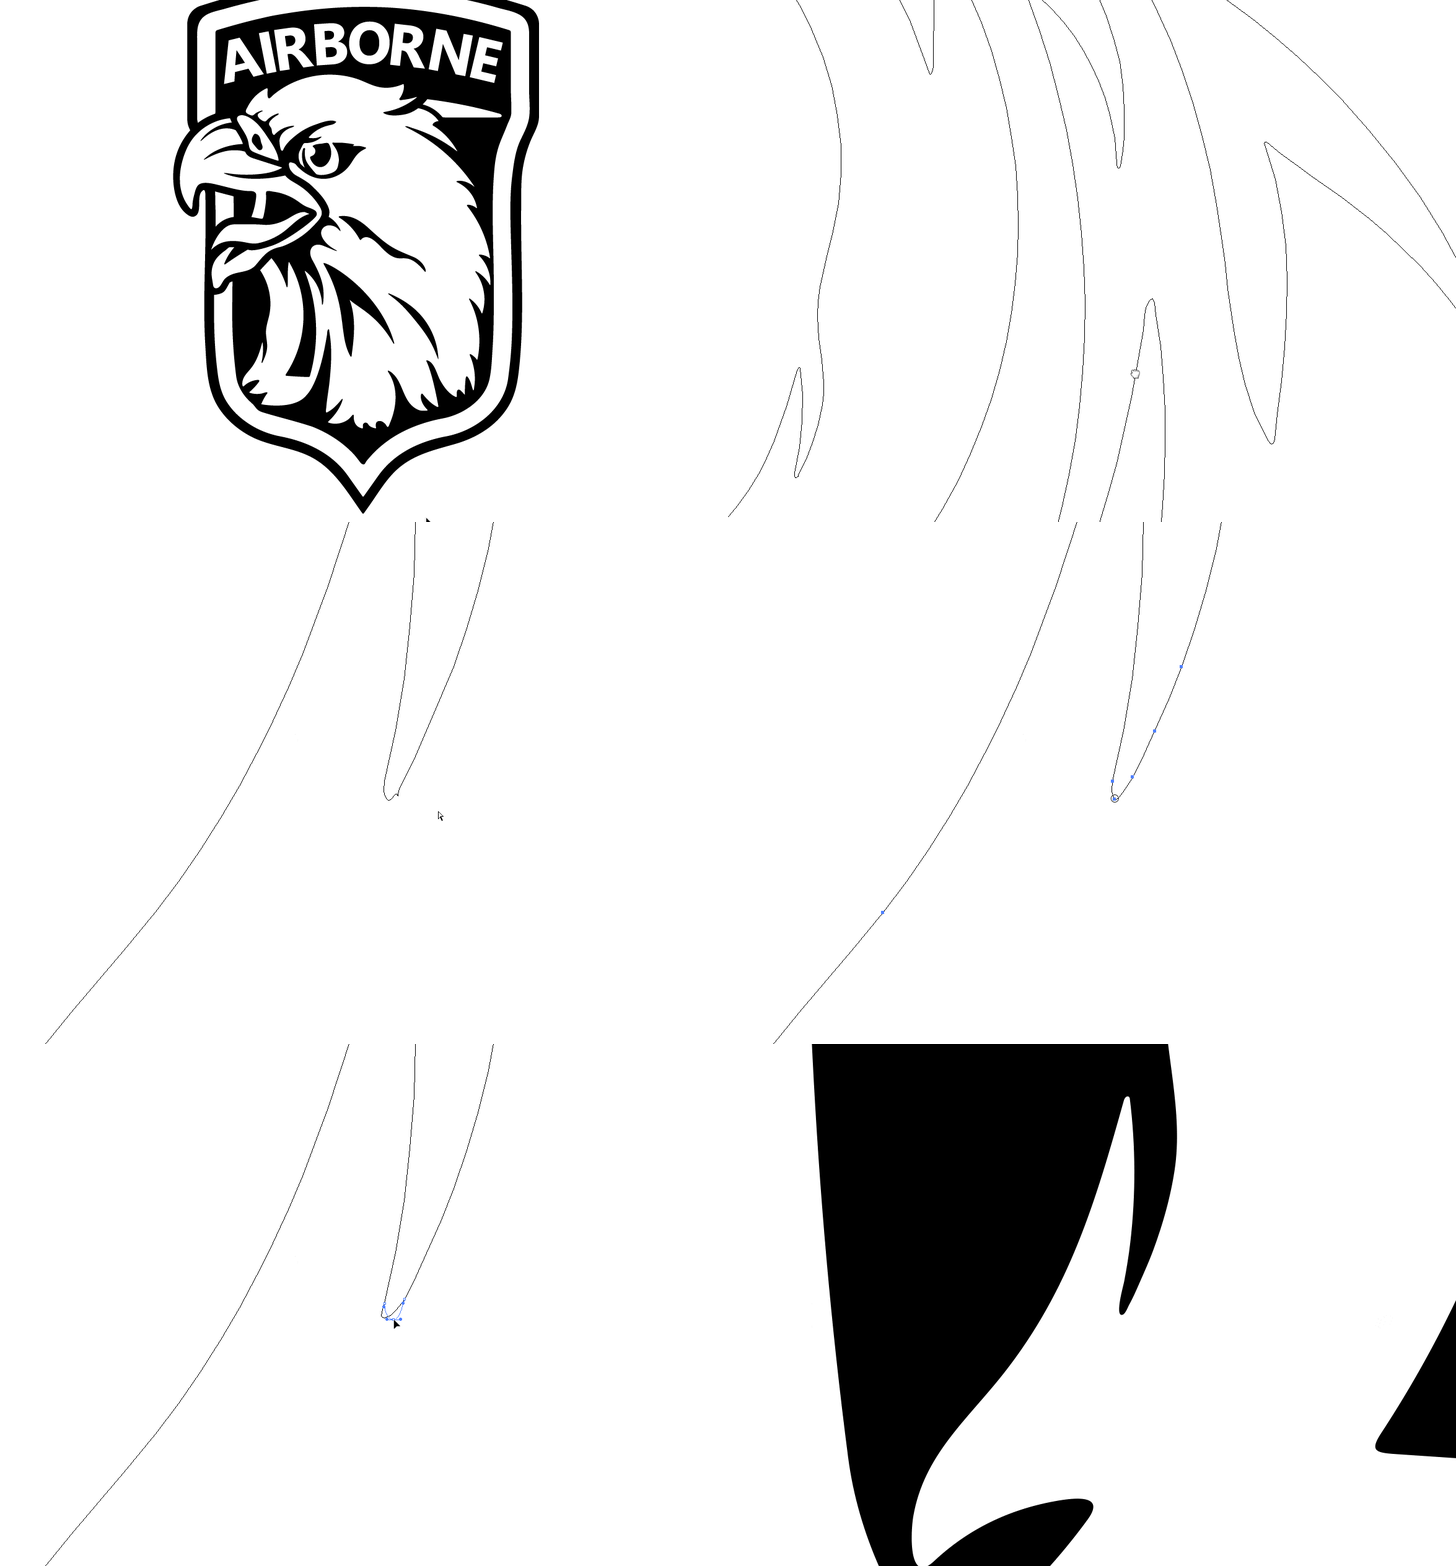
Double point
In this example, two points and their Bézier curves overlap each other, creating an overlapping path. Remove the overlapping path and smooth out.

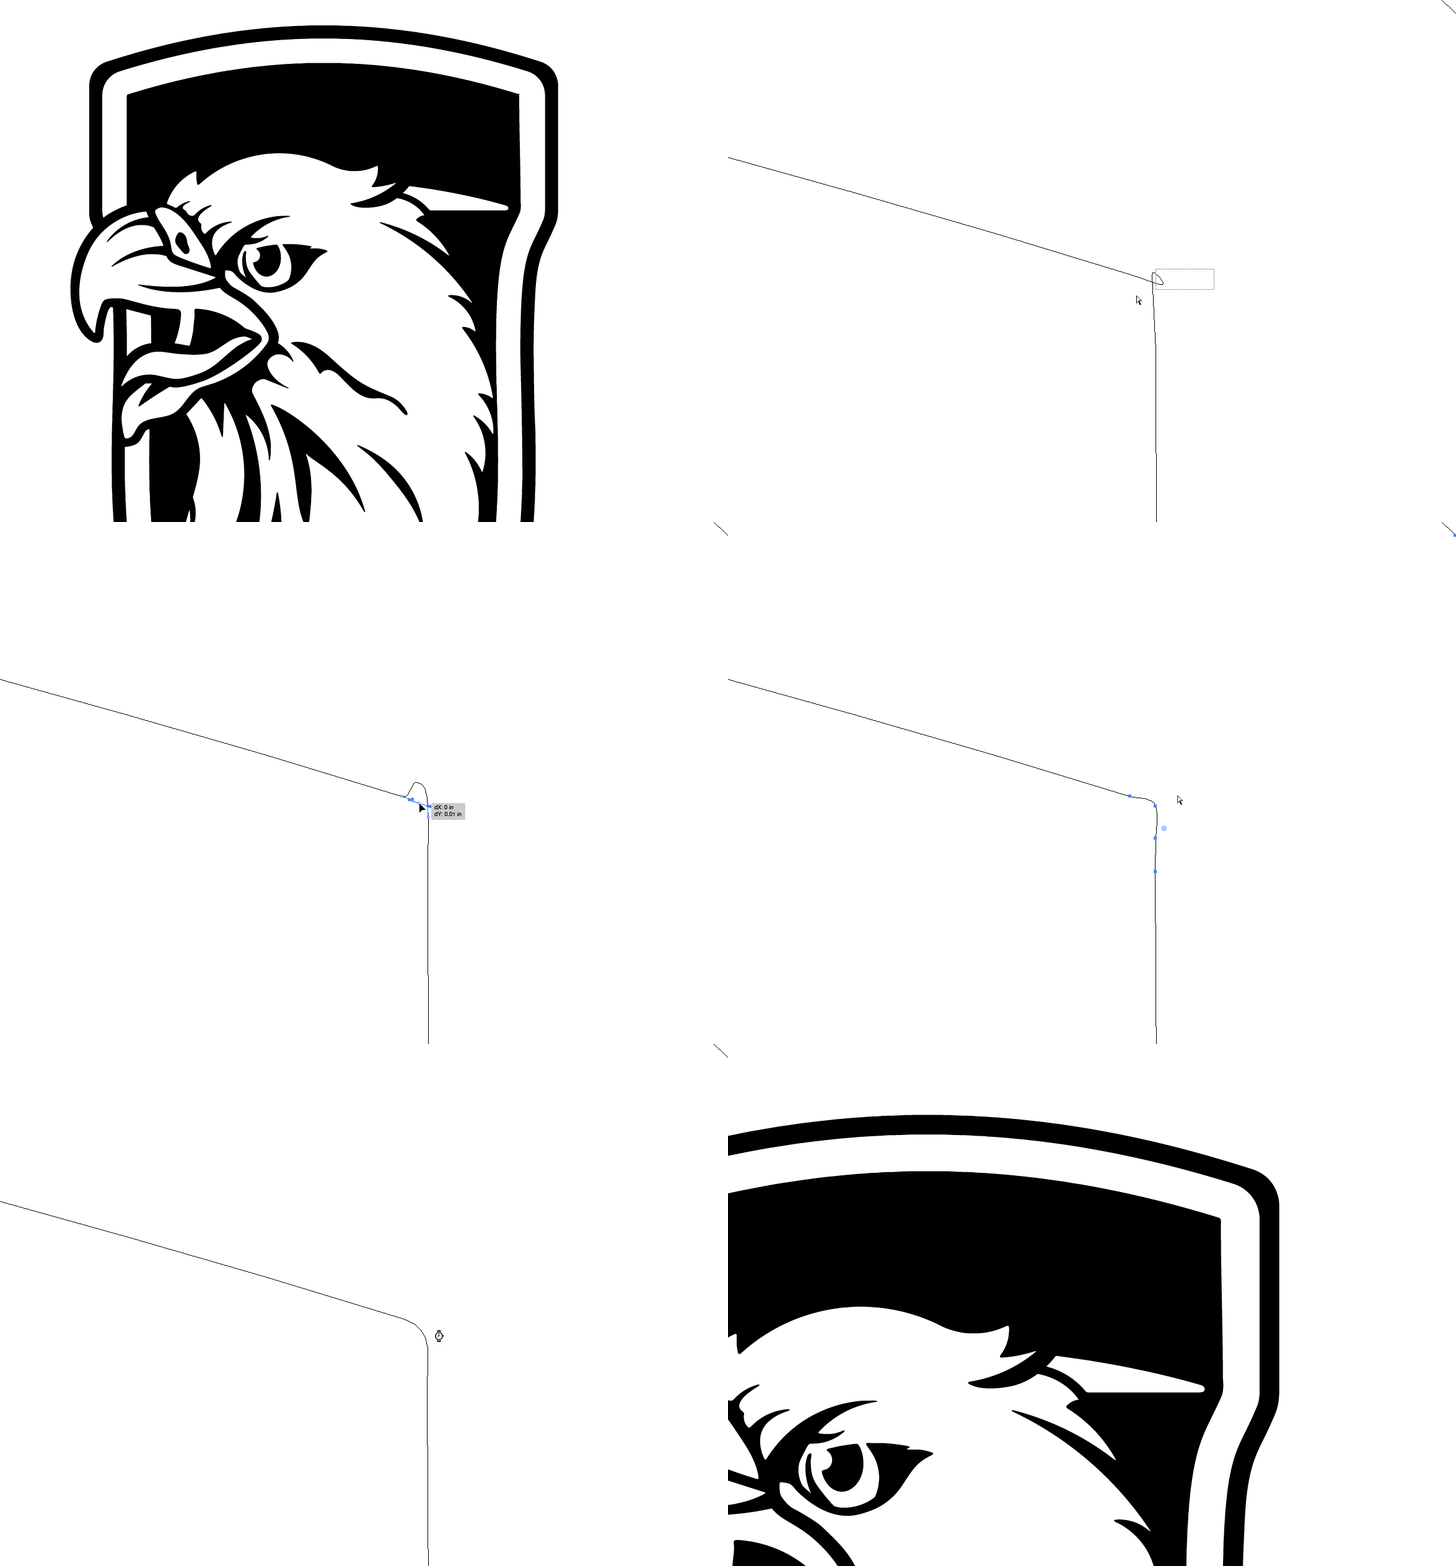
Burs
Typically unwanted and overlooked, burs are misplaced points that can create a rough edge in the final cut. Inspect your artwork closely and remove any as needed.
Crossed paths
Ensure that areas and paths in your design don't overlap.
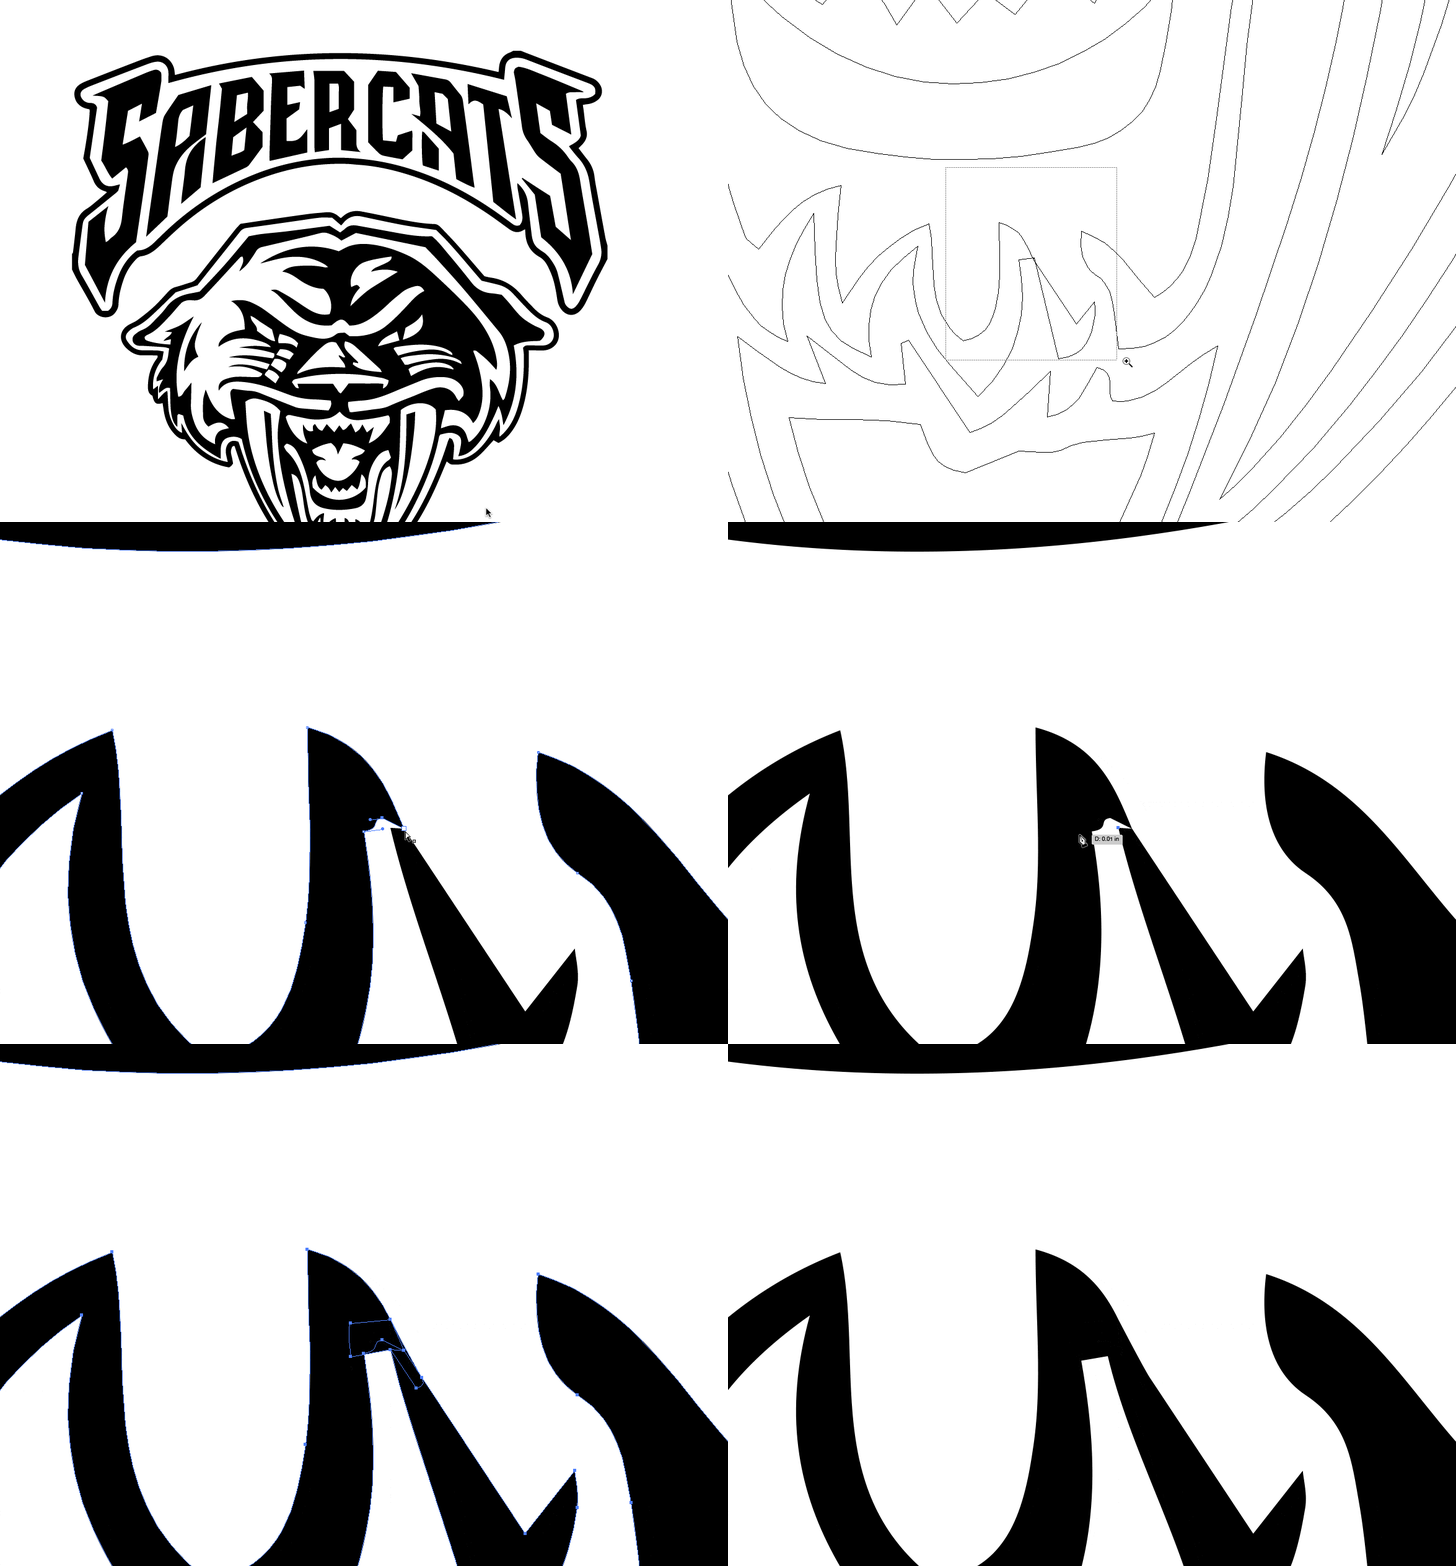
Stray points and objects
Remove all stray points and objects. If not removed, they would be considered part of your design and cut out of the vinyl.

Layered paths
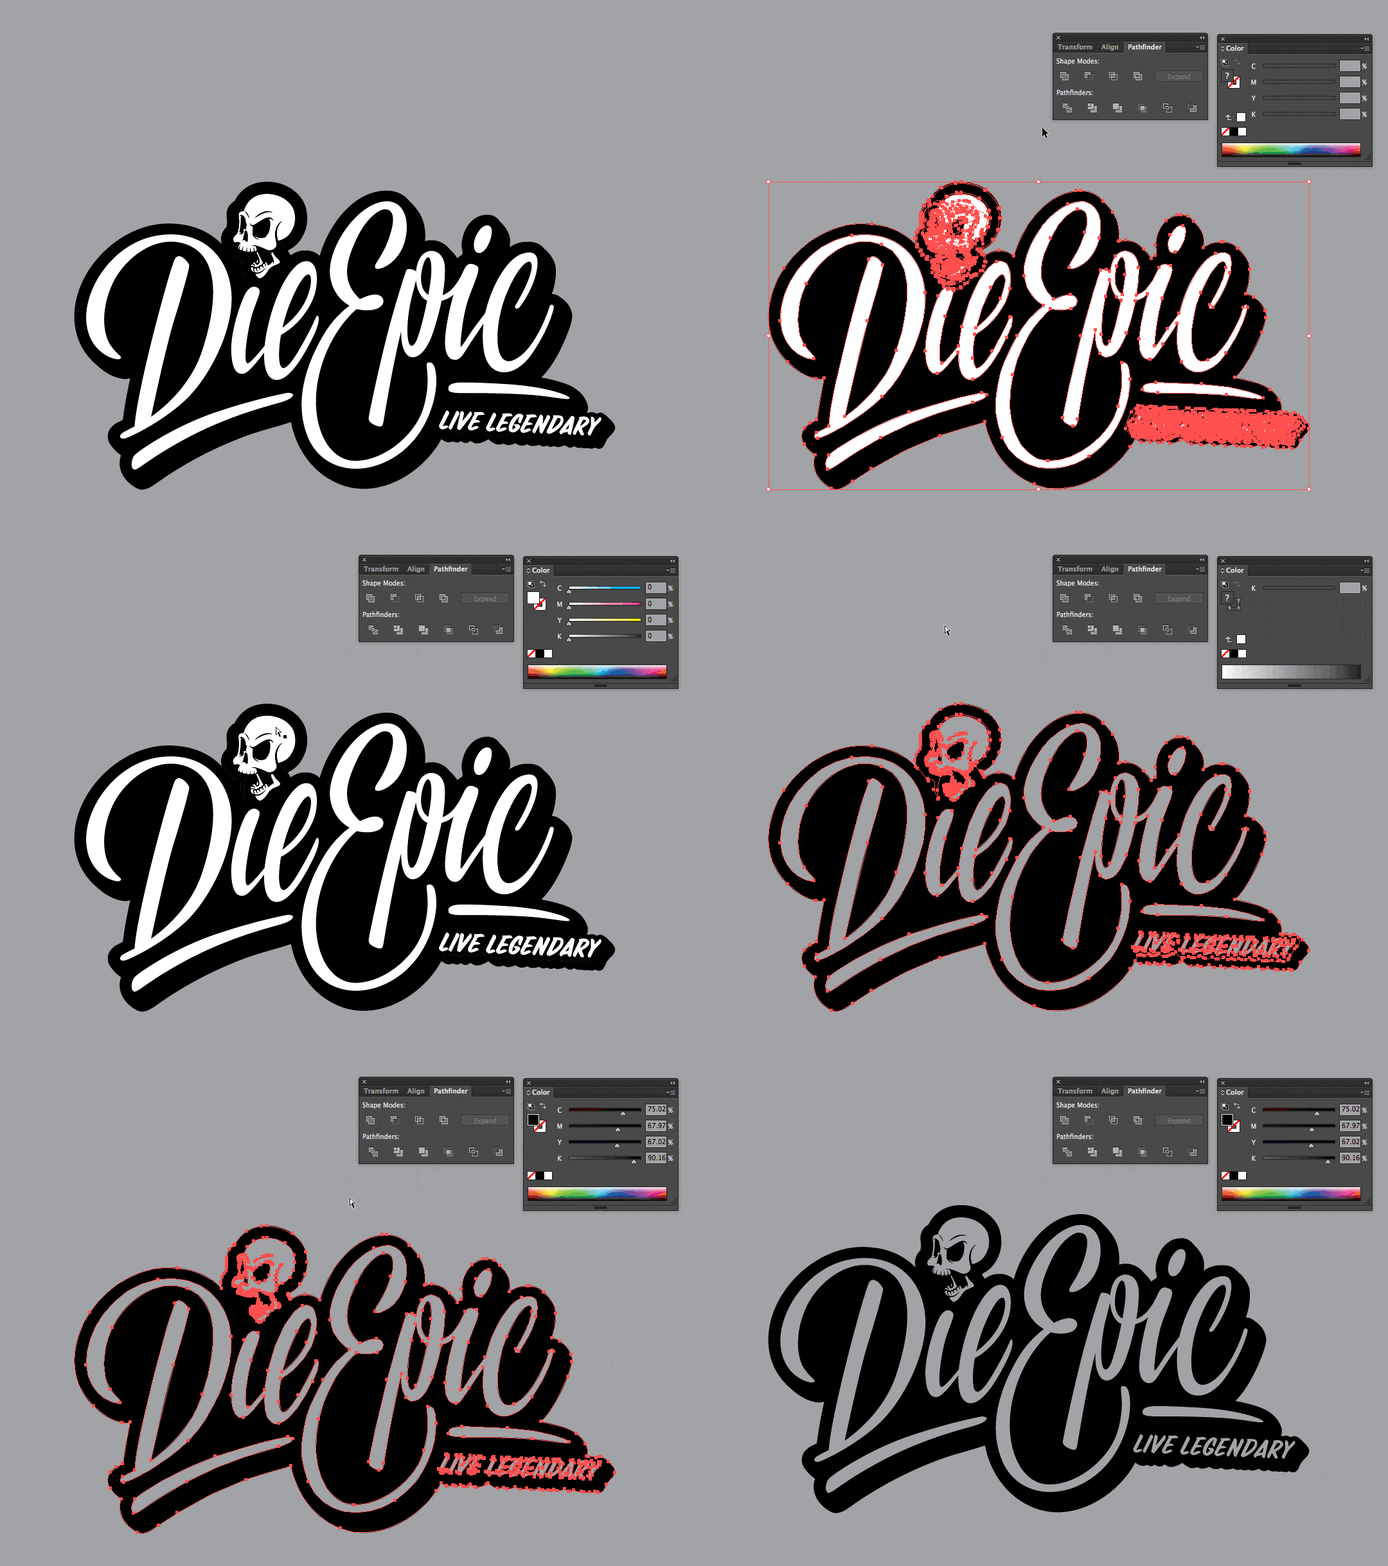
All paths become cutlines for the sticker material. To avoid overlapping cutlines, it's important to merge layered paths in your finished design.
In this example, there were black and white overlapping shapes. Here's what we did:
- Selected all paths and used the Pathfinder Merge tool
- Selected and deleted all the white areas
- Selected all paths and used the Pathfinder Unite tool
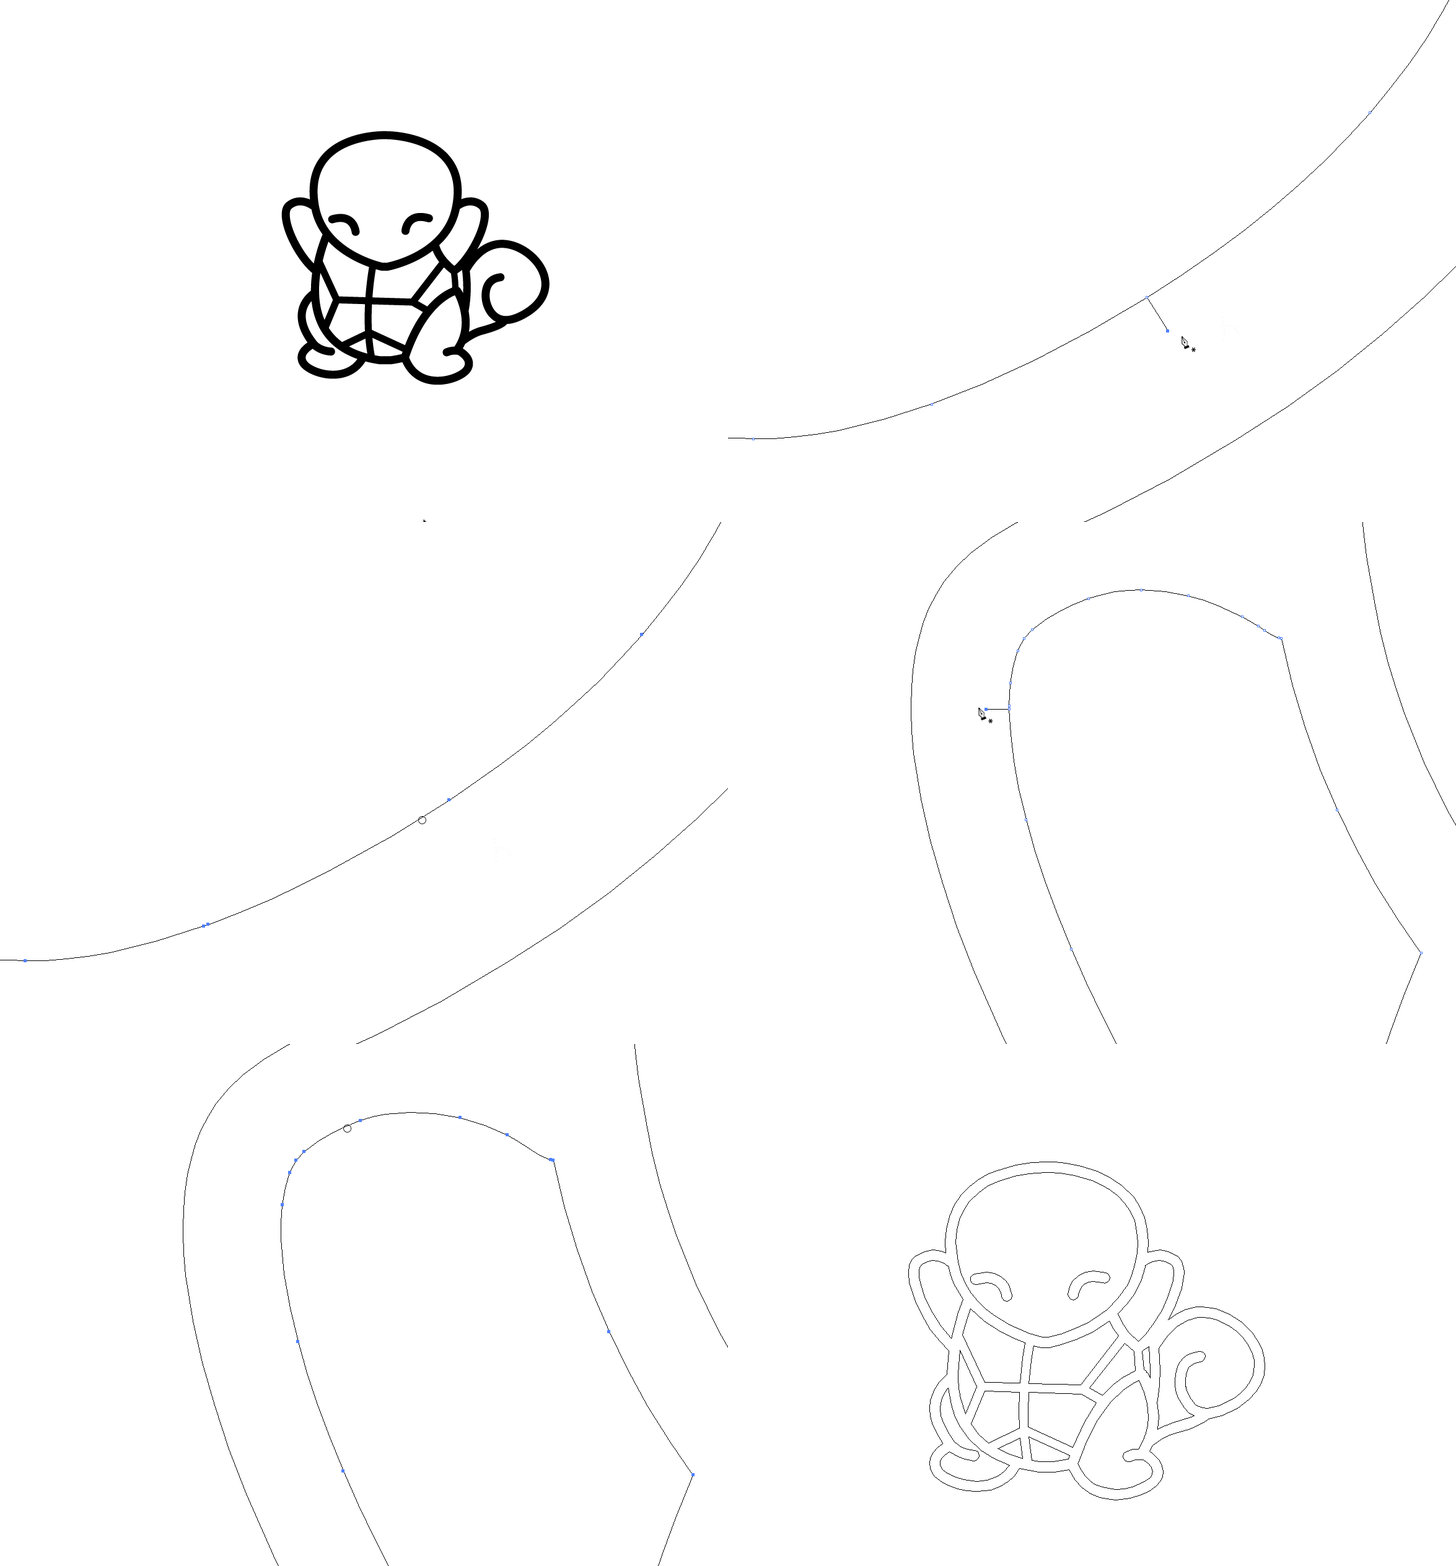
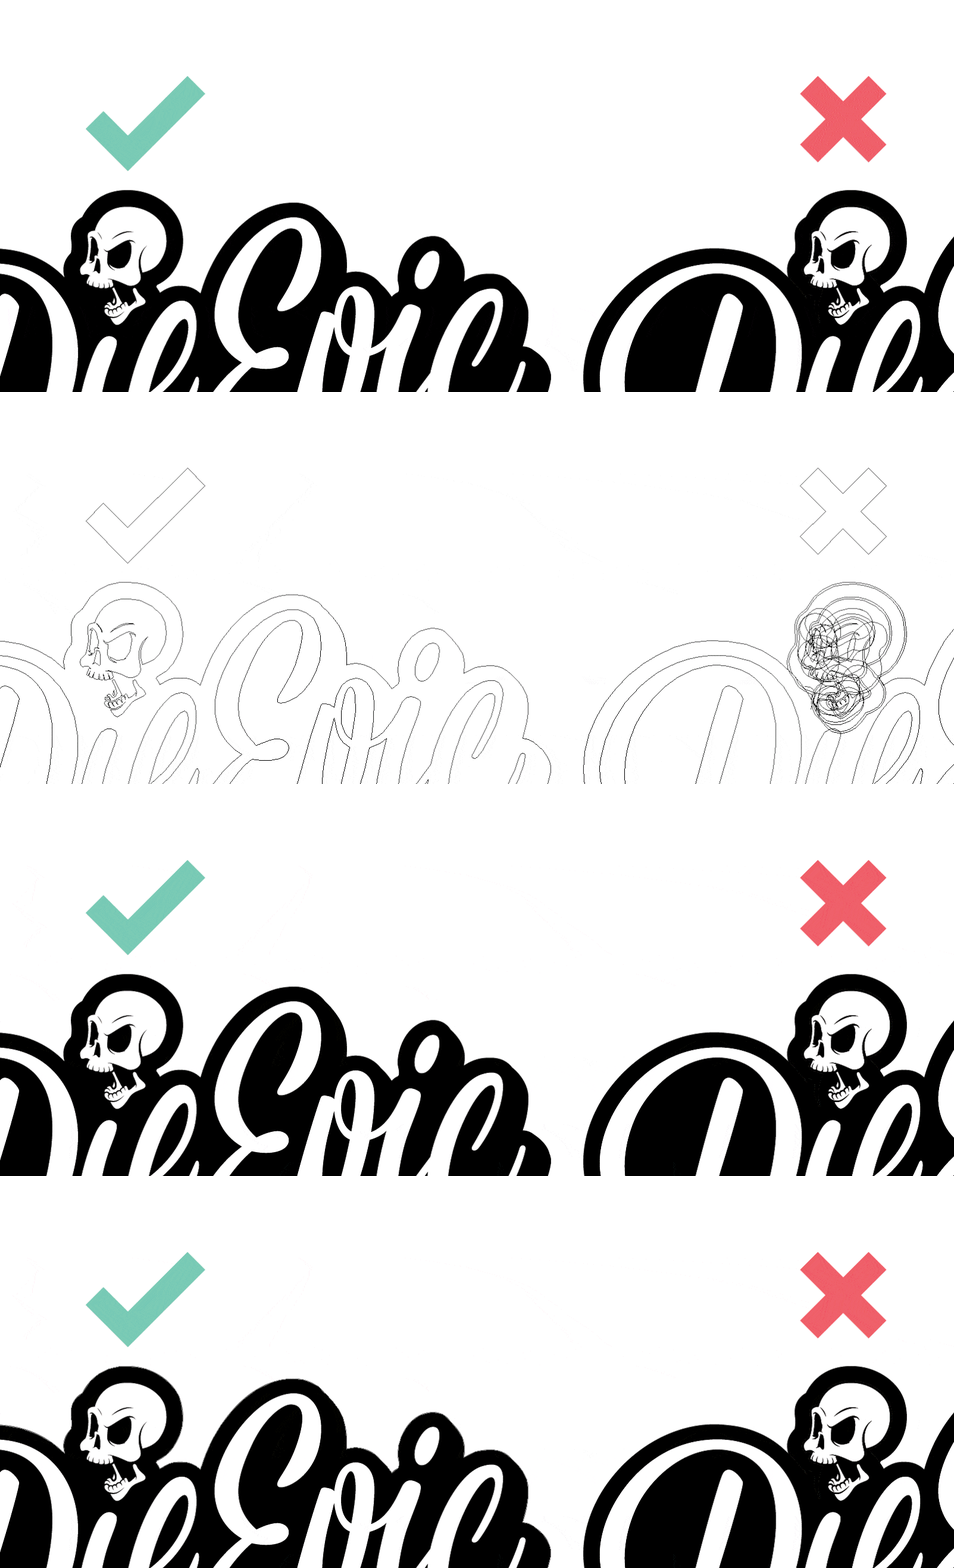
Duplicate shapes
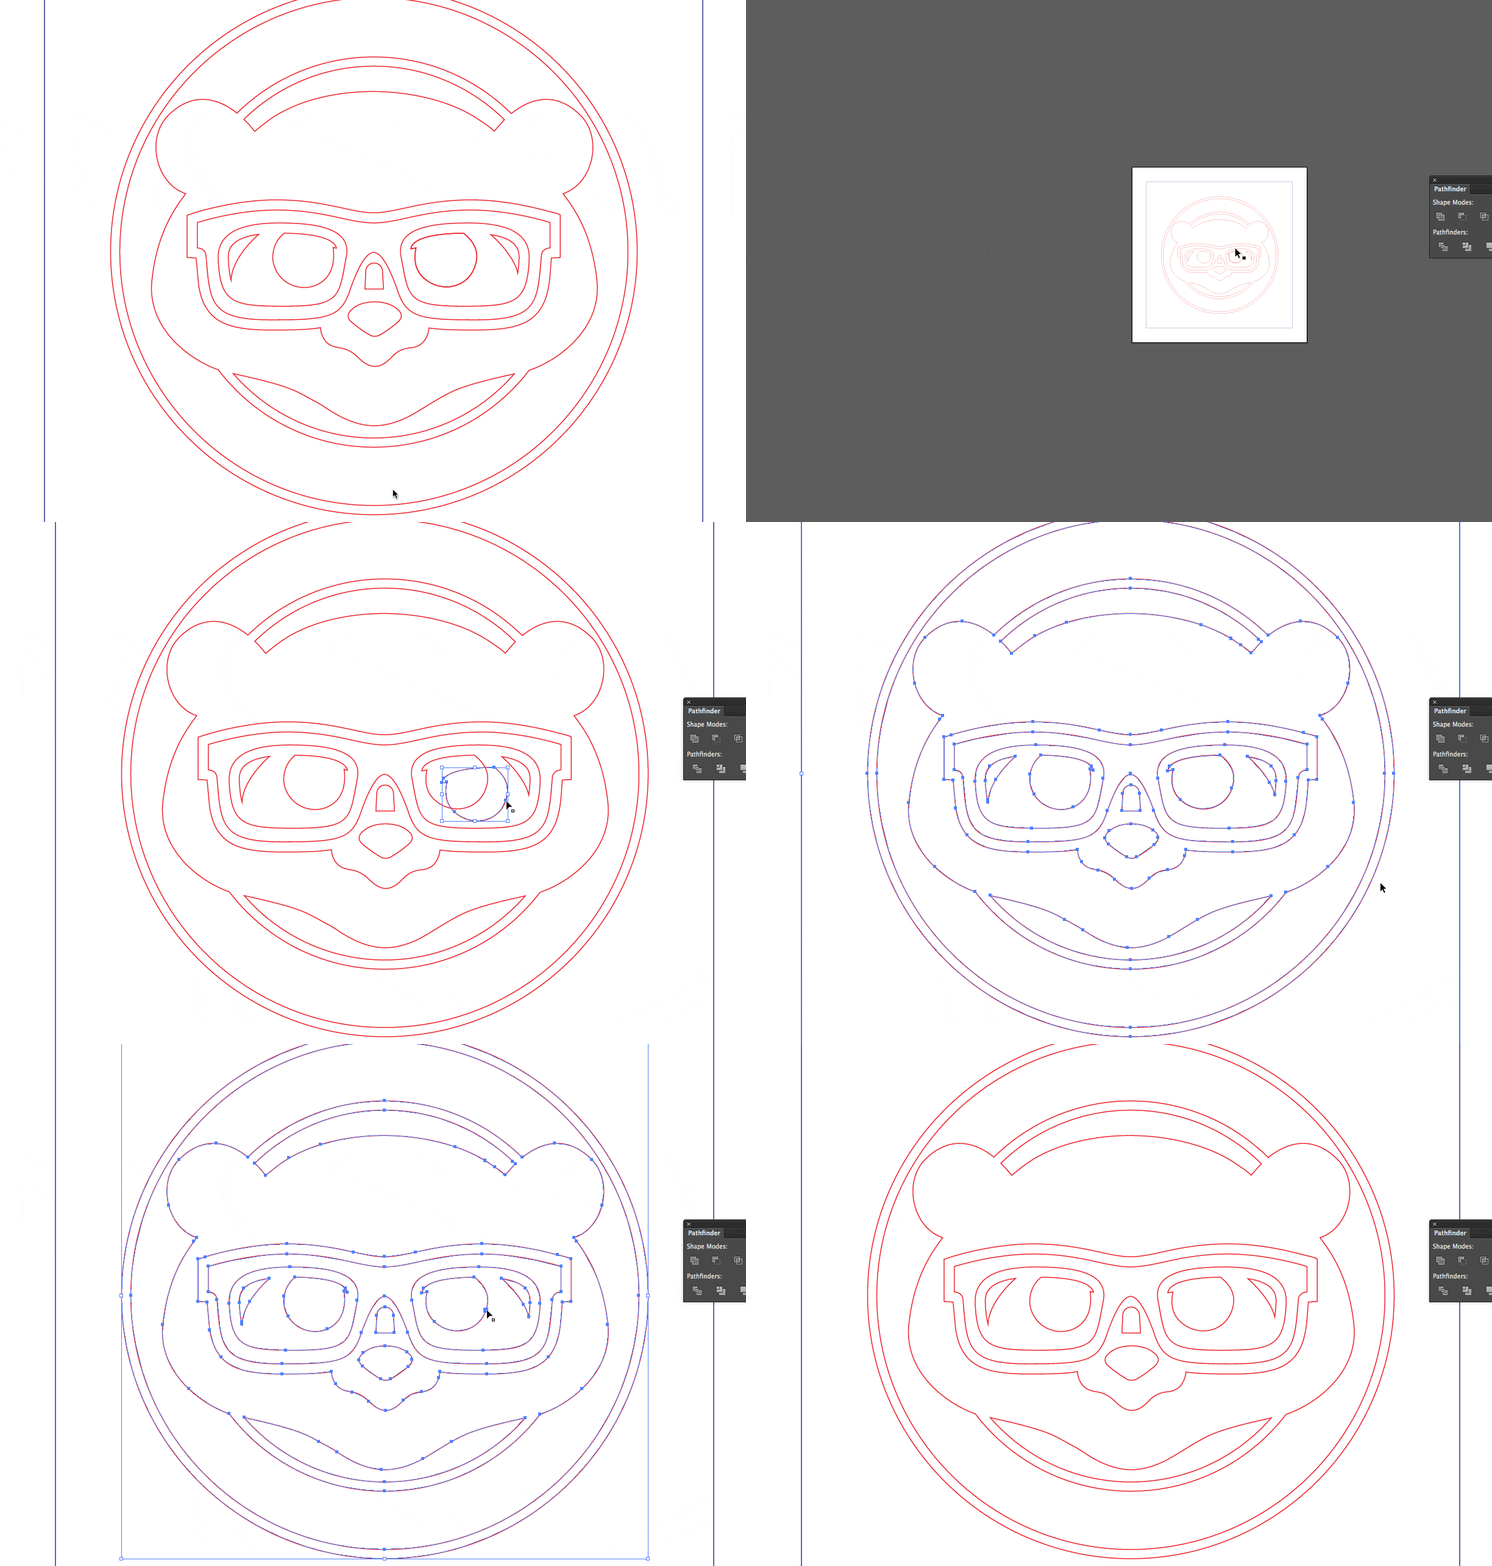
Similar to layered paths, duplicate shapes create overlapping cutlines. Here's a trick for spotting and fixing duplicate shapes in your design:
- Add a thin 0.25 pt stroke to all paths
- Zoom out to different zoom levels
- Look for paths that appear thicker than the others
- Inspect these paths for duplicates
- Remove duplicates as needed. In this example we simply selected all artwork paths and merged them using the Pathfinder Unite tool.
Related article: What are the bleed requirements for printed transfer stickers?
