How to design sticker sheets in Adobe Illustrator
Hayden Aube द्वारा इस को पोस्ट किया गया
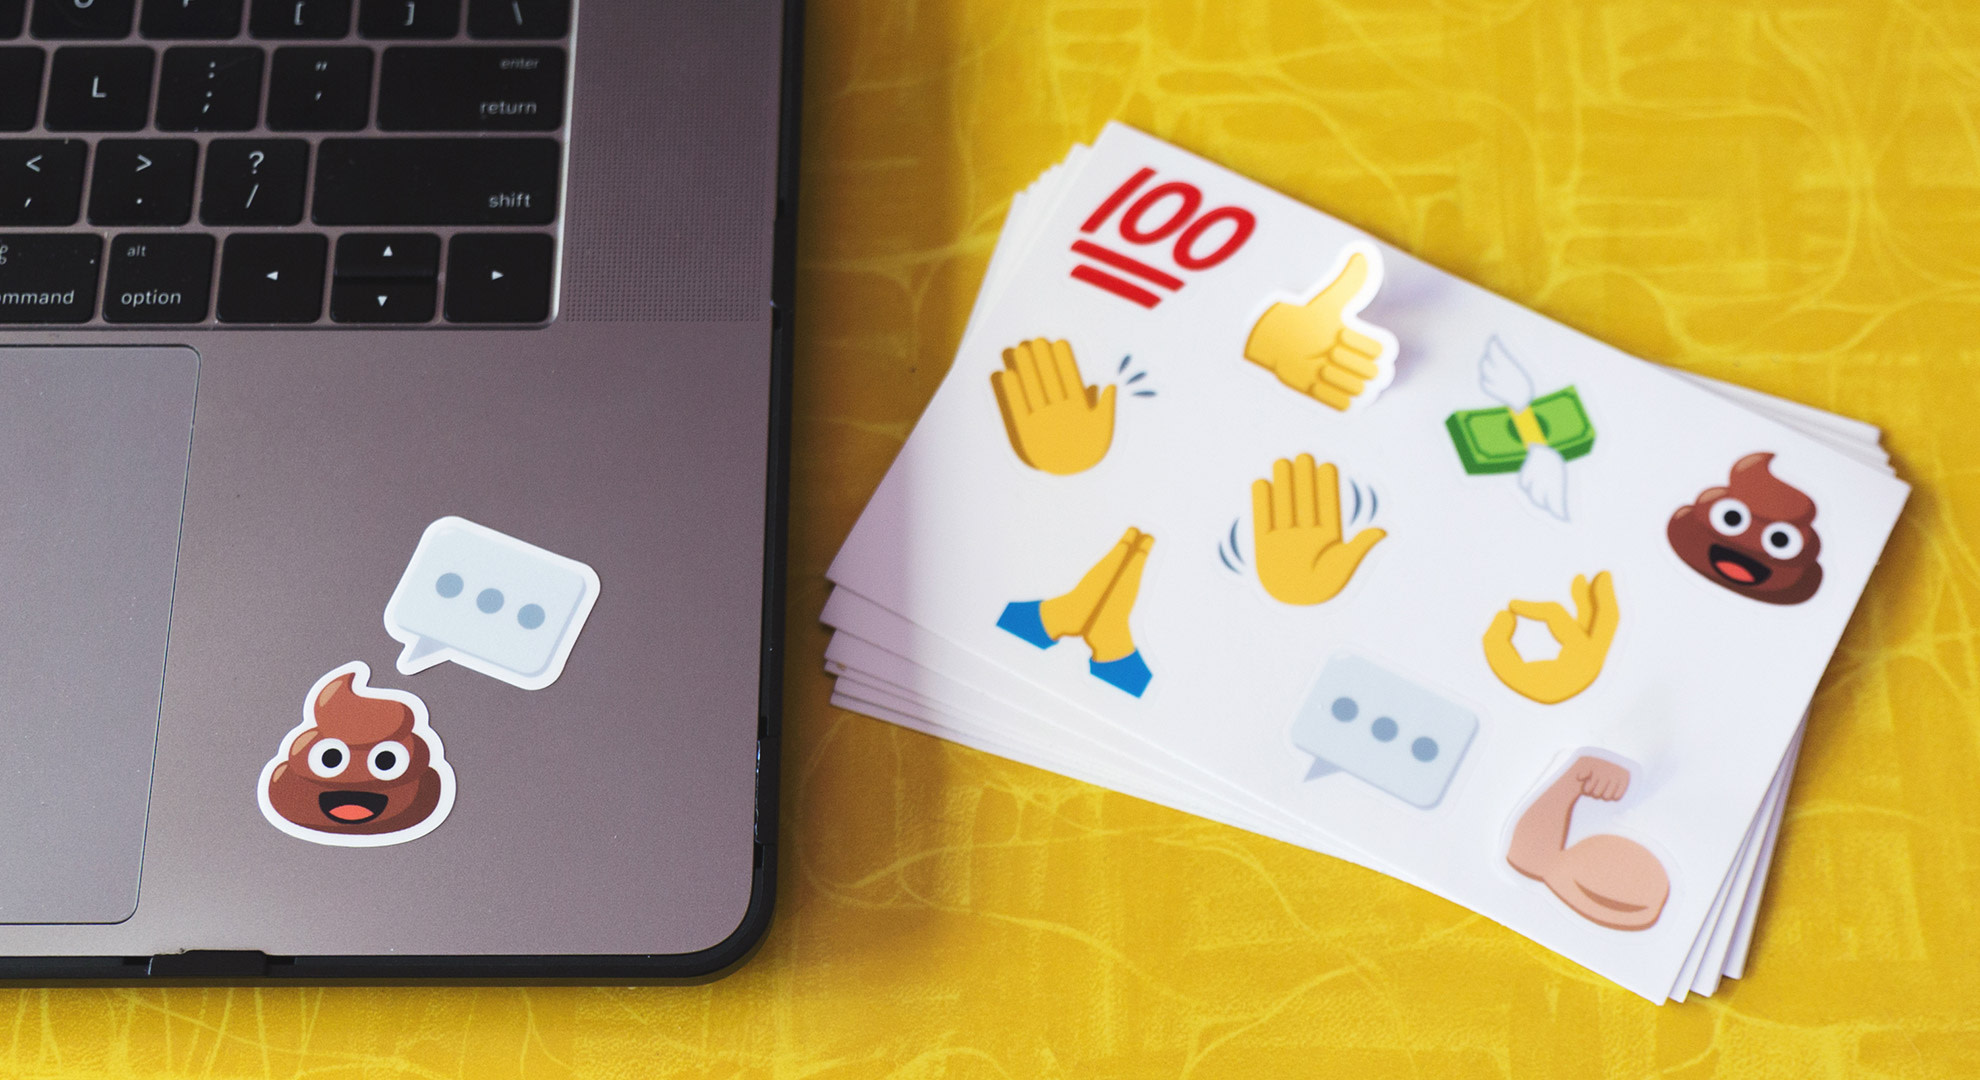
This tutorial is going to show you how to create an awesome sticker sheet using Adobe Illustrator.
A sticker sheet is a page with several peelable stickers, most commonly grouped in a theme. These are great for promotion or showing off artistic flair.
With Sticker Mule, designing your own sticker sheet is completely optional.
You can send us a zip file of the individual designs and we'll lay it out for you. Or you can have total control over the final look by designing the sticker sheets yourself.
Step 1: Set up your sticker sheet artwork
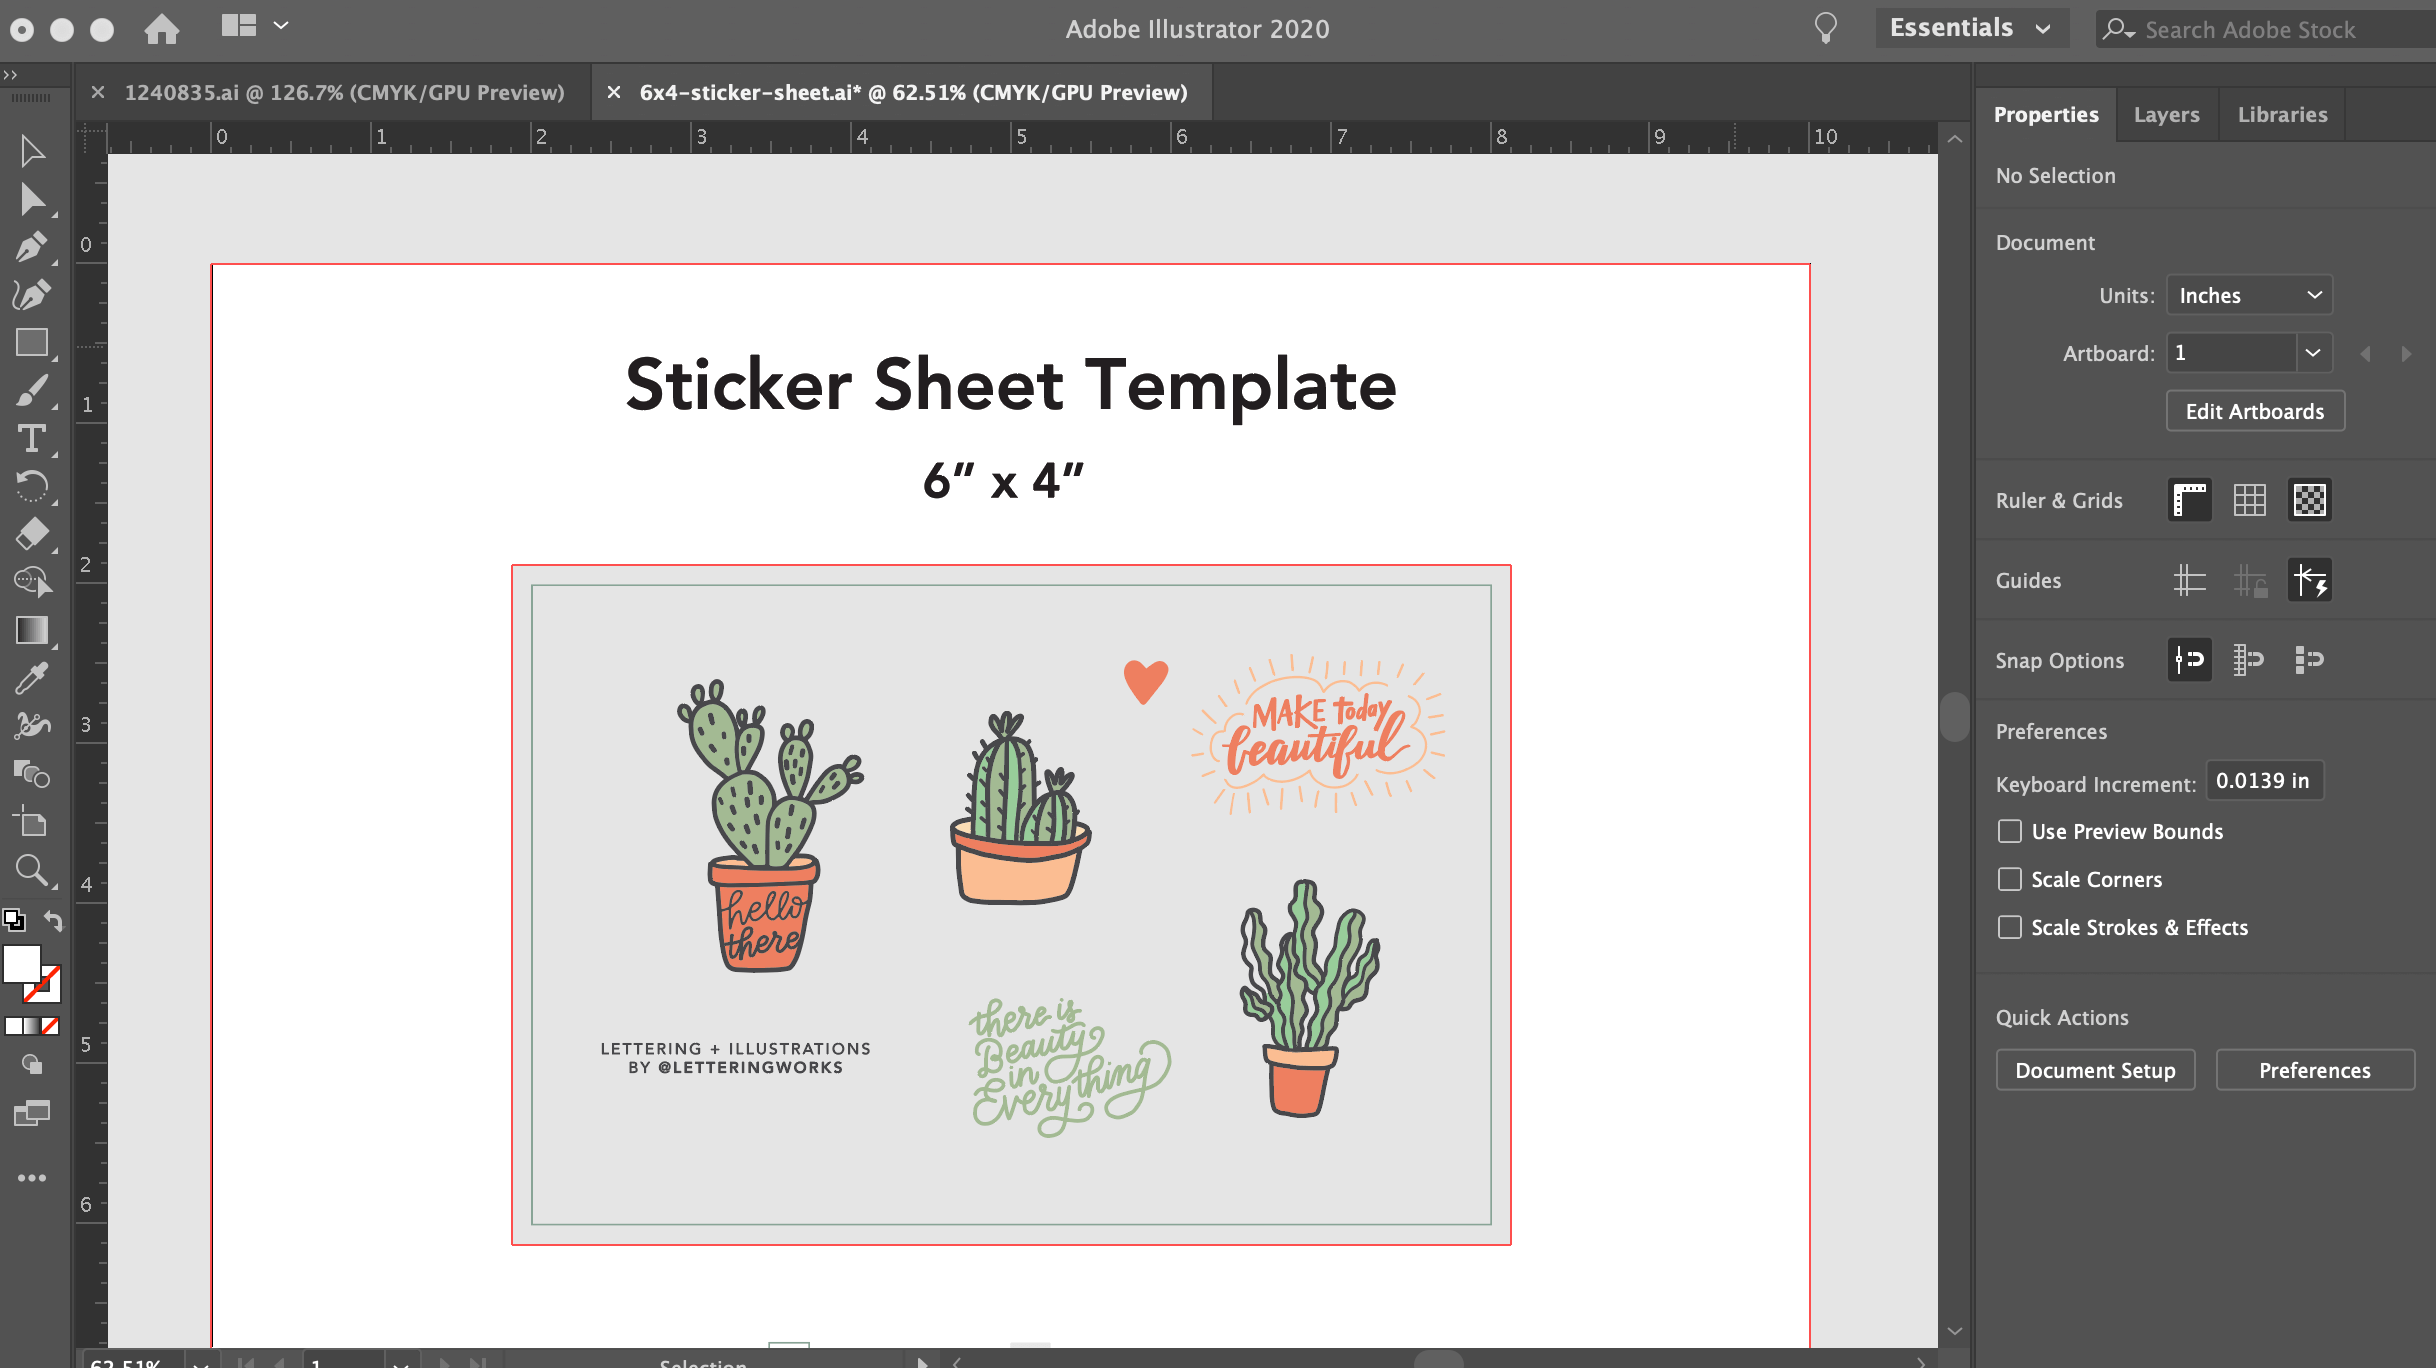
For an easy start, we recommend downloading one of our sticker sheet templates.
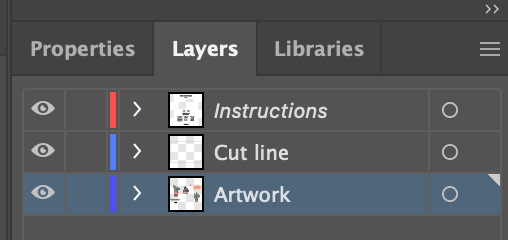
Once you have the template open in Adobe Illustrator, make sure you are in the ‘Artwork’ layer.
To find layers go to Window > Layers
Now you can start dropping the designs onto the sheet.
From here, you're free to scale, position, or rotate your designs any way that you feel necessary, as long as it's within the sticker sheet box.
Each sticker must be at least one inch by one inch and have a space of at least a quarter-inch around it measured from the sticker cut lines and not the artwork itself.
Step 2: Outline any text
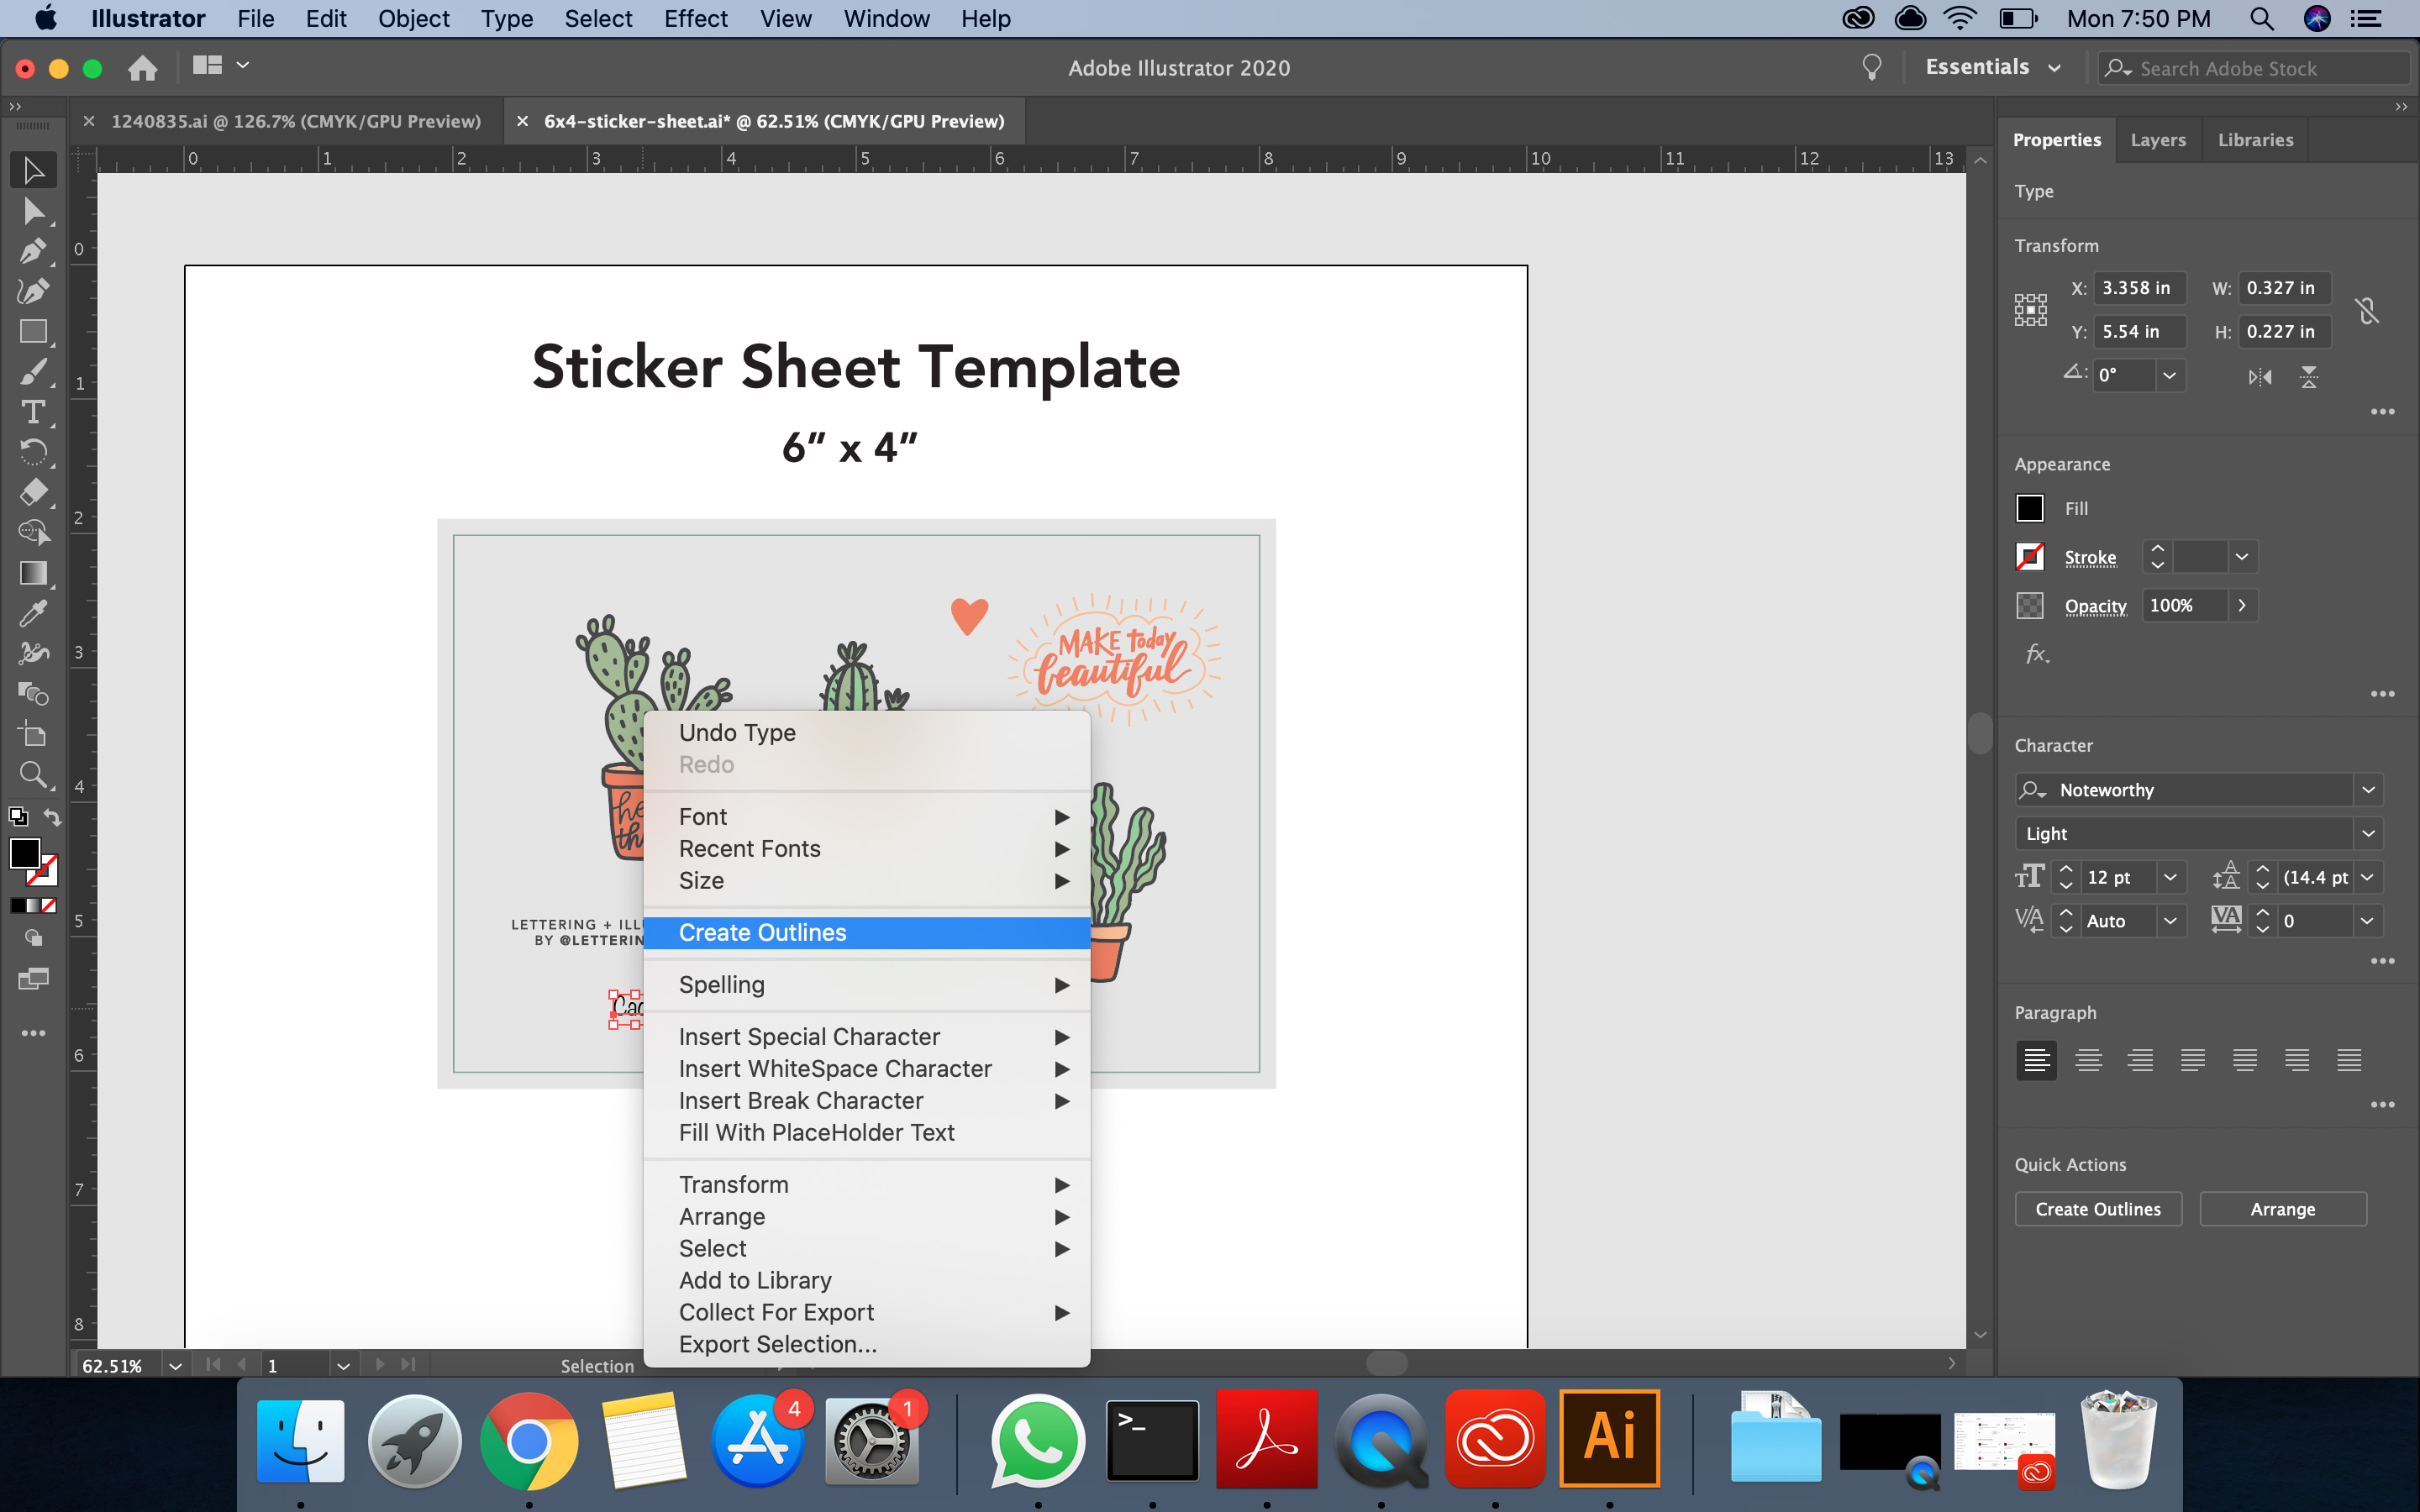
If you're working with text, make sure it's outlined before you print.
To do this, right-click on the text and press ‘Create Outlines’.
Step 3: Specify your cut lines
Now you can specify cut lines using a one-point stroke.
A quick way to do this is to select all of your designs, copy them, and paste them on the cut line layer.
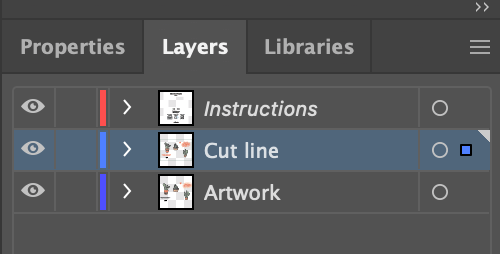
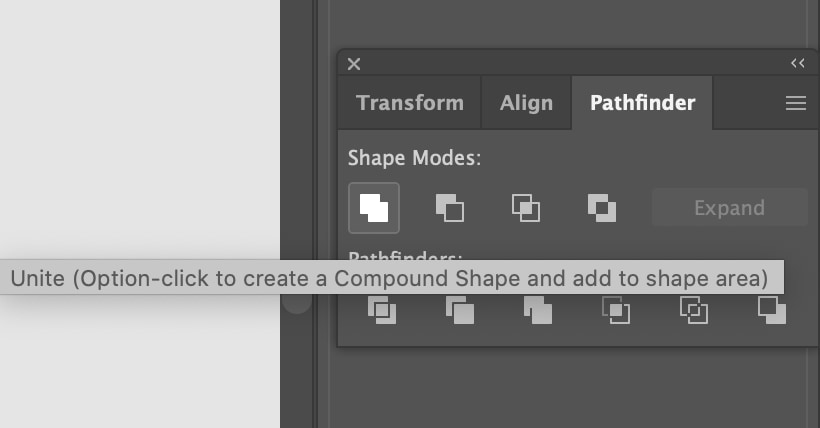
Then use the unite function in the pathfinder window.
Once that's done, just apply the cut line swatch as a stroke, and we'll know exactly how to cut your stickers once sent to production.
If no cut lines are specified, we will automatically determine them for you. You will review this during proofing before print.
For a more detailed explanation of this, check out our tutorial on how to create sticker cut lines.
Step 4: Start your sticker sheets order
Once everything is looking good, you can save your Illustrator file, upload it, and start your order. This tutorial is complete!
Further tips for designing an awesome sticker sheet:
- Design first and adjust later. Focus on getting your sticker designs laid out roughly and then if you decide that a certain sticker needs to be bigger or spaced further apart, it will be a simple adjustment.
- Consider making your stickers full bleed. If your designs allow for it, you can make your stickers full bleed by extending your artwork an eighth of an inch beyond the cut line. Keep in mind that whatever is outside of the cut lines will remain on your sticker sheet when the individual stickers are removed.
- Make the sticker sheet beautiful itself by adding non-sticker elements. A colorful background or a logo can add a really nice touch to the sheet once it's printed.
