How to remove backgrounds in Photoshop
Hayden Aube द्वारा इस को पोस्ट किया गया
In this easy-to-follow tutorial, we show how to remove the background from any image using Adobe Photoshop.
Before you start, take a look at Trace, our new background remover tool. It erases backgrounds from photos instantly, and could save you a lot of time.
For best results:
- Find a high resolution image; the more pixels, the more accurate you can be.
- Make sure the subject stands out from the background and they do not share too many similar colors or textures.
Step 1
Open your photo in Photoshop and create a new background layer.
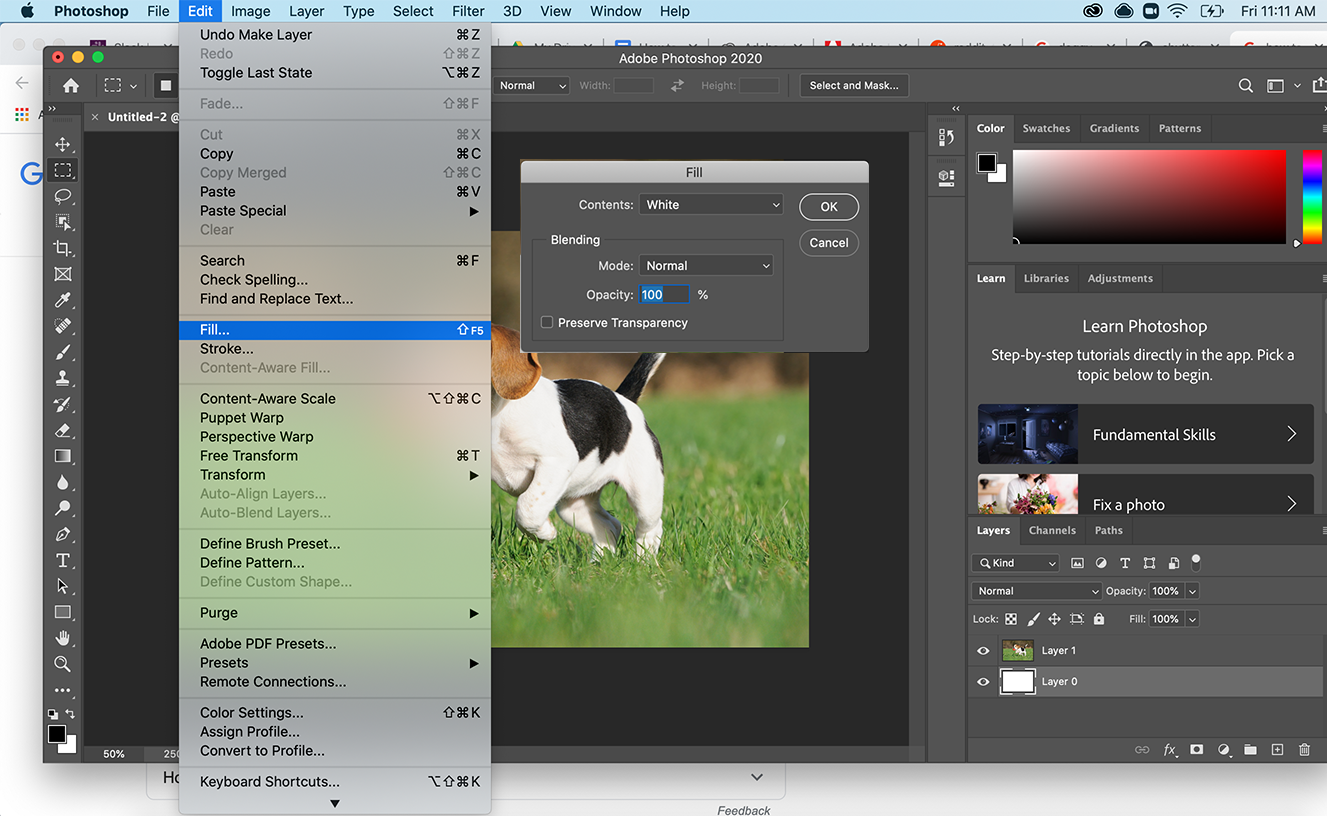
On this new background layer go to edit, fill, and then select white for the contents.
Place this layer below your photo so that as we remove the original background the white one is revealed underneath.
If your photo is a locked background layer you won't be able to drag another layer below it. All you need to do is double click on it, give it a name, and press enter to convert it to a normal layer so that you can move things below it.
Step 2
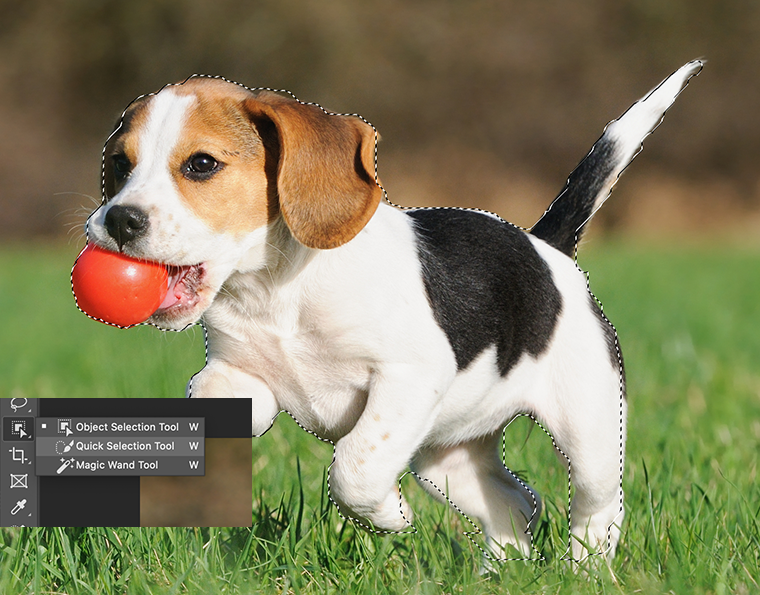
Grab the quick selection tool and start dragging over the part that you want to keep.
The size of your brush determines how much is grabbed with each click or each drag of the mouse. To change it, use the open and closed square brackets to make the brush larger or smaller depending on how accurate you need to be.
It's likely that as you're making your selection you're gonna highlight areas that you don't wish to. When this happens simply hold alt while using the tool and it will subtract from the selection instead of adding to it.
The magic wand tool as well as the object selection tool can also come in handy here. Check those out if needed.
Step 3
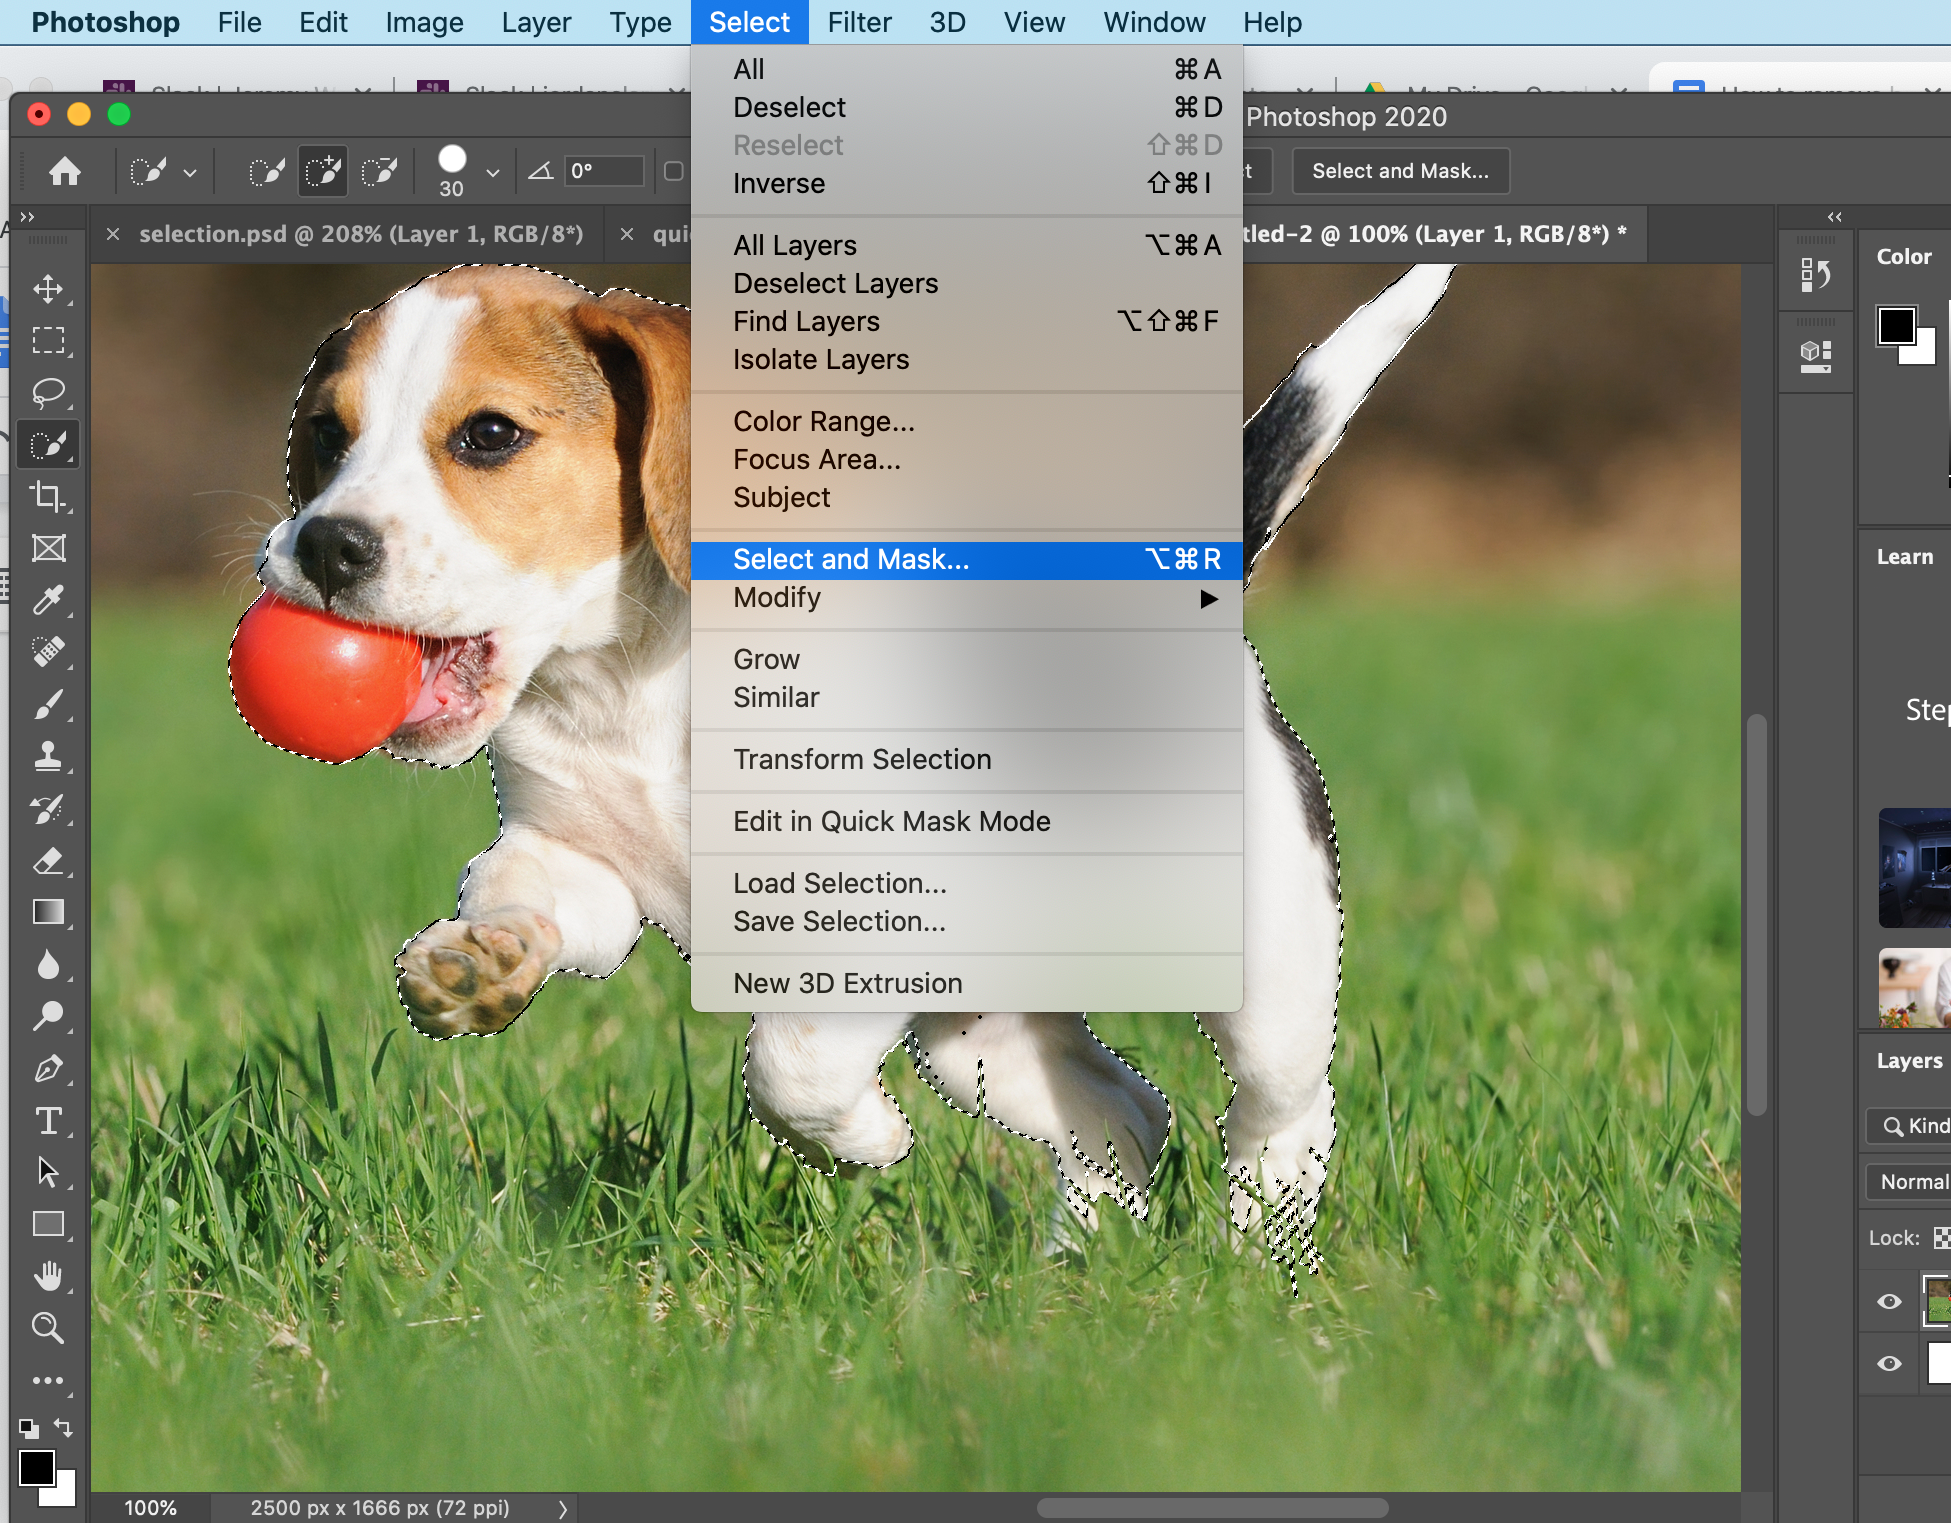
Once you've done a fairly good job of selecting your subject from the background we're gonna refine it by going to select and then select and mask.
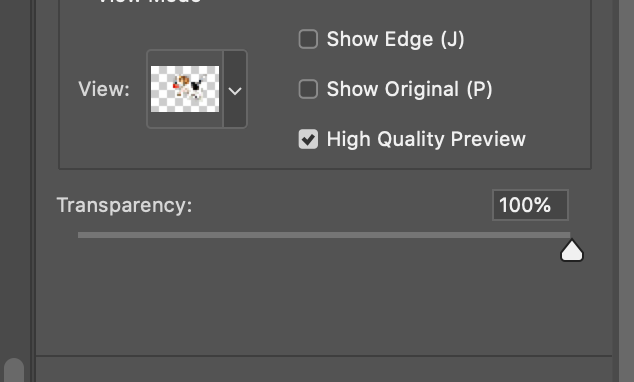
Make sure that transparency is set to 100%. This will show you how your current selection is going to look once masked out from the original background.
Also make sure that the high quality preview is on.
Now you can see the temporary white background you made showing through behind.
If you see a slight gray outline, this is some background elements you picked up when using the quick selection tool.
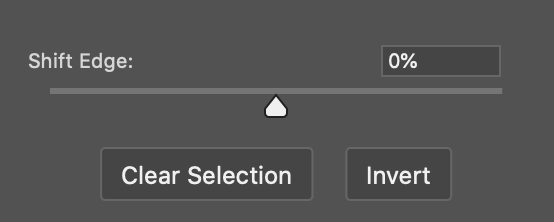
To remove this, use ‘shift edge’. This will expand your selection or pull it in. Negative numbers shift edge in, and positive shift it out.
Step 4
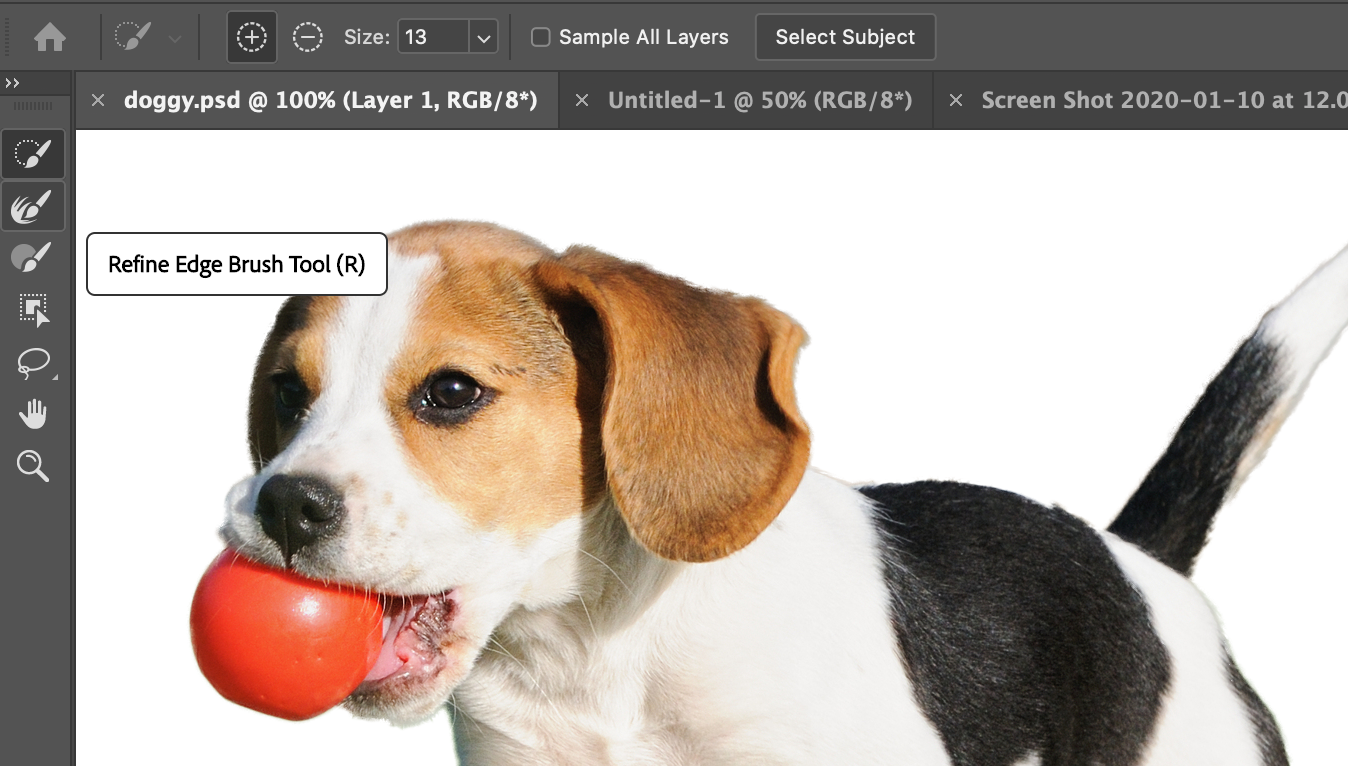
Do not shift edge too much. For places with intricate details like hair or fur, use the ‘refine edge’ brush tool.
Drag along the edges where the details are present. You will lose a bit of that background and it will look more like a correct crop. Just as with the quick selection tool, you can change the size of this brush with the square bracket keys.
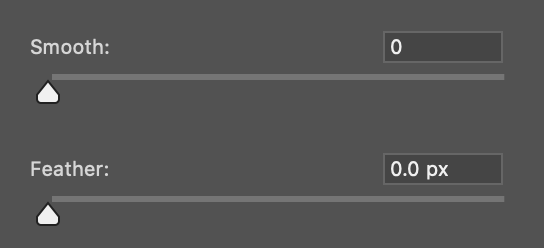
Lastly if you're finding that overall your selection is looking a bit jagged or there's too many sharp edges, you can use smooth or feather to fix that.
Just be careful not to add too much as you still want your selection to look crisp rather than blurry around the edges.
At any point while you're in select and mask mode you can press P to toggle between what you started with and where you're now at.
Press okay.
Step 5
Rather than actually delete the background around your subject, mask it out.
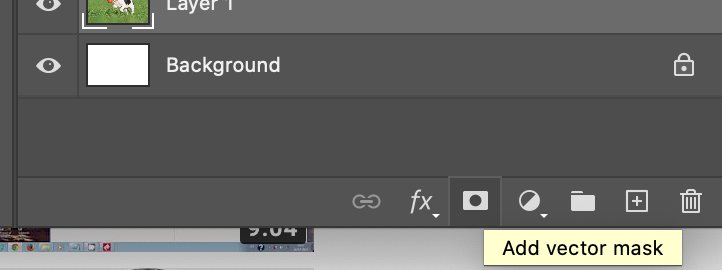
With your selection still active, go into your layers menu and press add layer mask.
Layer masks work in black and white: black means hide this part, white means show this part. Right now we want to show the subject (white) and hide the background (black).
At any point, if you want to make the same selection just do Cmd + click or Alt + click on the layer mask.
You should now be able to move this layer around. Your subject is now separate from their original background.
Step 6 (optional)
If you think there are a couple problem areas you want to clean up, you can click on the layer mask in your layer panel and add or remove some of the original background. Use the paintbrush tool in black or white to remove or add details.
That is the end of the tutorial!
If you want an easier and faster way to remove backgrounds check out our new tool Trace. Trace is free to use and works instantly.


कमैंट्स